16-bit and 32-bit per-channel editing is the starting point. This isn't a lightweight touch-up app; it's built to handle high-bit-depth compositing and professional print work without breaking a sweat.
First, the practical question: will it run on your Mac? You need macOS 10.15 Catalina or newer, and the app runs natively on both Apple silicon and Intel machines. If your Mac can handle Catalina, it can handle Affinity Photo. Graphics tablet users get full Wacom support right out of the gate—pressure, tilt, and shortcut buttons all work as you'd expect.
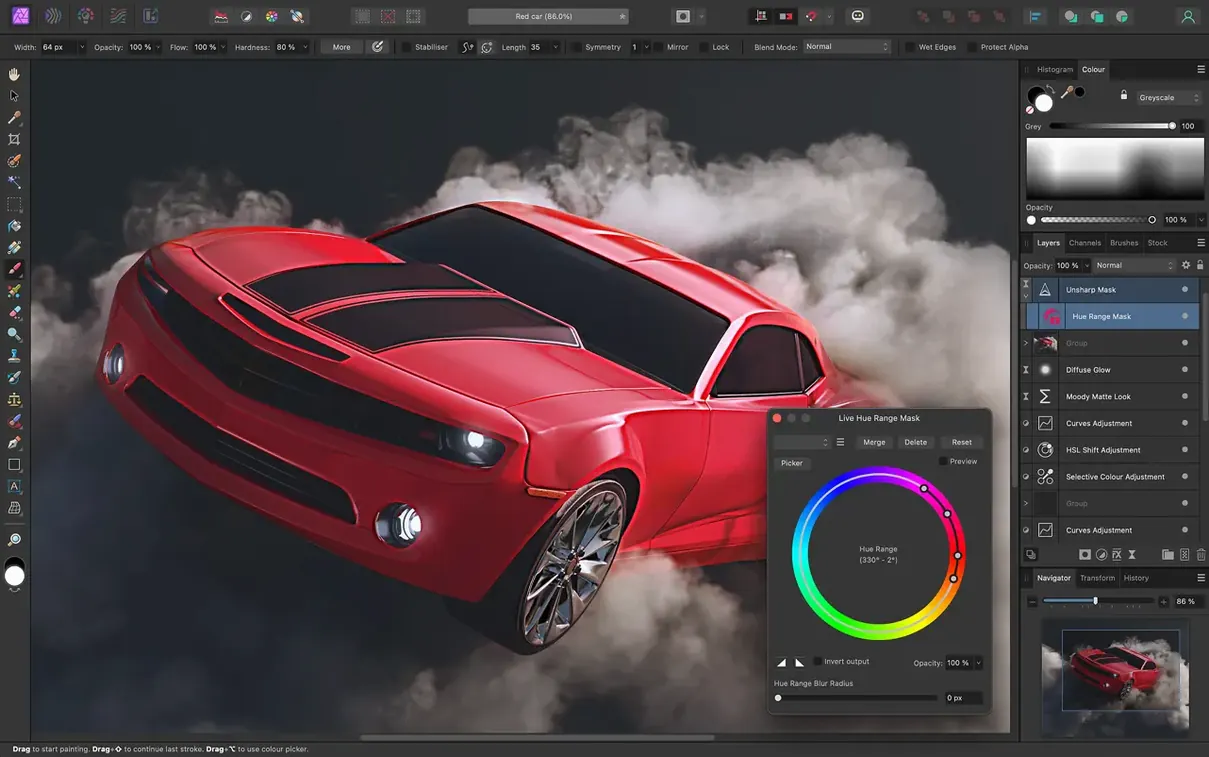
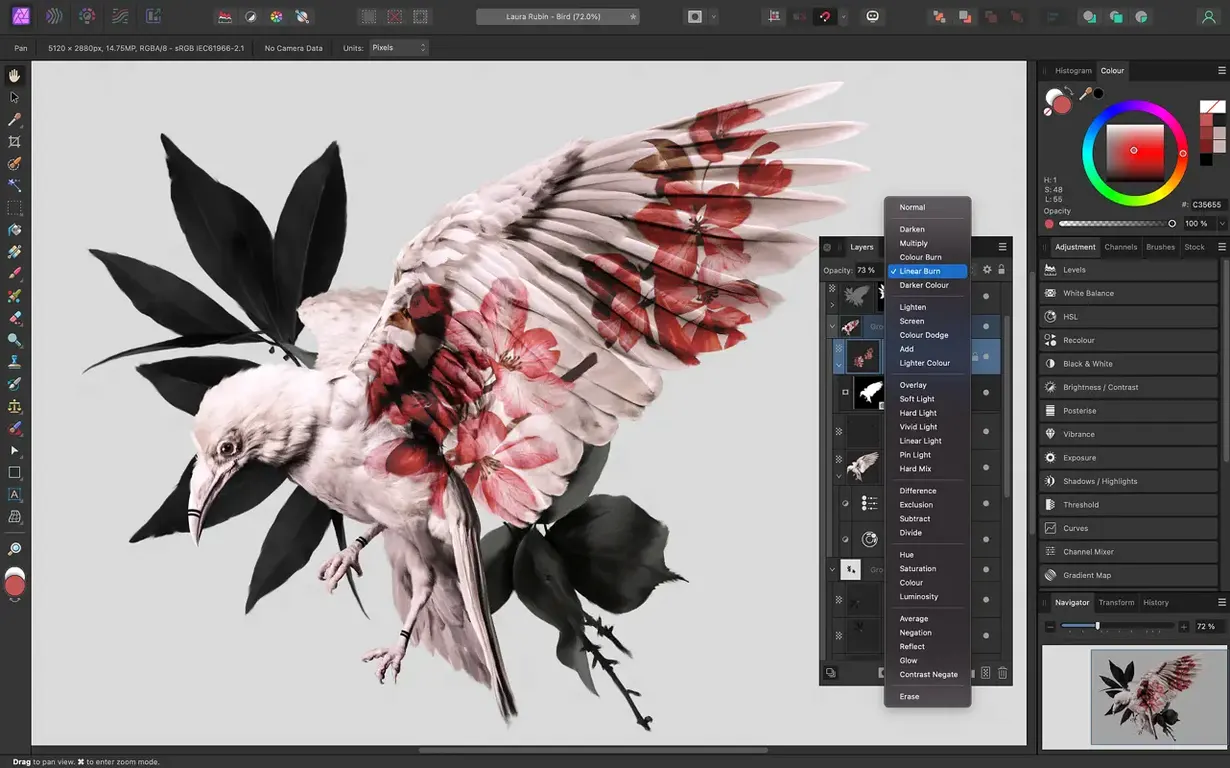
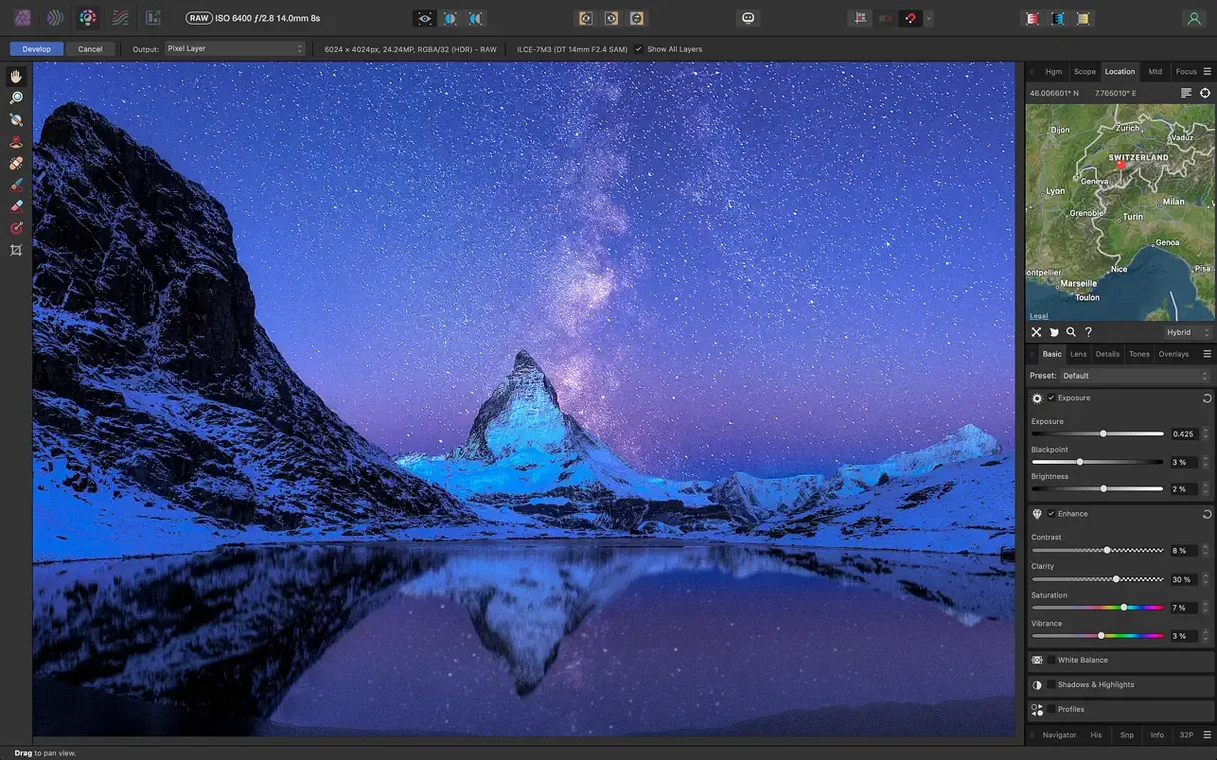
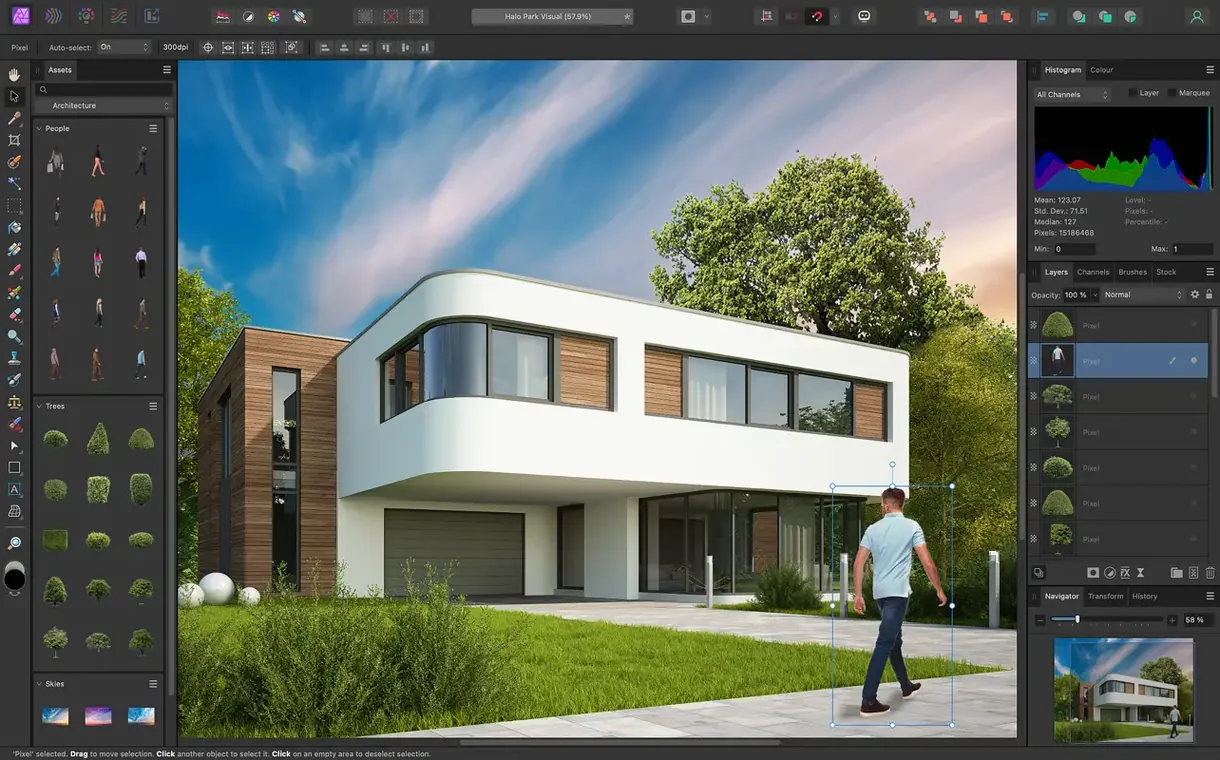
What you actually get is a full photo editor with nondestructive layers, live filter layers, and adjustment layers you can stack and mask without limits. The RAW processing workspace opens your camera files for pre-processing before they hit the main canvas. Selection tools handle fine details like hair without making you want to flip the table. The retouching side includes frequency separation for skin work, plus lens corrections, color fringing removal, and a solid set of blur, tilt-shift, and lighting effects. It even opens and saves Photoshop PSD files, so you're not locked out of collaborative projects. Bottom line: pro-level editing.
A real start-to-finish workflow: cleaning up a product shot
Let's say you shot a wristwatch on a white sweep, and the photo came back with dust specks on the crystal, a slightly yellow cast from the desk lamp, and the strap looking a little dull. Here's how a typical session flows.
Open the RAW file. The Develop persona loads your shot with default adjustments already applied. Pull the white balance slider toward blue until the dial looks neutral. Nudge the shadows up about ten points and drop the black point just enough to keep the strap deep. Hit Develop and land on the main canvas with a 16-bit image ready for the real work.
Now the retouching. Add a new pixel layer and grab the Inpainting Brush. Paint over the dust specks on the crystal — each one vanishes in a single stroke, no cloning, no stamping. For the strap, you want controlled contrast. Add a Curves adjustment layer, pull a gentle S-curve, then invert the mask and paint white only over the strap with a soft brush at 60% flow. The metal buckle stays untouched; the leather gets richer.
The background needs to go pure white without blowing out the watch edges. Add a Levels adjustment layer, drag the white output slider left until the sweep clips clean. Grab a black brush and paint the watch body back in on the mask — takes about forty seconds with a tablet pen. Group everything, name the group "Watch Final," and export a full-res TIFF for the client and a downsized JPEG for the web gallery. The whole edit, from RAW open to two exported files, runs under seven minutes once you know the moves.
Launches in under four seconds with no splash screen
You launch the app and it opens in under four seconds on an Apple silicon Mac — no splash-screen staring contest. Your last project sits in the recent files list; double-click it, and the canvas appears with every layer, mask, and live filter exactly where you left it. The Layers panel shows a stack twelve deep: adjustment layers, a frequency separation group, a few pixel layers with clone work. Scrolling and zooming on a 50-megapixel file stays smooth, no beachball.
You spend the next twenty minutes burning the edges of a portrait backdrop, dodging the catchlights in the eyes, and tweaking a Vibrance adjustment because the skin tones were leaning a little magenta. Halfway through, you realize the client wants a square crop for Instagram. You switch to the Crop tool, set a 1:1 ratio, and the live preview updates instantly — all your layers and masks recalculate without a hiccup. Export the cropped version as a JPEG, then undo the crop and keep working on the full frame. No save-as gymnastics, no flattened copies.
The session runs without a single crash. RAM usage stays around 1.2 GB with that 50-megapixel file open and a dozen layers active. The fans never spin up. When you close the document, the app releases memory cleanly — no slow creep through the afternoon. Stability has been the quiet star here: version 2.6.5 doesn't surprise you with hangs or corrupted layer states.
Metal acceleration makes every brush stroke instant
On an M1 or M2 Mac, Affinity Photo loads in seconds and feels native all the way through — Metal acceleration handles canvas rendering, so brush strokes appear with no lag even with large brushes on high-resolution canvases. On an older Intel Mac running Catalina, the app stays usable, though heavy filter stacks and HDR merges take a beat longer. The difference is noticeable but never frustrating.
Batch processing a folder of thirty RAW files to JPEG takes about two minutes on Apple silicon; the progress bar marches steadily and the app stays responsive enough to browse the web while it works. Memory pressure holds steady — the app seems to keep only what it needs in RAM and swaps the rest to disk without drama. If you're working off an external SSD for your photo library, file open and save times stay snappy.
In daily use, the app has earned a reputation for stability that some bigger-name editors lost somewhere around their subscription-pivot year. Crashes are rare and usually trace back to a system-level hiccup rather than the app itself. If you've been hunting for a reliable Affinity Photo Mac torrent that gives you the full 2.6.5 feature set without compromises, this build delivers the same steady experience the paid version is known for — just drag it to Applications and start editing.
- macOS 10.15 Catalina or later
- Apple silicon or Intel processor
Questions I actually get
Does Affinity Photo open Photoshop files?
Yes, it opens, edits, and saves PSD files, so you can collaborate with people who use Photoshop.
Can I use a drawing tablet with Affinity Photo?
Absolutely. It supports Wacom and other graphics tablets, including pressure sensitivity, tilt recognition, and shortcut buttons.
What kind of retouching tools are included?
You get frequency separation for smoothing skin, plus controls for exposure, white balance, shadows, highlights, clarity, and vibrance.
Notes from the tables 0
Sign in or pull up a chair to leave a note.
No notes on this one yet. They go up after I read them.