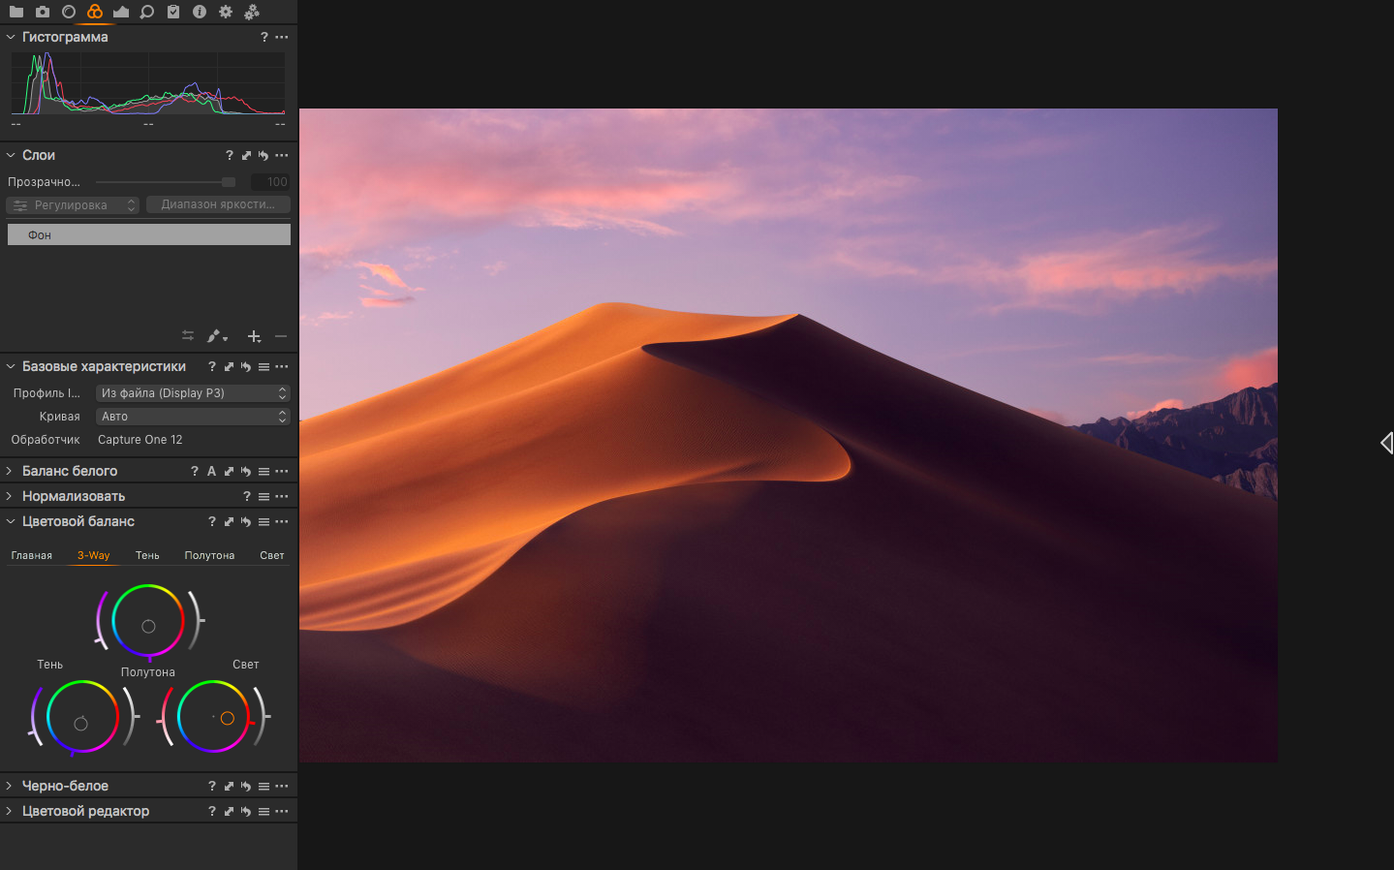
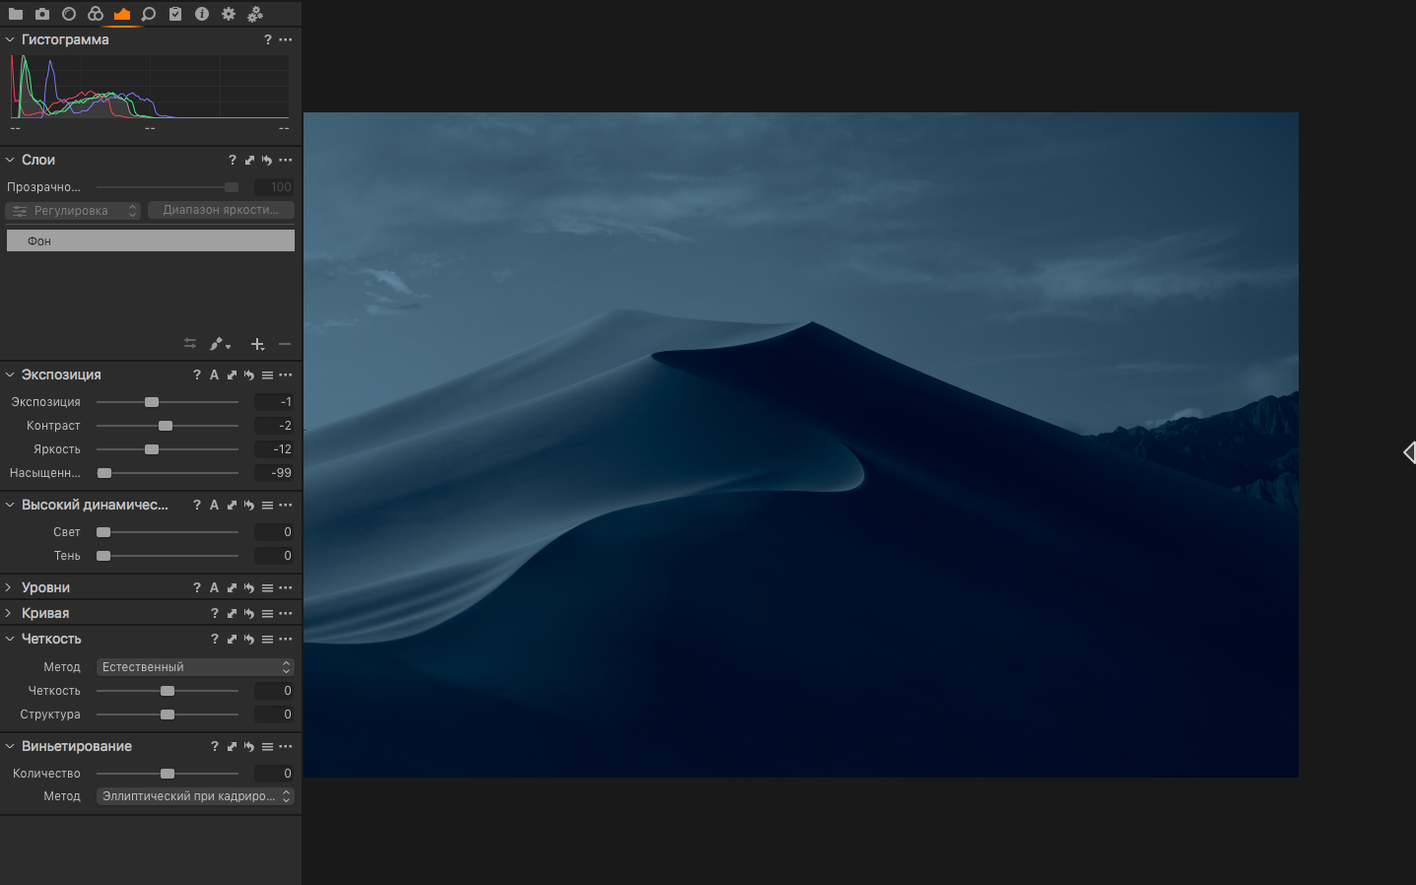
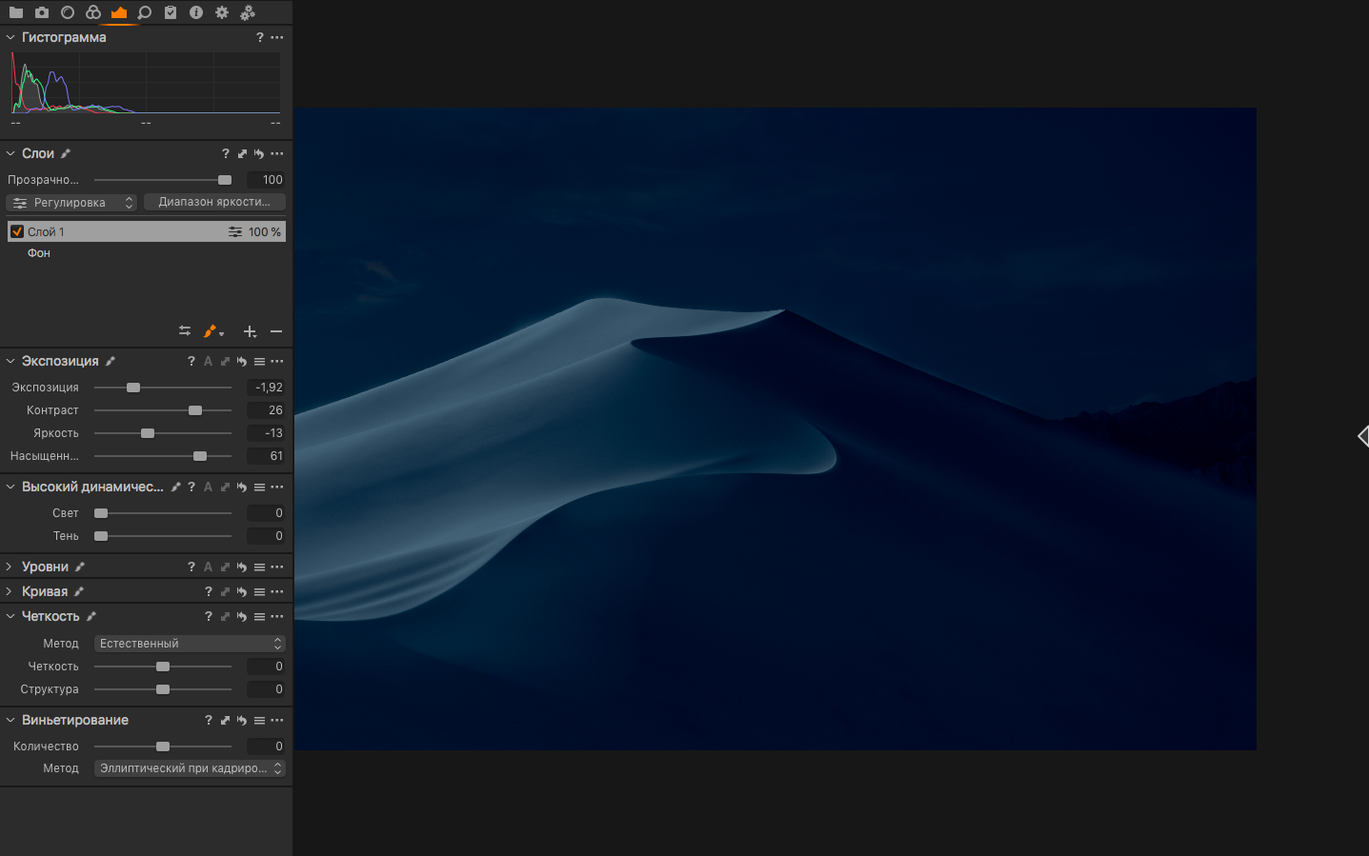
Studio photographers, high-volume shooters, and anyone who sweats the details on skin tones and fabric colors—these are the folks I still see reaching for Capture One. It’s a RAW converter and image editor built around color control and a connected camera workflow. If you’ve ever wished Lightroom’s sliders felt a little more like a real darkroom, this is the neighborhood.
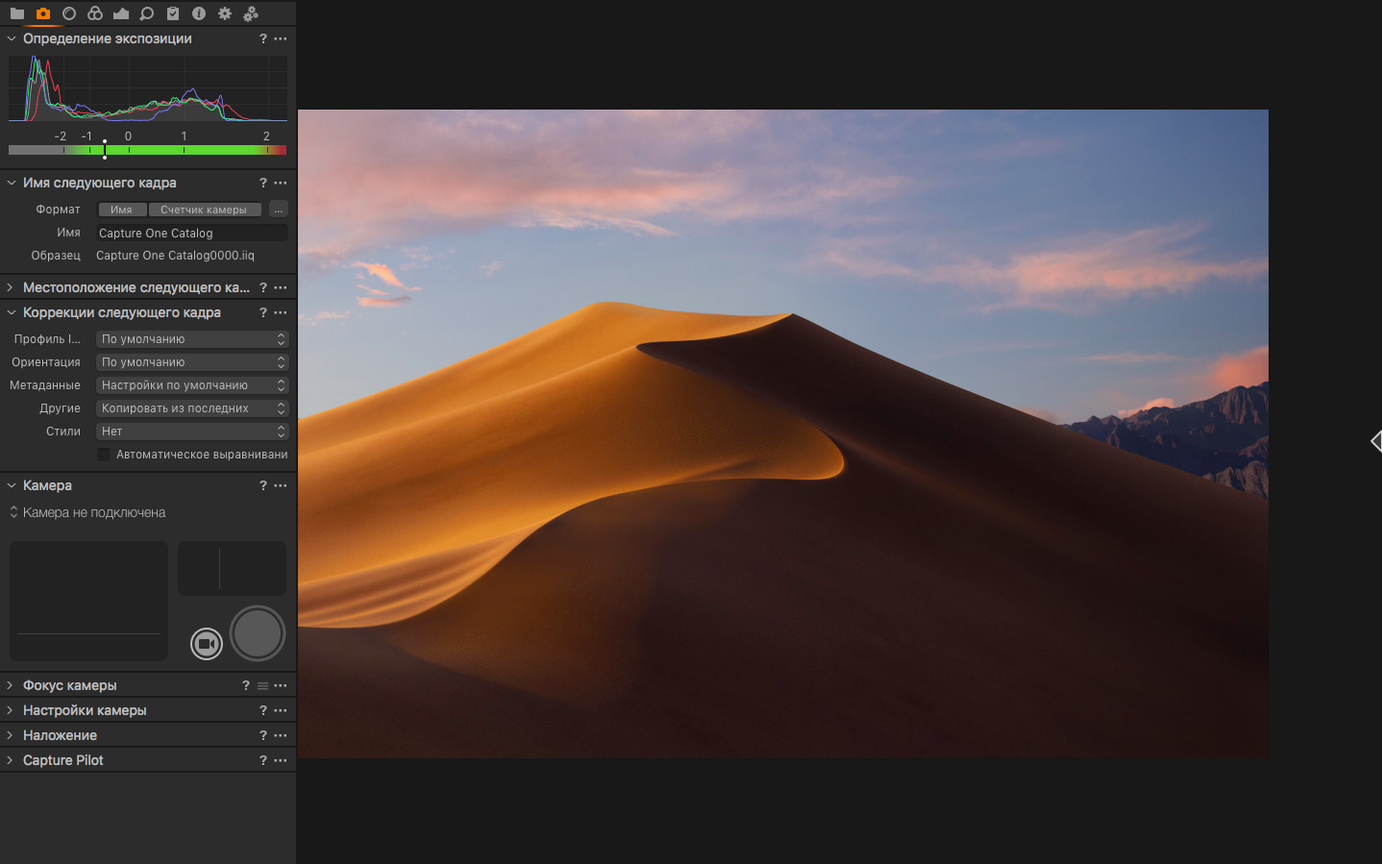
Tethering and capture
Plug your camera straight into the Mac and Capture One becomes the command center. You fire the shutter from the keyboard, check focus on a big screen, and apply a look before the next shot even leaves the buffer.
RAW processing and color
The color engine is the heart of the thing. White balance isn’t just a temperature slider—you get precise tint control that handles mixed lighting without turning skin to plastic. Sharpening is equally surgical, pulling detail out of the RAW file without a halo of artificial crunch.
Organizing and reviewing
New contact sheets and an assisted review tool landed in 16.8, making it easier to cull a thousand frames down to twenty keepers. The interface speaks eleven languages, supports over five hundred camera models, and runs natively on both Apple Silicon and Intel Macs.
Start with one card of 100 RAWs
Capture One doesn't hold your hand the first time you open it. There's a reason for that — it expects you to bring a workflow with you. So start small. Pick one card of RAW files, maybe a hundred shots from a single session, and work through them end to end before you touch any checkboxes in preferences.
Three things I'd do right away:
- Point it at a folder, not the catalog. Sessions are Capture One's secret weapon. Choose File → New Session, name it after the shoot, and let the app build a tidy folder structure on your drive. Everything lives in one place — RAW files, adjustments, exports. No database file that bloats over time.
- Turn on focus mask. Under the viewer, click the little mask icon and pick Focus Mask. The app paints a green overlay on every pixel that's in sharp focus. It's the fastest way to check critical sharpness without zooming to 100% on every frame.
- Calibrate the viewer. The default proof profile might not match what you see in other apps. Head to View → Proof Profile and pick the one that lines up with your display or output intent. If skin tones look a hair off on day one, this is usually the culprit.
Rent before you buy
Can I migrate my Lightroom catalog?
Not directly, and that's the honest answer. Capture One imports a Lightroom catalog as a one-time transfer of images, ratings, and some basic adjustments, but the edit values don't map one-to-one. If you're moving years of work, budget an afternoon. Export your most-used presets as TIFFs with edits baked in, then rebuild your favorite looks inside Capture One. The two apps think about color differently, so you'll want to re-interpret rather than replicate.
Does it handle the same file formats I already use?
It reads RAW files from over five hundred camera models, plus DNG, TIFF, JPEG, and PSD in RGB or CMYK. If you shoot a supported camera, it'll open your RAW. The question is whether your specific lens profile exists — most common glass is covered, but some third-party manual lenses get generic treatment. The good news is that sharpening and distortion controls are easy to dial in manually.
What about plug-ins and external editors?
Capture One runs plug-ins through Phase One's developer portal, and the list has grown steadily. You won't find the sheer volume of Photoshop plug-ins, but the essentials — retouching, exporting, proofing — are there. For round-tripping out to Affinity or Photoshop, the Edit With command hands off a baked TIFF and watches for changes. It works more like a print pipeline than a live link.
Layers live inside a single variant
The biggest one I see: treating layers like Photoshop layers and painting adjustments everywhere. Capture One's layers control opacity and mask, but they live inside a single variant — not a stack of independent pixel edits. If you paint exposure onto a sky and then try to add contrast on another layer without a clean mask edge, the math gets weird fast. Work layer by layer, check each one solo with the visibility toggle, and don't stack more than three or four before you flatten.
Another common stumble is ignoring the Base Characteristics tool. It sits in the Color tab, often collapsed, and controls the starting point of every RAW conversion — the curve, the default color profile, how contrast rolls off. If you open a file and think "these colors look flat," odds are it's set to Linear Response. Switch it to the camera's film curve or a custom ICC profile before you touch the exposure slider.
And don't skip the crop tool's output settings. By default, Capture One crops the preview but leaves the full RAW data untouched. That's great for re-framing later, but if you export without checking "Crop Outside Image" in the export recipe, your neatly framed portrait ships with the original edges hanging off the sides. It's a setting I've adjusted for more colleagues than I care to count.
A tethered portrait session, start to finish
Let's walk through a real scenario: a headshot session with natural window light, tethered over USB-C to a MacBook. The goal is a handful of selects, color-graded and sharpened, ready for the client by the end of the hour.
1. Build the session. New Session, name it after the subject and date. Point the Capture folder to a fast external SSD. In the Library tool, create a Favorites album called "Proofs" — you'll drag selects here as you go.
2. Tether and test. Plug in the camera, click the camera icon in the toolbar, and wait for the connection chime. Fire a test frame. Check sharpness with the focus mask, then apply a rough look to that frame: white balance eyedropper on a white collar, a touch of clarity, maybe a slight S-curve. Hold Option and click Copy Adjustments.
3. Shoot with auto-apply. In the Next Capture Adjustments tool, paste the adjustment. Now every shot coming in gets the base grade automatically. The client sees finished-looking images on the monitor, not flat negs. Confidence goes through the roof.
4. Cull with assisted review. After the session, open Assisted Review from the toolbar. The app groups similar frames and picks the sharpest of each cluster — you just tap left or right to approve or reject. In ten minutes, a thousand frames become thirty candidates. Drag the good ones to "Proofs."
5. Fine-tune the keepers. For each select, add a layer. Paint a mask on the eyes, raise exposure by a third of a stop. On another layer, drop clarity around the jawline for a softer highlight roll-off. The beauty of variants: make three different crops of the same file, each living as a separate variant, all pulling from the original RAW.
6. Export for delivery. Create an export recipe — full-size TIFF with sRGB proofing and "Crop Outside Image" checked. Point it at an Output folder inside the session, hit Process, and the whole batch renders in the background while you pack up lights. No cloud uploads, no waiting on sync. Just files on disk, ready for the client.
Bottom line: the workflow rewards deliberate setup. Spend five minutes building the session right, and the next two hours feel like the app is reading your mind.
Version 16.8 is a practical update that smooths out the review process and cleans up high-ISO work. Here’s what landed:
- Enhanced denoise for cleaner shadows when you’re pushing the sensor.
- Assisted review to speed up culling large shoots.
- New contact sheets for a clearer overview of your library.
- macOS 12 or later
- Apple Silicon or Intel 64-bit Mac
Questions I actually get
Does Capture One support my camera?
Capture One supports over 500 camera models from most major manufacturers, with new profiles added regularly—version 16.8 brought support for the Canon EOS R6 V, Phase One IXM-RS250, and Panasonic DC-L10.
Notes from the tables 0
Sign in or pull up a chair to leave a note.
No notes on this one yet. They go up after I read them.