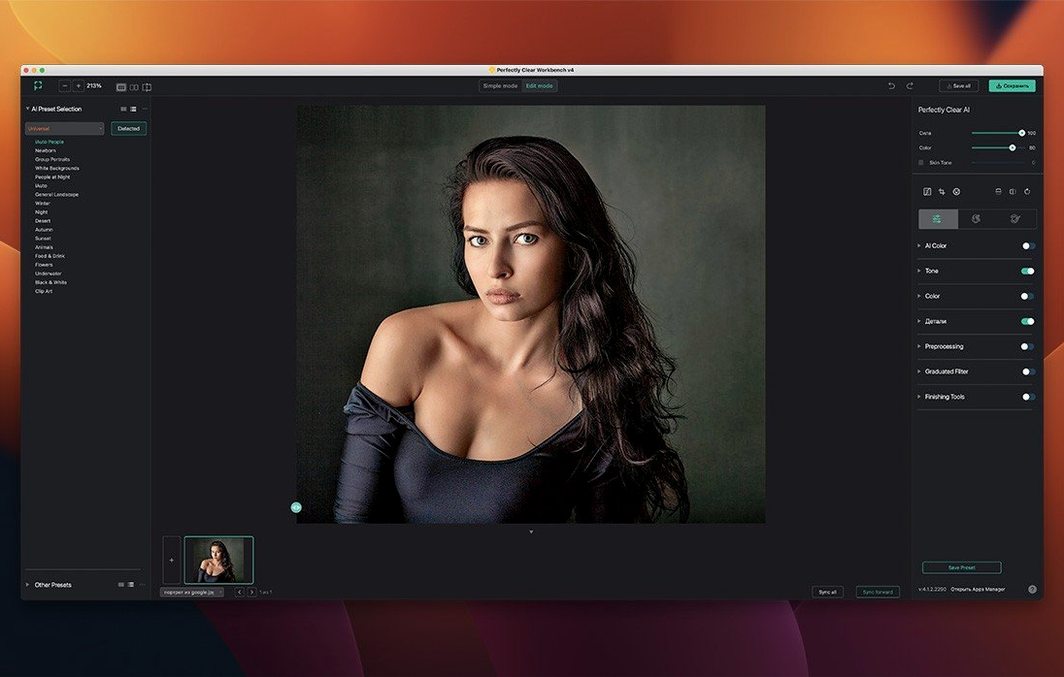
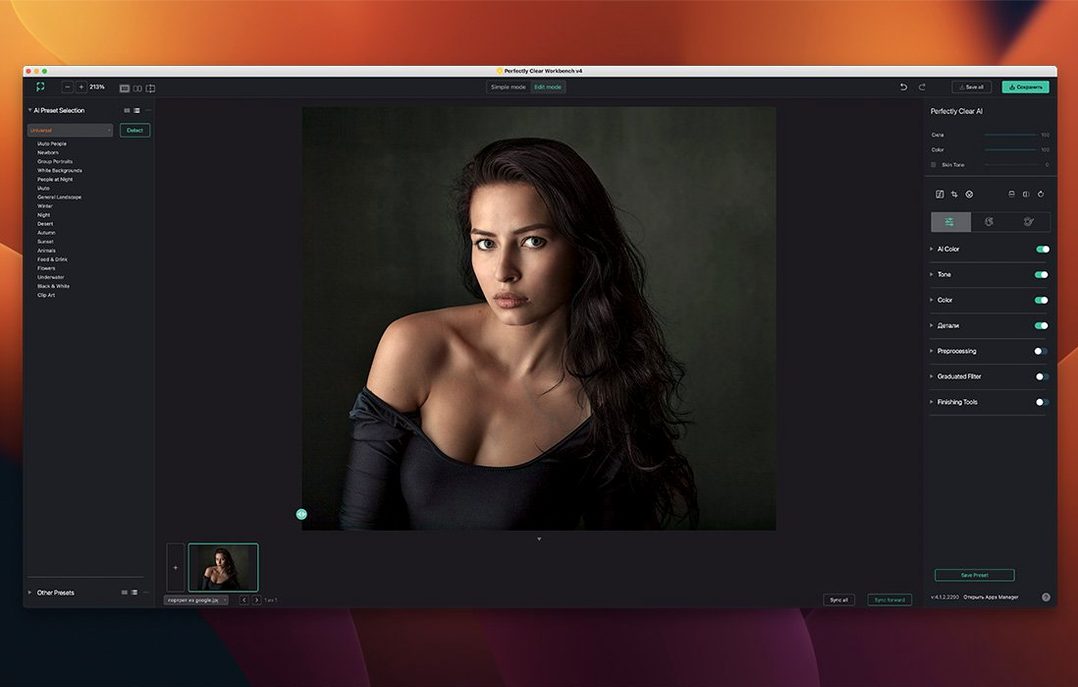
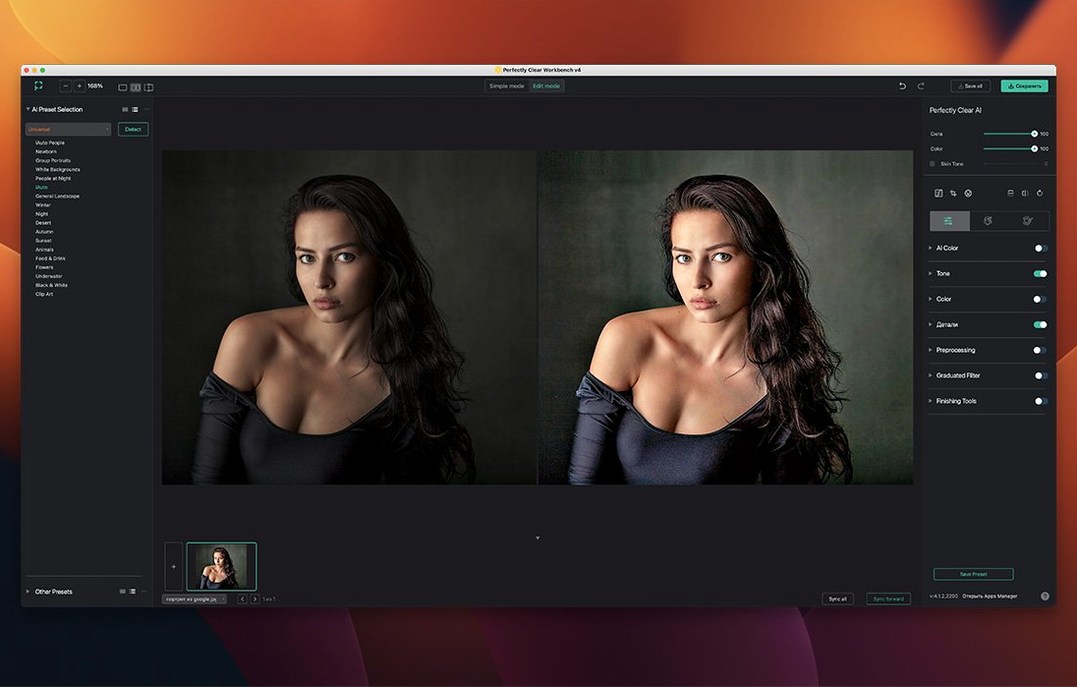
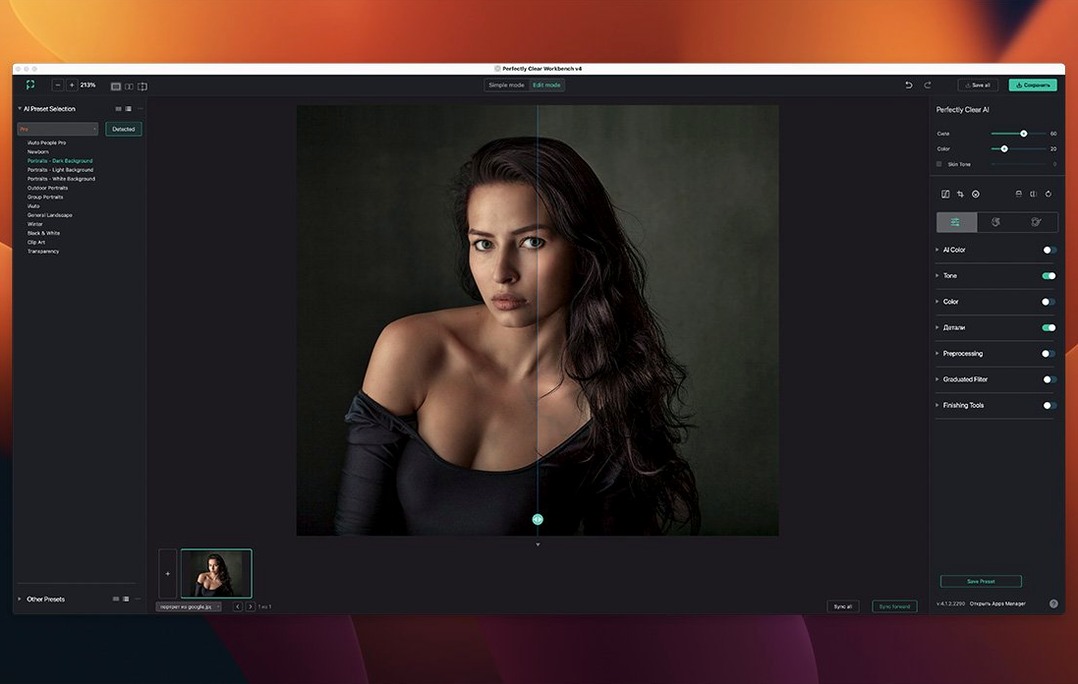
Perfectly Clear WorkBench is the hands-on testing ground for Athentech's image correction libraries, built so you can see what the processing engine does before it ever touches your own workflow.
Dial back auto fixes with Light Diffusion and Vibrancy
Open any 8-bit or 16-bit RGB image and head straight for the new strength sliders. Pulling the Light Diffusion and Vibrancy controls lets you dial back the automatic fixes until the photo looks right to you, not the software.
What if a face needs individual attention?
The face region tools let you change the detected area or scale a single face with one click. It's handy when the automatic detection grabs the wrong part of a group shot and you need to nudge it back into place.
How can I check my exposure adjustments?
Switch on the new histogram and watch the graph shift as you tweak the Color Brightness control. The improved skin tone and blush color pickers also give you finer say over portraits without guessing at the numbers.
How do I share my settings with another tool?
Once you've dialed in a look that works, export your preset to an API-ready text file. It's a clean way to move the same corrections into a production pipeline without redoing the work.
Convert CMYK or monochrome images to RGB first
The biggest stumble I see is throwing any old file at the window and wondering why nothing happens. CMYK or monochrome images won't budge until you convert them to RGB first. RAW files need a trip through Adobe Camera Raw and Photoshop before they're ready—dragging a .CR3 straight in just gives you a blank stare.
Another common one is cranking every strength slider to max and calling it done. The face-aware exposure is smart, but it's not a mind reader. If you don't check the detected face regions, you'll end up brightening a shoulder instead of a smile. And skipping the histogram means you're adjusting exposure by gut feel on a laptop screen that lies about brightness.
A quick preset export workflow
Let's say you've got a batch of headshots that all need the same gentle lift. Start with one representative image—open it, let the automatic corrections apply, then immediately pull back Light Diffusion to about 40%. Switch to the histogram and nudge Color Brightness until the midtones sit where you want them. Fix the skin tone with the improved picker by clicking a clean patch of forehead, not the cheek that caught blush.
Now check each face region. If the tool grabbed the wrong oval, drag the handles to correct it. Scale any face that's too small in the frame. Once you're happy, export the preset as an API-ready text file. That file is your perfectly clear workbench crack mac preset—not cracked software, just a settings key you can feed into the SDK pipeline so every headshot gets the same treatment without you touching a single slider again.
A fresh interface changes the feel of the whole app, with new correction tools sitting alongside the familiar ones. Existing tools got a round of improvements, a histogram joined the lineup, and preset management works much more smoothly than before.
- macOS 10.15 or later
- Intel 64-bit processor
- RGB images at 8-bit or 16-bit color depth
Questions I actually get
What image types can I use in Perfectly Clear WorkBench?
It handles RGB images with 8-bit or 16-bit color depth, so standard JPEGs and high-bit TIFFs are both fair game.
Notes from the tables 0
Sign in or pull up a chair to leave a note.
No notes on this one yet. They go up after I read them.