
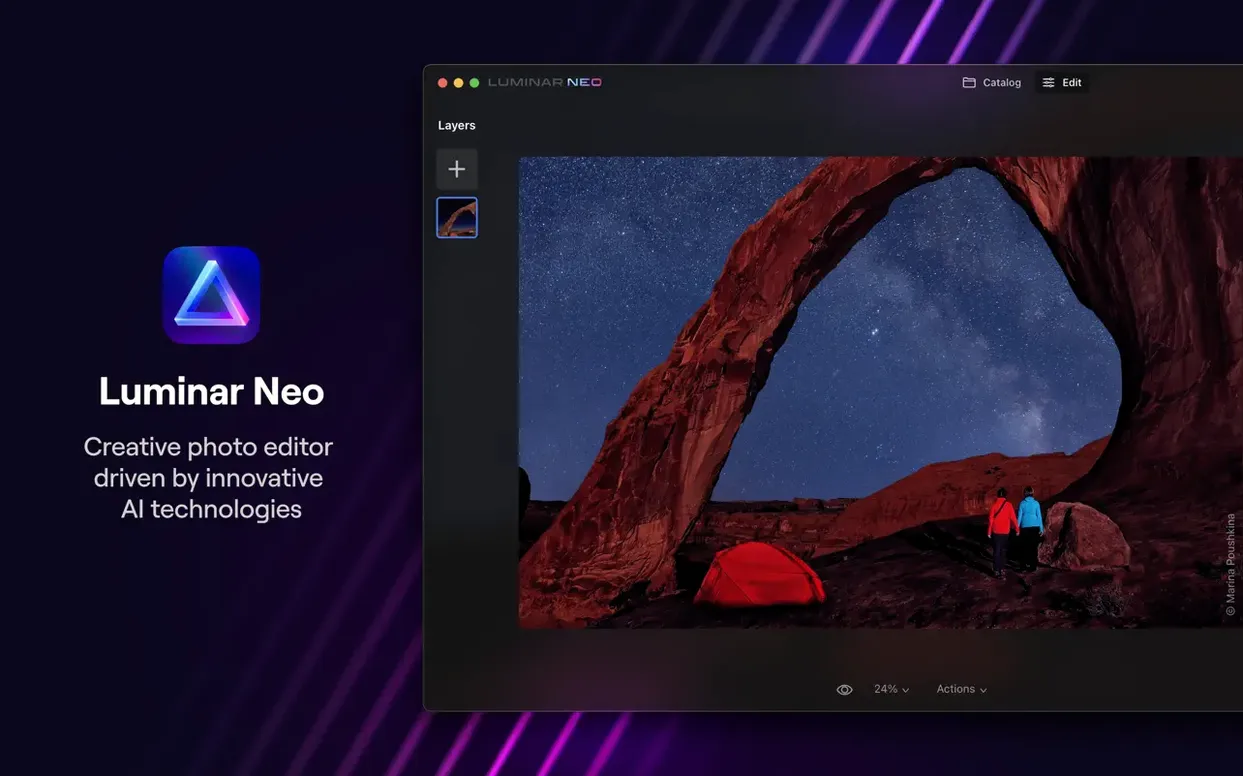
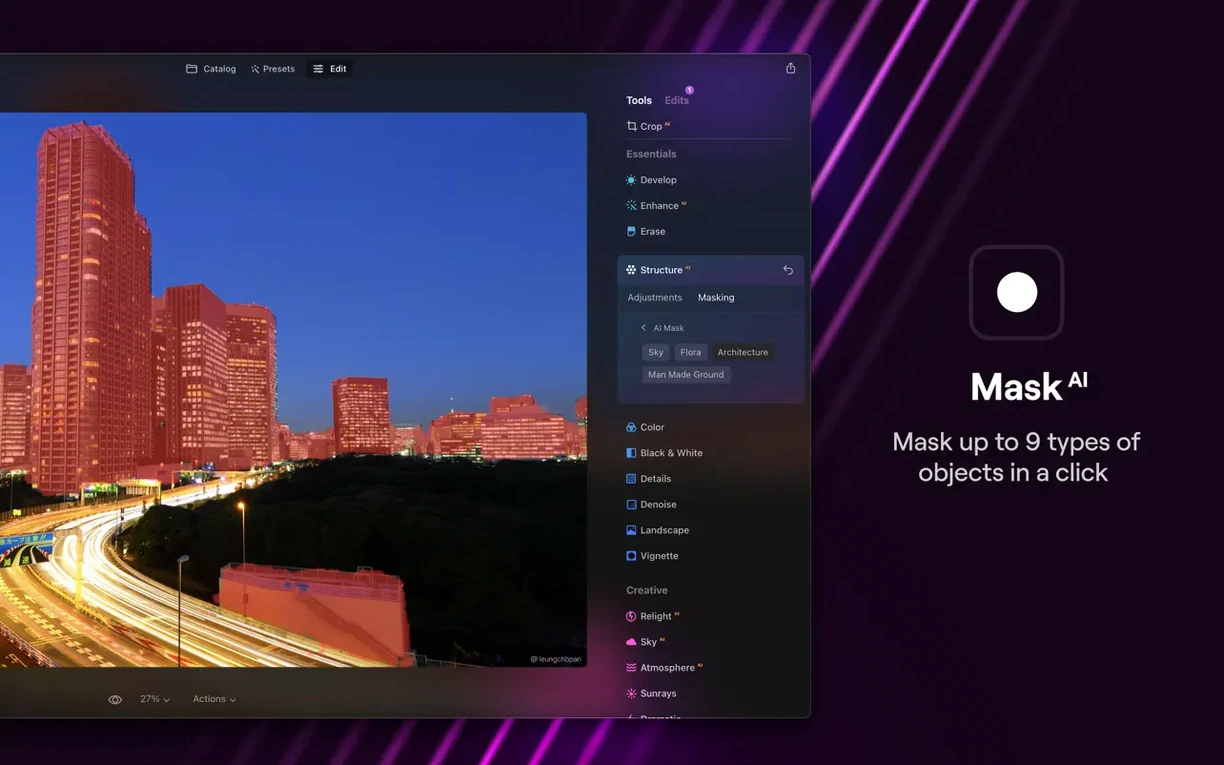
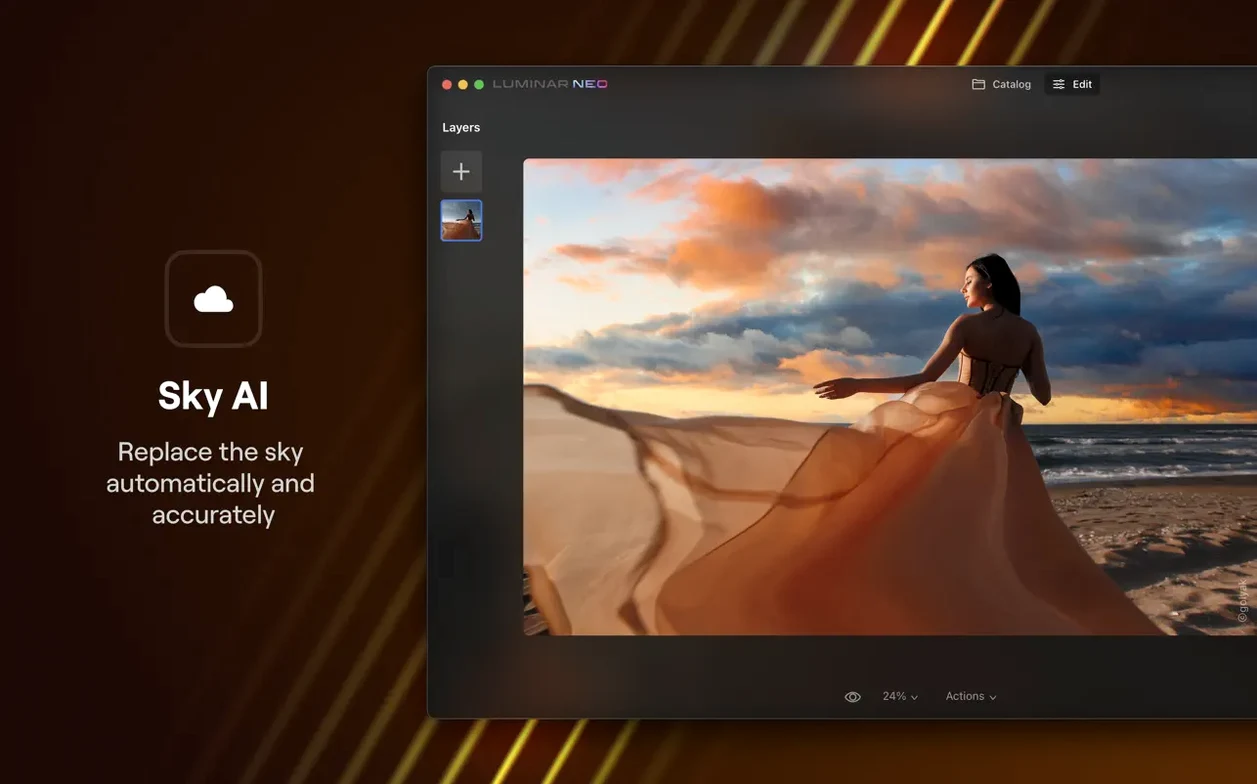
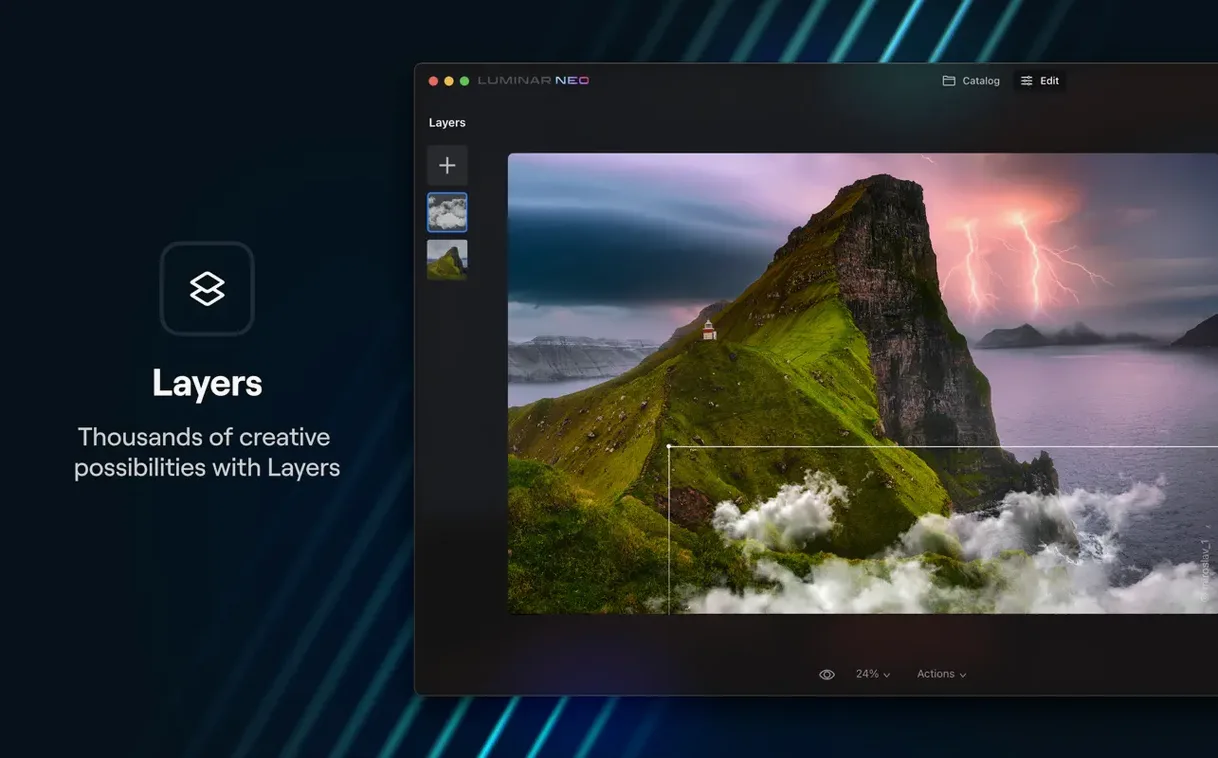
Luminar Neo is for photographers who already know their way around a raw file but are curious about what a fresh set of AI tools can do. It's not a Lightroom clone, and it doesn't try to be. Instead, Skylum built it as a playground where artificial intelligence handles the tedious stuff so you can stay in a creative headspace.
Layer blends and depth-aware edits
- Working with image layers for composites and texture blends
- Removing dust spots and sensor blemishes without manual cloning
- Editing that respects scene depth — the app analyzes each image to understand what's in the foreground and background
Plan for 16 GB RAM before upgrading to Ventura
- Minimum supported version about to jump to macOS 13 Ventura
- Needs 8 GB RAM on paper; 16 GB is what you actually want for smooth layer work
The current release, version 1.26.0, puts the AI Assistant right into the Presets and Edit tabs. It's a major update aimed at cutting down the back-and-forth. You get a suggestion based on the scene contents, apply it, and then tweak from there. For deep dives, the layer support is the real anchor — it turns a photo editor into something closer to a digital darkroom.
Rescuing a flat raw file with AI Assistant
Say you've got a raw file from a late-afternoon walk — flat sky, muddy shadows, a bench that should be the focal point but isn't. You open it in Luminar Neo and let the AI Assistant take a first pass. In the Edit tab it reads the scene and suggests a starting point: lifted shadows, a touch of contrast, maybe a warmer tint because it noticed the golden-hour light in the highlights. You accept it, then pull back the saturation just a little. That's the whole dance — the assistant gets you moving, and you refine from there.
Next you notice the dust spots along the top edge. Instead of reaching for the clone stamp and squinting, you open the dust removal tool, drag a box around the affected area, and the app fills in the blemishes based on what's around them. It takes about ten seconds. You then add a texture layer to give the sky a subtle paper grain, drop the opacity to around 20 percent, and switch the blend mode until it feels right. The layer stack keeps everything separate, so if the grain is too strong the next morning, you just ease it back.
Before saving, you try one of the relighting options to lift the bench out of the shadows. A short slider movement later, the scene has a more natural fall of light, and the bench reads as the subject. You export a full-size TIFF for printing and a JPEG for sharing. Total time: maybe fifteen minutes, and most of it was spent deciding, not wrestling with controls.
Use it for creative edits, not photo management
Luminar Neo plays its best role when you let it handle creative edits rather than asset management. You can keep your photo library in whatever app you already trust — Finder, a dedicated catalog app, a cloud drive — and bring single images into Luminar Neo for the heavy lifting. It's the kind of tool you open with a specific picture in mind, not a place where you browse thousands of thumbnails.
On the macOS side, it behaves like a proper citizen. You can drag an image straight from Photos onto the Luminar Neo icon in the Dock, and the app opens it without complaining. Exporting back out works the same way — save a processed JPEG to a folder, then drag that into a Photos album or a shared iCloud folder. Keyboard shortcuts feel familiar for anyone used to Mac conventions, and the app respects system-wide Dark Mode when you switch appearance in System Settings. Because it runs natively on both Intel and Apple Silicon Macs, files load at about the same speed whether you're on an older iMac or a newer MacBook Air.
For those who work with graphics tablets, Luminar Neo's brush-based tools respond to pressure, which makes local adjustments feel less like painting with a mouse. It's a small detail, but once you've done dodging and burning with a stylus, it's hard to go back.
Set default export to TIFF before your first edit
Before you edit anything serious, head into the app's preferences and make a few adjustments. They're not hidden, but most people skip them until a file export annoys them.
- Default export format — set it to TIFF if you print often, or JPEG at 90–100 percent if most of your work ends up online. Having the right default saves a half-dozen clicks per session.
- Working color space — if you shoot raw and care about print output, choose a wide-gamut profile like Adobe RGB instead of the standard sRGB. Your exports will keep more of the color information the sensor captured.
- Scratch disk location — on a Mac with a small internal drive, point the scratch disk at an external SSD. Layer-heavy edits generate temporary files, and a full startup disk brings everything to a crawl.
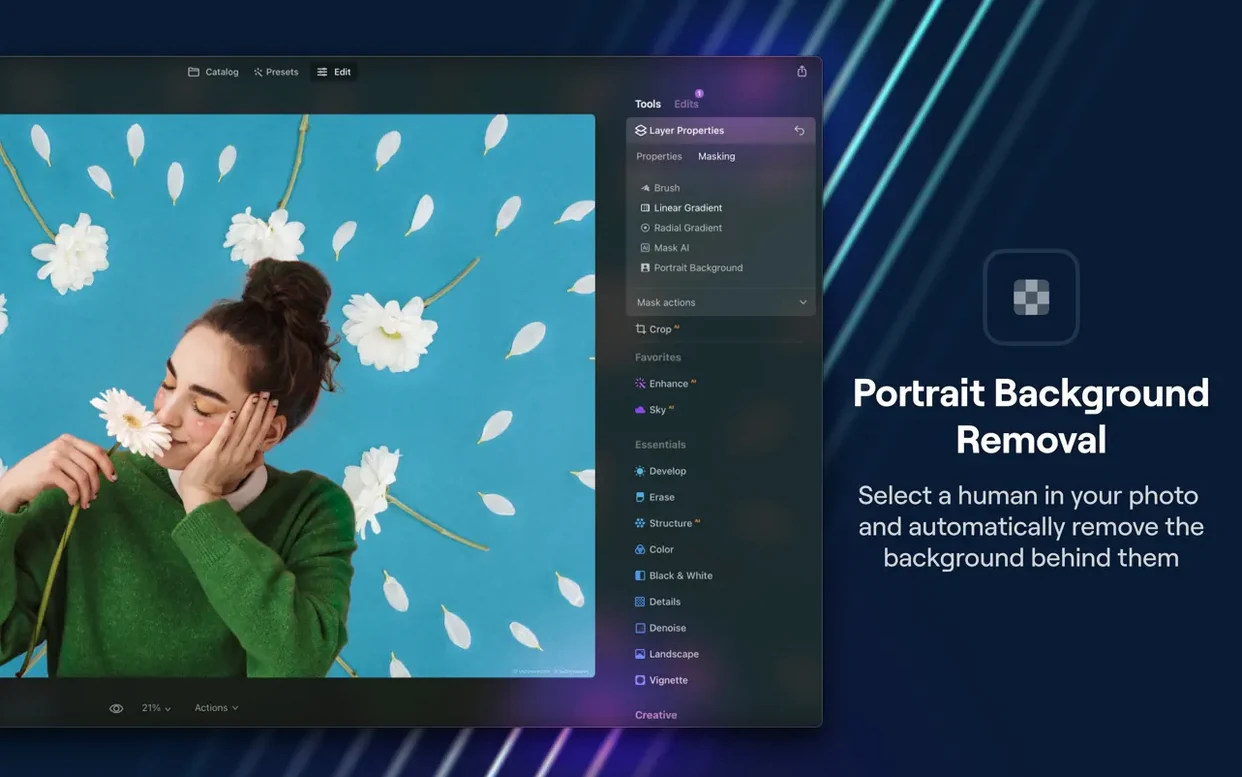
- GPU acceleration — on Apple Silicon this is on by default, but on Intel Macs it may not be. Turn it on if your machine has a discrete graphics card; it speeds up the relighting and background replacement tools noticeably.
These are the kind of settings you set once and then forget about, but they quietly determine how pleasant the app is to use over a long session.
Version 1.26.0 is a big one. The AI Assistant now lives inside the Presets and Edit tabs instead of sitting off to the side. The idea is a faster back-and-forth — less hunting through sliders, more time looking at your image.
- AI Assistant available directly in Presets and Edit tabs
- Editing flow redesigned to be quicker and more responsive
- macOS 12.0 or later (macOS 13 Ventura recommended for upcoming releases)
- Runs on Intel and Apple Silicon Macs
- 8 GB RAM minimum, 16 GB recommended
Questions I actually get
Does Luminar Neo support working with image layers?
Yes, it includes full image layer support, letting you blend multiple photos, add textures, and build composites directly inside the editor.
What macOS version does Luminar Neo currently require?
The current minimum is macOS 12 Monterey, but the developer has announced the next release will no longer support Monterey and will require macOS 13 Ventura or later.
Can Luminar Neo remove dust spots automatically?
Yes, it includes a dust removal tool that uses scene analysis to identify and clean up sensor dust and small blemishes.
Notes from the tables 0
Sign in or pull up a chair to leave a note.
No notes on this one yet. They go up after I read them.
More from the Photo page
The whole page Photo 1.1 GB
Perfectly Clear WorkBench
4.8.0.2871
Photo 1.1 GB
Perfectly Clear WorkBench
4.8.0.2871
 Photo 200 MB
Photo Mechanic
2025.1.8239
Photo 200 MB
Photo Mechanic
2025.1.8239
 Photo 64 MB
Photomator
3.4.15
Photo 64 MB
Photomator
3.4.15
 Photo Updated 662 MB
PhotoScape X Pro
4.3
Photo Updated 662 MB
PhotoScape X Pro
4.3
 Photo 452 MB
Pixelmator Pro
4.3
Photo 452 MB
Pixelmator Pro
4.3
 Photo 641 MB
PowerPhotos
3.4.8
Photo 641 MB
PowerPhotos
3.4.8
 Photo 40 MB
Prizmo Pro
5.0.2
Photo 40 MB
Prizmo Pro
5.0.2
 Photo 40 MB