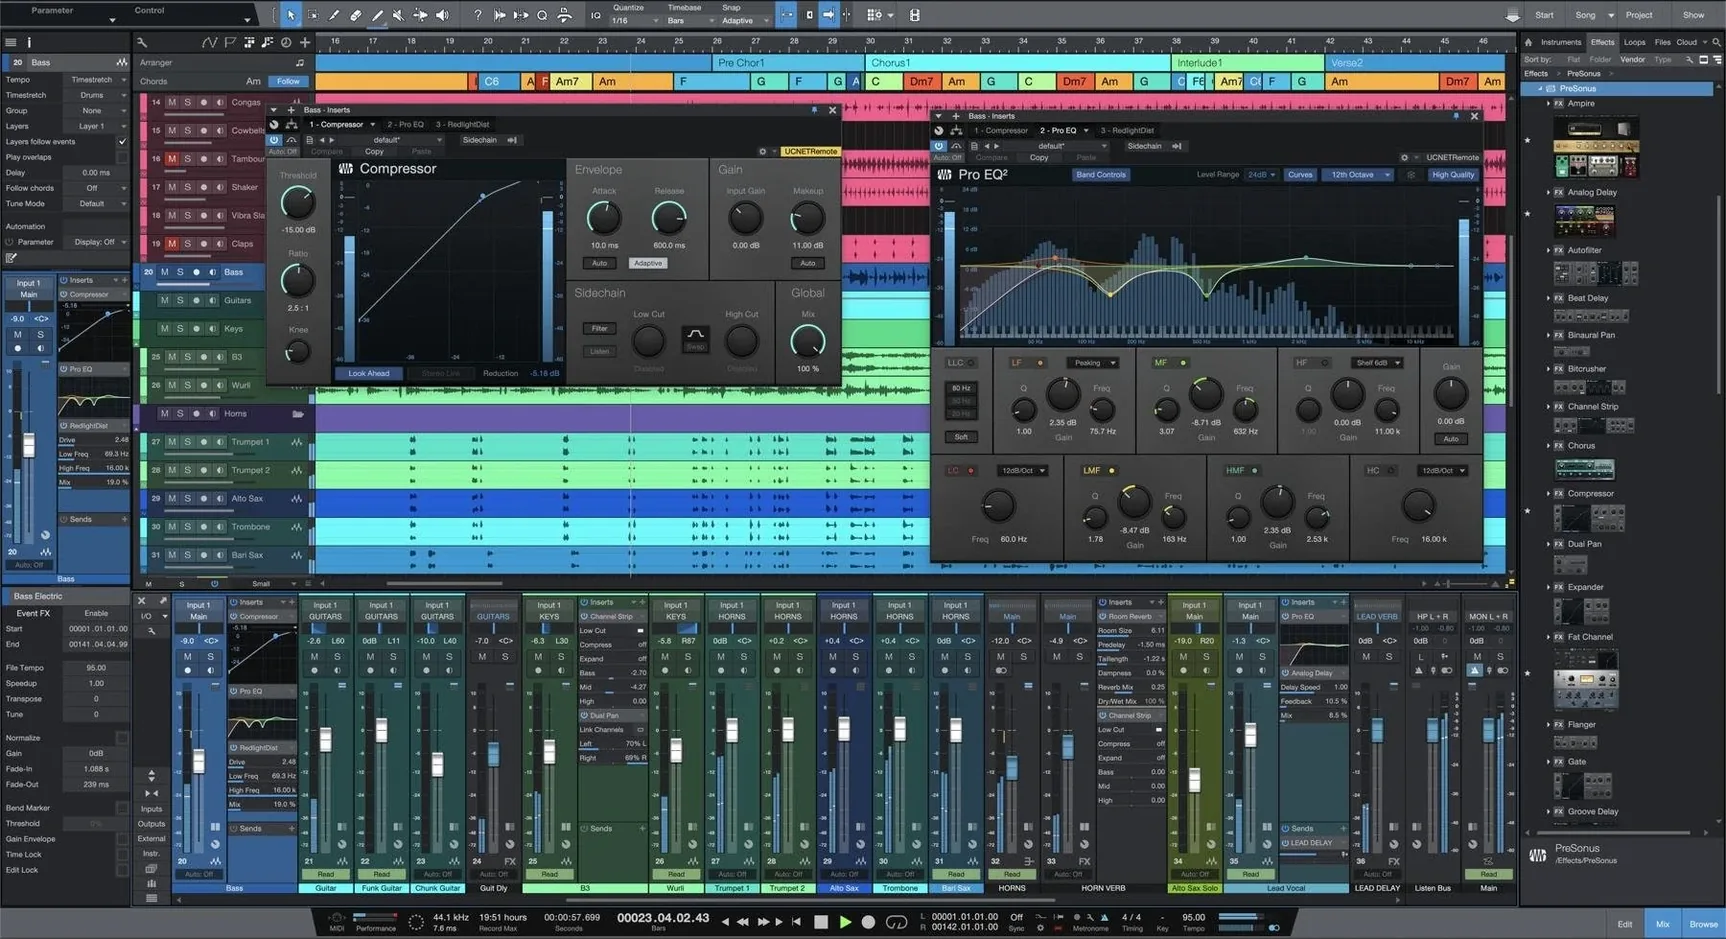
Version 7 landed as its own application, sitting right alongside your older install without touching it. The big practical addition for anyone starting out is the smarter tempo detection and the unlimited Launcher Scenes, which turn the Song page into a playground for trying arrangement ideas without committing to anything.
If you have never launched a DAW before, here is a simple path to making noise that feels like music.
- Drop in a song you know. Drag an audio file onto a track. The advanced tempo detection maps the tempo automatically. You get a tempo track that breathes with the original recording, no click-track fighting.
- Build a beat. Pull up Impact XT or another virtual instrument from the browser. The Song page gives you unlimited tracks, so add a kick and snare pattern that locks to your detected tempo.
- Sketch an arrangement with the Launcher. Open the Launcher and record a few Scenes—verse idea, chorus idea, a stripped-down bridge. Drag clips between cells to try different orders. Nothing is fixed until you push it to the timeline.
- Adjust the look. Right-click the toolbar and pick what you actually need. A beginner does not require a mastering panel staring back at them. Hide it and make the screen yours.
Bottom line: start by letting the software listen to your tempo, then use the Launcher to try ideas like sticky notes on a wall. The rest of the mixing and mastering tools can wait.
Fitting Studio One into the rest of your Mac
Studio One plays well with the tools you already use. Drag a rough mix out of the Song page and drop it into a Finder folder, then pull it into GarageBand or Logic if a collaborator works there. The reverse works too: audio files from other DAWs import cleanly, and the tempo detection will map a beat grid around anything you bring in.
On the macOS side, the app respects standard audio routing. If you use an audio interface, it shows up in the Audio Setup window with input and output channels you can assign per song. MIDI keyboards connect over USB and appear without much fuss—just pick them from the External Devices list and start playing. For quick captures, the built-in mic on a MacBook works in a pinch, though an interface gives you less noise and more headroom.
Spotlight and Finder integration are nothing fancy, but your saved songs live where you put them, and Time Machine backs them up like any other files. If you keep your projects in iCloud Drive, they follow you to another Mac as long as both machines can run the same version.
First days: a setup that keeps you moving
Before you record anything serious, spend twenty minutes making the workspace yours. The defaults are fine, but a few small changes save real time later.
- Set your audio device first. Open Studio One, then check the Audio Setup window. Pick your interface, set the sample rate, and play a test tone. Ten minutes here prevents an hour of confusion when a take sounds wrong.
- Learn the Smart Templates. Instead of starting from a blank song, try the template closest to what you do—singer-songwriter, beat making, podcast, full band. Each one wires tracks, buses, and effects together so you can press record instead of configuring routing.
- Save a template of your own. Once you tweak a template to taste, save it as your own. Next session, the same layout waits for you. This is the biggest time-saver nobody talks about on day one.
- Drag everything. Audio files, effect presets, instrument patches, even whole songs from the browser. The drag-and-drop workflow is not a gimmick—it is the fastest way to build a session without menu diving.
Remap transport keys to your old DAW
Three preferences make the app feel more like yours. Open the Preferences window and look for these.
- Keyboard shortcuts. If you have used another DAW, remap the transport keys to match your muscle memory. A few minutes here keeps you from hitting the wrong key during a recording.
- Plug-in scan locations. Point Studio One at any folder where you keep third-party Audio Units or VST plug-ins. Rescan once, and everything shows up in the browser under the right category. Native Effects plug-ins are already there, but your own collection needs a path.
- Console and editor colors. The interface is customizable beyond moving panels. Change track colors, background brightness, and clip contrast in the view settings. A screen you can read at 11 p.m. is a screen you will keep using.
These changes are not workflow magic. They are the equivalent of sharpening your knives before a big cook—nothing dramatic, but everything after feels smoother.
Version 7 installs as a separate app, so your current setup stays put. The big additions are tools that get ideas down faster.
- Unlimited Launcher Scenes and Playlists for sketching arrangements.
- AI-powered offline Stem Separation to pull voices and instruments apart from a single file.
- Advanced tempo detection that maps tempo changes from any audio you drop in.
- macOS 12.4 or newer
- Apple Silicon and Intel Macs
- Interface: English
Notes from the tables 0
Sign in or pull up a chair to leave a note.
No notes on this one yet. They go up after I read them.