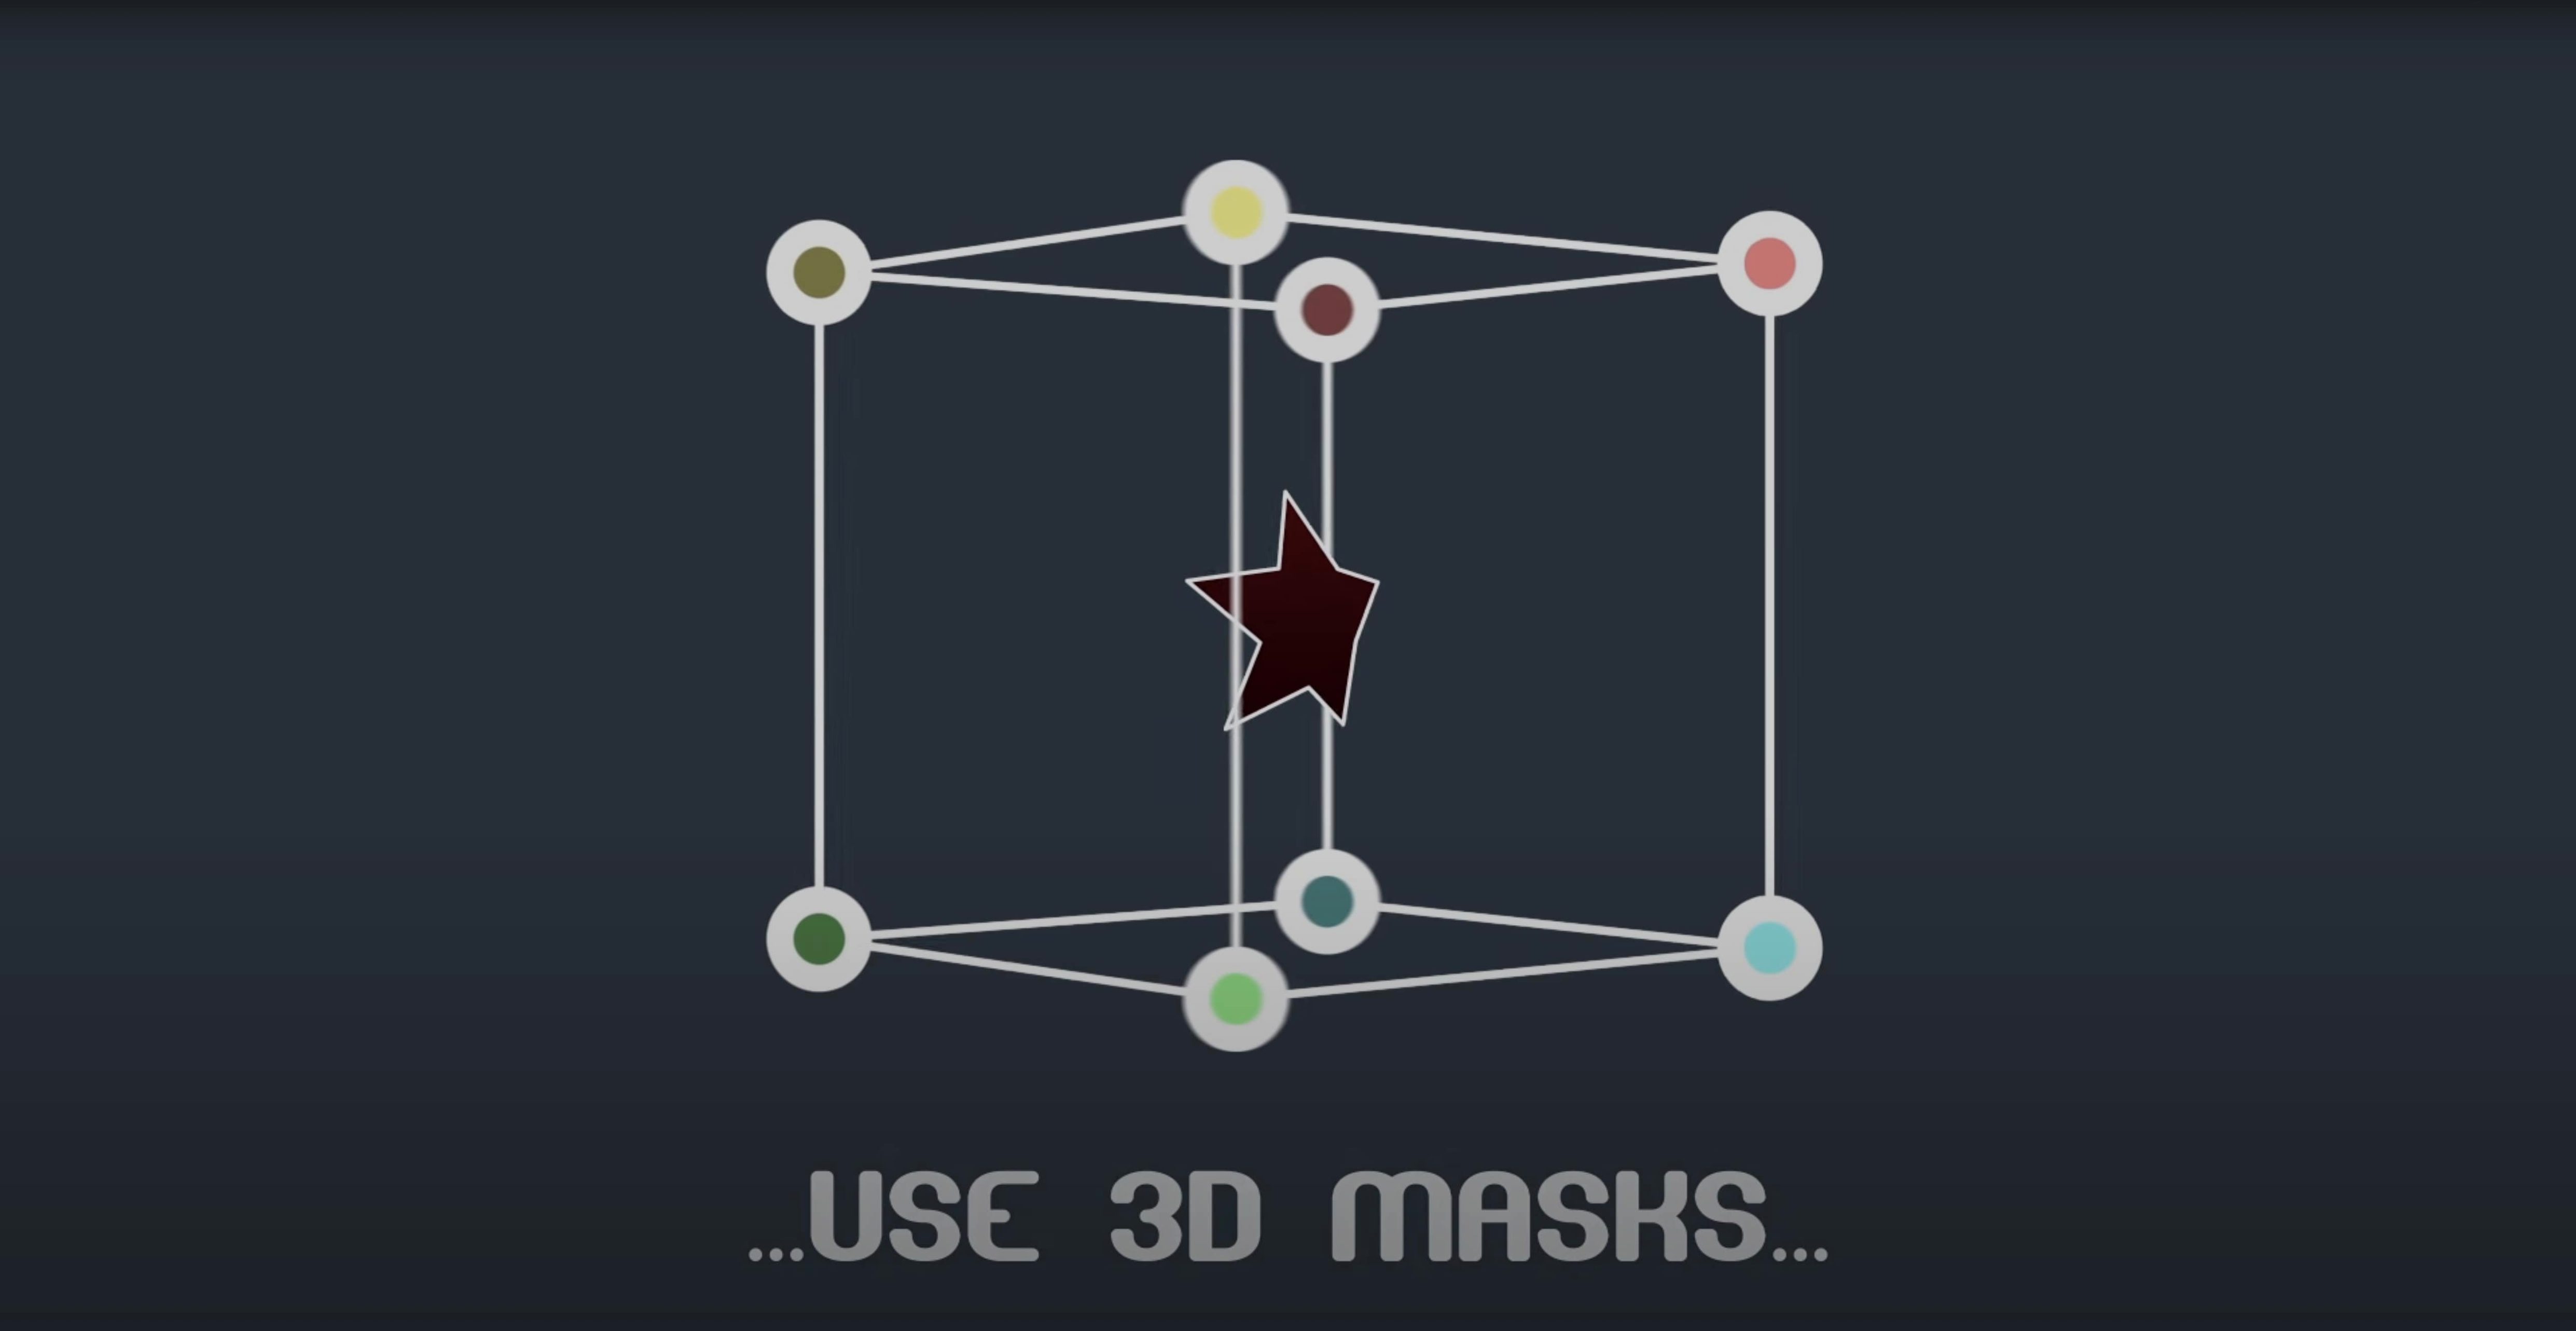
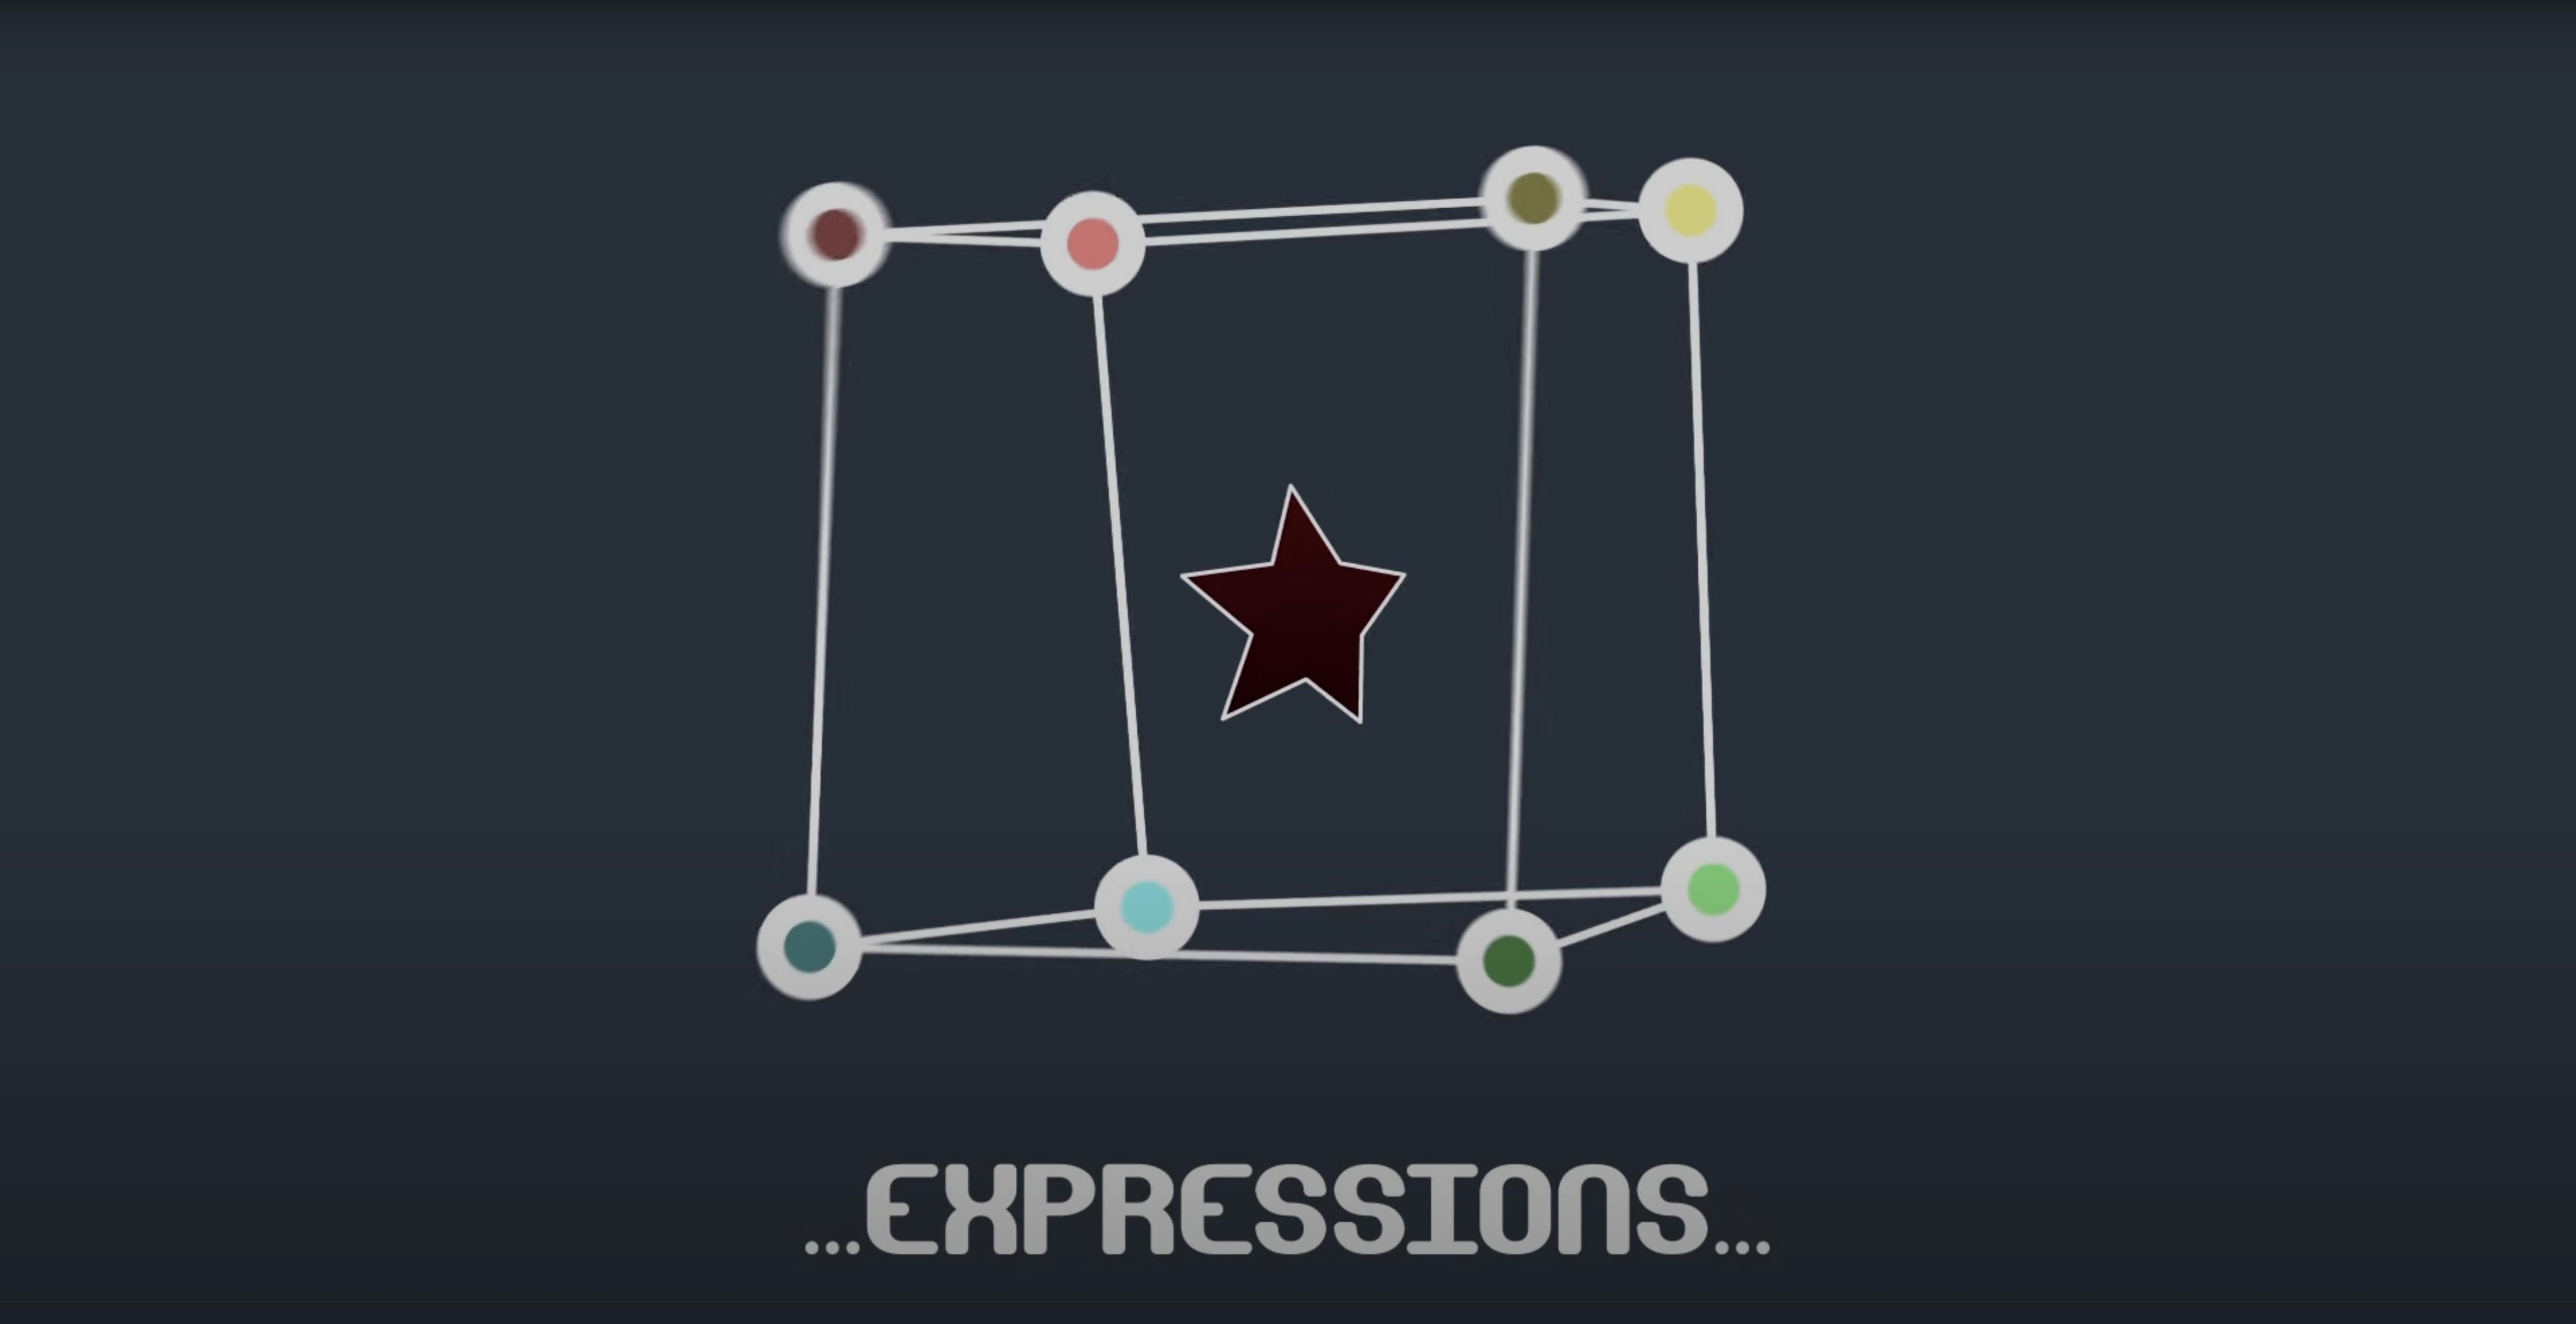
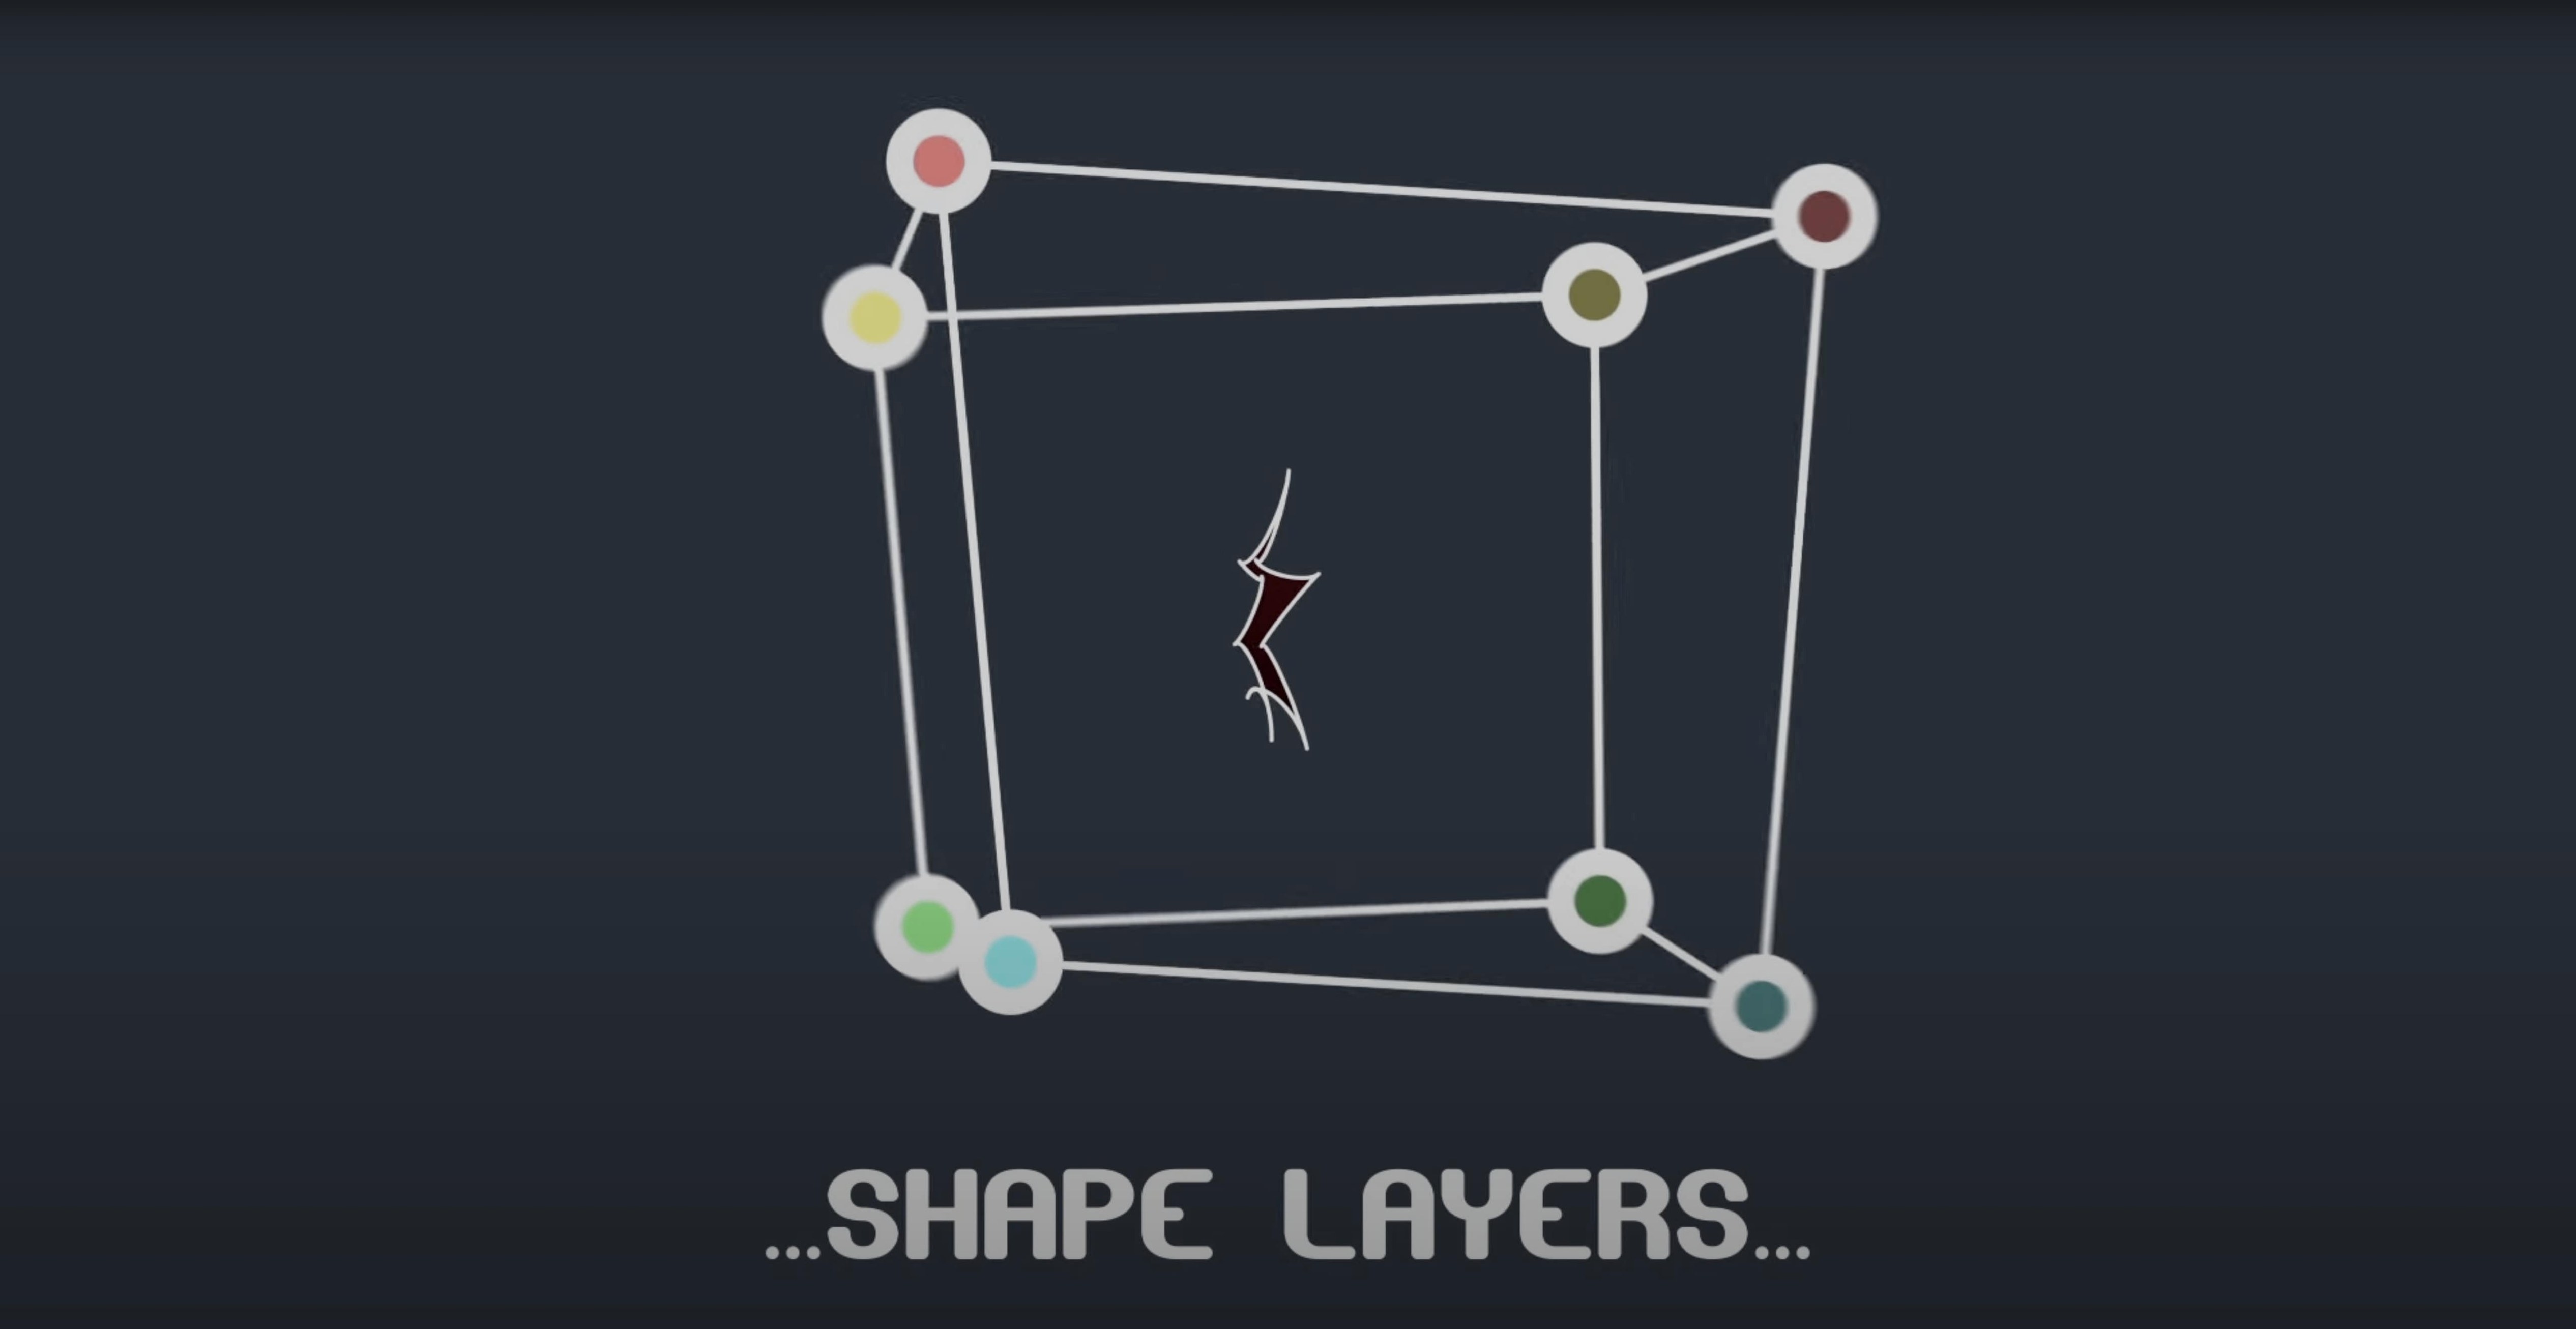
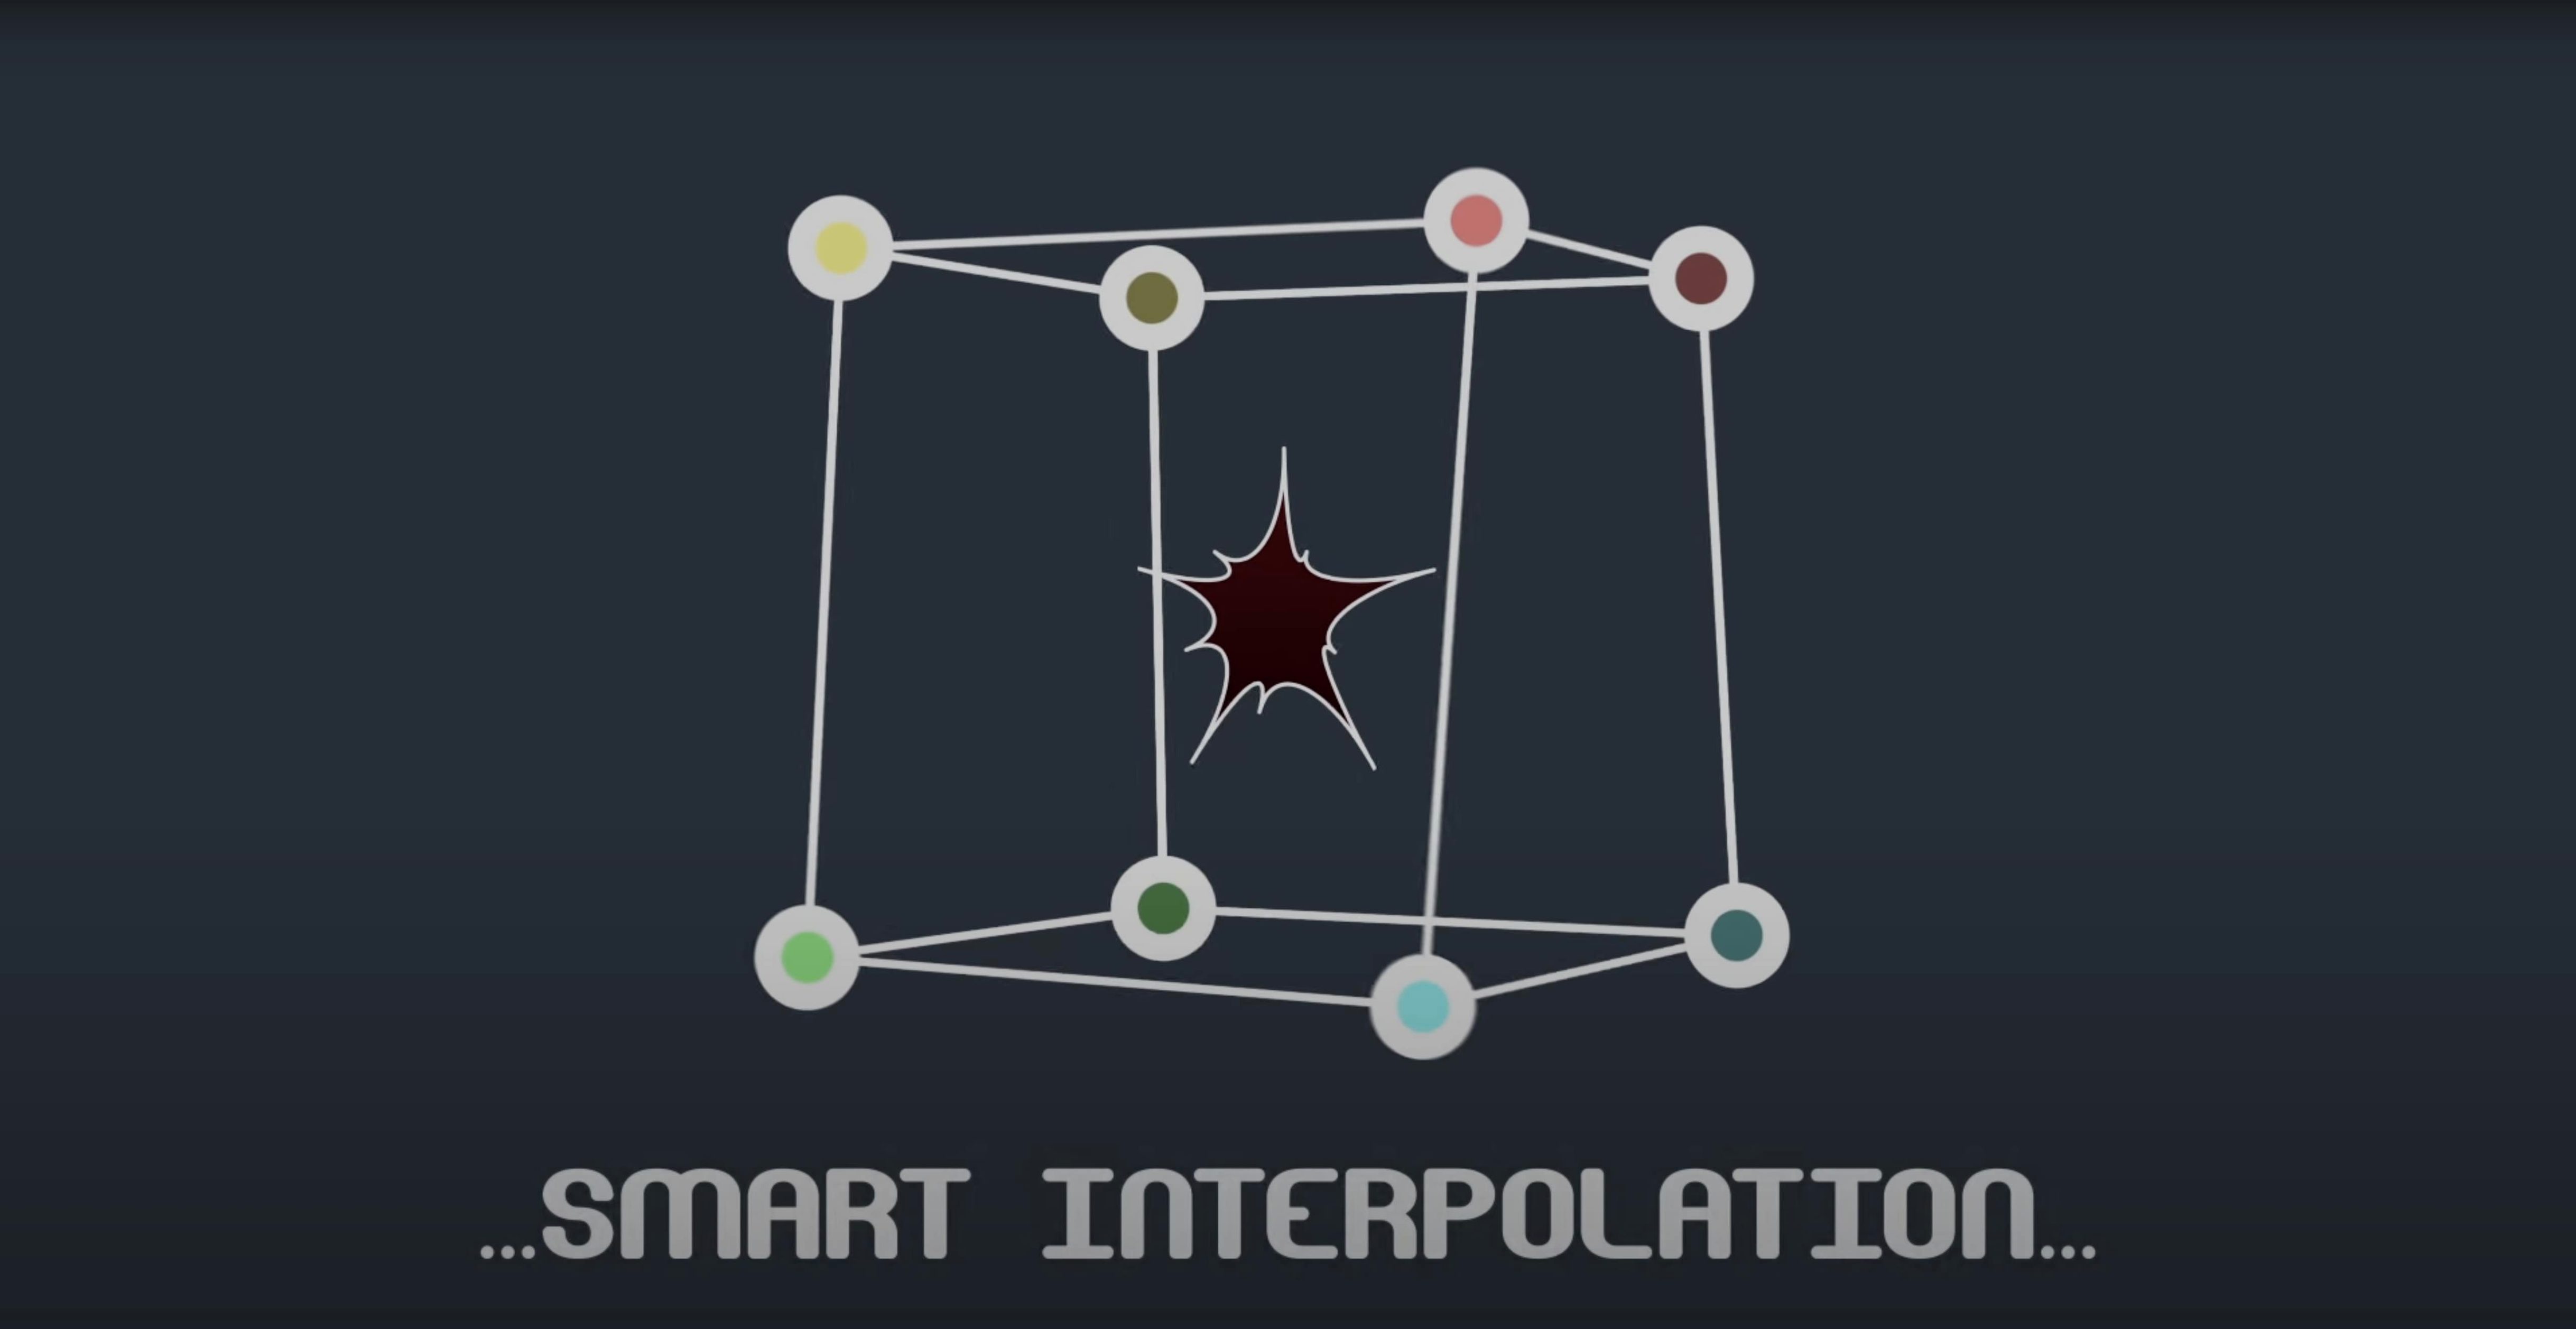
Center-of-gravity interpolation is one of those features that sounds academic until you see it stop a mask shape from wobbling between keyframes. BAO Mask Avenger puts you in direct control of individual mask vertices and their tangents inside After Effects, giving you the kind of precision you normally only get with shape layer paths.
Swap the stock renderer for vertex control
- Replacing the standard Mask Renderer with something far more controllable.
- Working strictly with vertices when you want simplicity, or pulling tangents when the curve matters.
- Pinning mask points to tracker data through a straightforward pick-whip expression.
- Interpolation that uses center of gravity or an independent anchor point so your masks move predictably.
- Shape layers — the plugin works with them, not just old-school masks.
It runs inside AE's native mask system
- It relies on After Effects' native masking functions, so you're still working within that familiar system.
- Integrated scripts handle expressions and linking masks to null layers, which saves time once you learn where they live.
First days with Mask Avenger
The plugin doesn't hold your hand, and the first afternoon can feel like you're poking at a control panel you half understand. A few habits early on make the rest of the week smoother.
- Start with vertices only. Leave tangent control unchecked until you actually need it — most mask wobble comes from tangents fighting each other, and working vertex-first teaches you where the trouble spots live before you add more levers.
- Pick one short comp, maybe four seconds, and keyframe three vertex positions manually. Watch how the intelligent interpolation behaves with the default center-of-gravity mode, then switch to an independent anchor point and compare. That single test teaches you more than reading the docs.
- Link one mask to a null layer on day one. The integrated script is buried in the menu but it's the fastest way to stop pasting keyframes across layers. Once the null drives the mask, everything downstream gets cleaner.
Pick-whip a single vertex to a tracker
A handful of shortcuts and behaviors aren't obvious unless someone points them out.
- The pick-whip for tracker data works on individual vertices, not just the whole mask. Click the vertex, drag the whip to the tracker point, and only that point follows — handy when you need one corner pinned and the rest animating freely.
- Freeze mode exists for a reason. If you're handing a project to someone who doesn't own the plugin, bake the mask data before you send it. It's a checkbox, not a render step, and forgetting it means your carefully curved mask turns into a default path on their machine.
- Reading position and orientation from any point along a mask path sounds like a niche feature until you need a shape layer to follow the contour of a mask without rebuilding the whole thing. It's tucked away but worth digging for.
- The expression scripts aren't flashy, but they handle the repetitive linking work that eats up fifteen minutes of every masking session. If you find yourself typing the same pick-whip chain three times, there's probably a script for it.
Spend a few sessions with a simple shape and the vertex-only mode. Once that muscle memory settles, adding tangent control feels like a natural upgrade rather than a confusing jump. Most people who bounce off Mask Avenger tried to use everything at once.
Version 2.7.5 is a straightforward maintenance release. If you've been waiting on M1 Mac compatibility, that's now sorted.
- Apple Silicon & Intel Macs
- After Effects 2024, 2023, 2022, 2021, 2020, CC 2019, CC 2018, CC 2017, CC 2015.3, CC 2015, CC 2014, CC, CS6
Notes from the tables 0
Sign in or pull up a chair to leave a note.
No notes on this one yet. They go up after I read them.