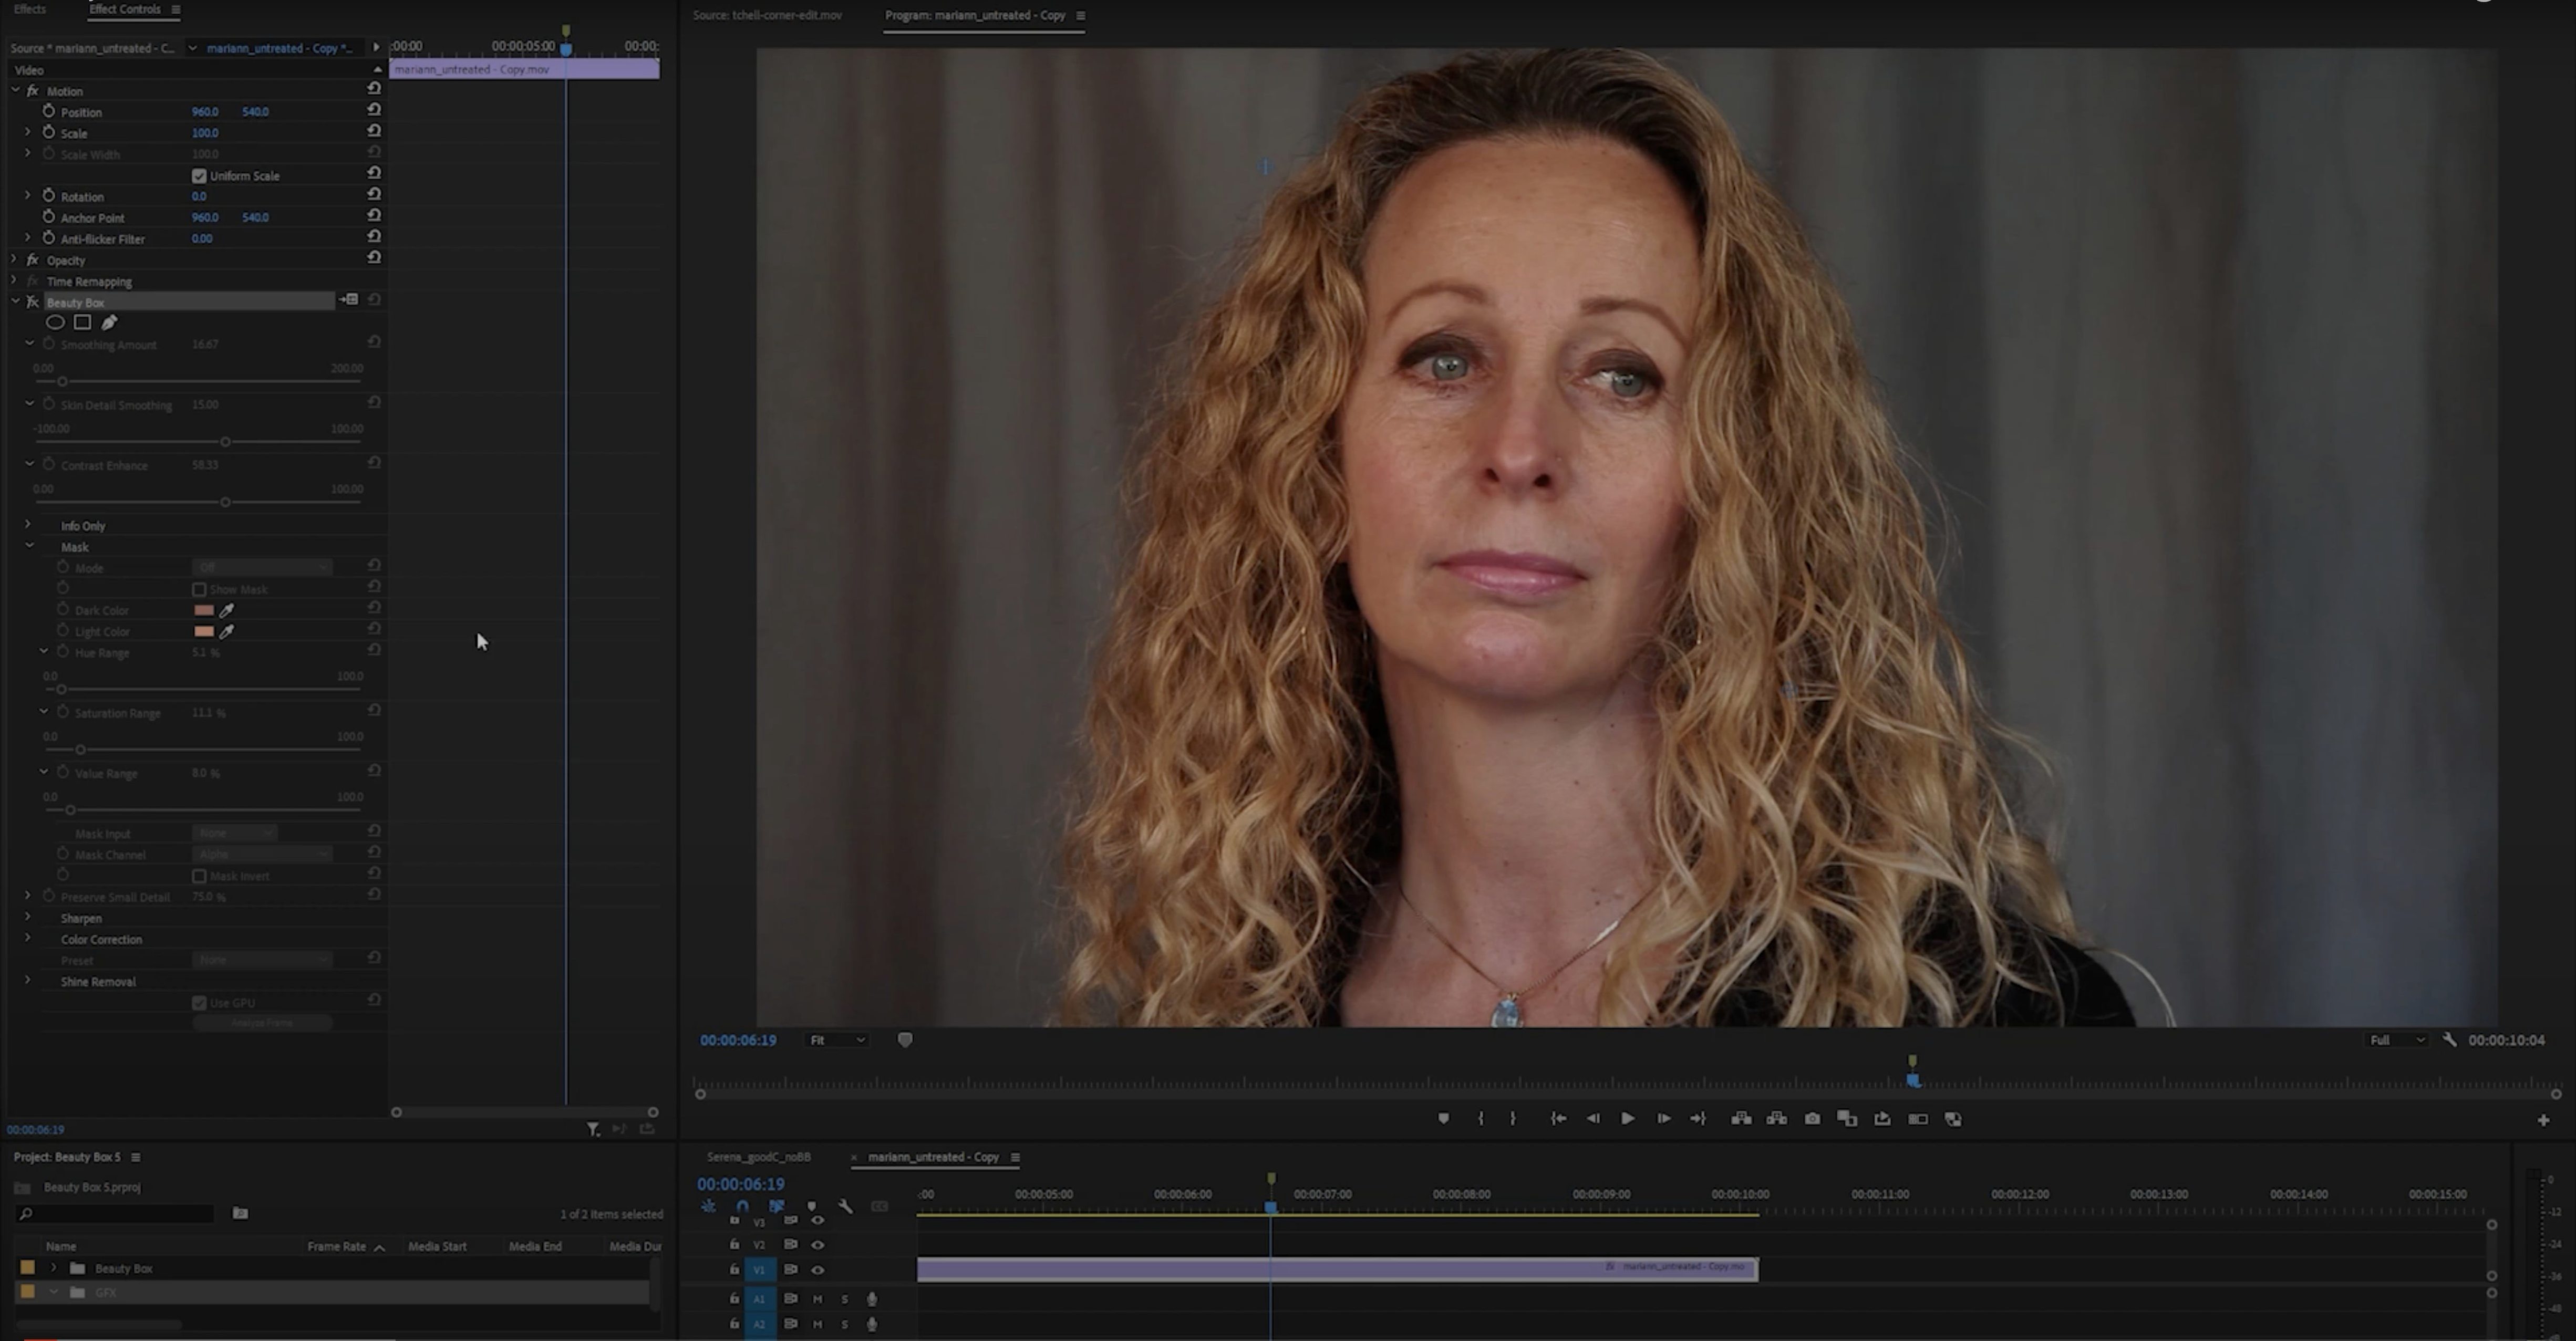
The Mask Expansion slider is where you start. Drag it and the plug-in re-calculates which areas are skin and which are not. It's the difference between plastic-looking cheeks and a portrait where you only notice the person, not the pores.
How it handles the hard stuff
Most one-click smoothers blur the whole face into a wax figure. Beauty Box does the opposite. It identifies blemishes and wrinkles, evens things out, then stops. Eyelashes, hair, the edge of a collar—all stay crisp. The real-time feedback through CUDA and OpenGL means you aren't staring at a loading bar while you tweak.
A filter-menu plug-in, not a separate app
This is a straight-up Photoshop plug-in, not a standalone app. You open your image, call it up from the filter menu, and paint in the adjustment. It works natively on ARM and Intel Macs, so there's no Rosetta lag. For headshots or any photo where someone needs to look like themselves on a good day, it saves a ton of manual cloning.
When the mask doesn't land right
Some shots trip the auto-detection. Low-contrast lighting, hands near a face, or skin tones that bleed into a beige wall behind the subject—you'll see smoothing where you didn't ask for it. The Mask Expansion slider fixes most of these in one drag. Pull it negative and the plug-in retreats from non-skin areas. Still got a stray patch? Grab the Subtract brush from the mask view, paint over the trouble spot, and you're back to clean edges.
Another snag: group shots where three people have three different skin tones. The plug-in does one pass based on the dominant tone it detects. The workaround is simple—duplicate the layer, run Beauty Box on each person separately with their own mask, then stack the results. It takes two extra minutes and the family looks like a family, not a retouching demo.
GPU acceleration that now follows your brush strokes
Before this release, the plug-in leaned on whatever GPU acceleration Photoshop felt like offering. Version 6 rebuilt the rendering path so CUDA and OpenGL stay engaged during brush strokes, not just during the initial detection pass. In everyday terms: you paint a mask adjustment and the preview keeps up with your hand instead of lagging half a second behind. That half-second used to mean over-correcting and undoing.
The skin-tone detection also got a quieter update. It now reads color in smaller sample clusters, so a freckled cheek doesn't confuse it into treating freckles as blemishes. You still get the same output—the difference is fewer trips to the mask brush to fix what the auto-detect misread.
Smoothing at 80 makes skin look like plastic
The biggest one is cranking the Smoothing slider before checking what the mask actually covers. Beginners see a slider labeled Smoothing and push it to 80, then wonder why the portrait looks like a mannequin. The right order: set up your mask first, confirm it's only hitting skin, then dial in the amount. Smoothing at 30 with a tight mask almost always beats 70 with a sloppy one.
Another classic move: running the plug-in on a flattened background layer with no backup. Duplicate your layer before you start. That way you can brush the effect in with a soft-edged layer mask instead of committing to a full-face pass. You get the same Beauty Box result but with a volume knob you can turn down on the jawline or around the eyes where the skin texture matters most.
Bottom line: this plug-in rewards the five extra seconds you spend checking the mask. Skip that step and you blame the software for something the software didn't do.
- Works on both Apple Silicon and Intel Macs
- Requires Adobe Photoshop
Questions I actually get
Does Beauty Box work natively on Apple Silicon Macs?
Yes. Version 6.0.5 supports both ARM and x86 64-bit architectures, so it runs natively on M-series chips without emulation.
Will it make skin look fake?
No. It's designed to remove blemishes and wrinkles while keeping facial details and textures like hair and eyelashes sharp.
Is Beauty Box a standalone application?
No, it's a plug-in that works inside Photoshop. You run it from the filter menu and apply the retouching to your layer.
Notes from the tables 0
Sign in or pull up a chair to leave a note.
No notes on this one yet. They go up after I read them.