Does my Mac run it?
Motion 6.3 needs macOS 15.6 or later, and it’s happy on any Apple Silicon Mac or an Intel machine with a 64-bit processor. If you’re on an older system, you’ll be stuck with whatever version you already had.
What do people actually use it for?
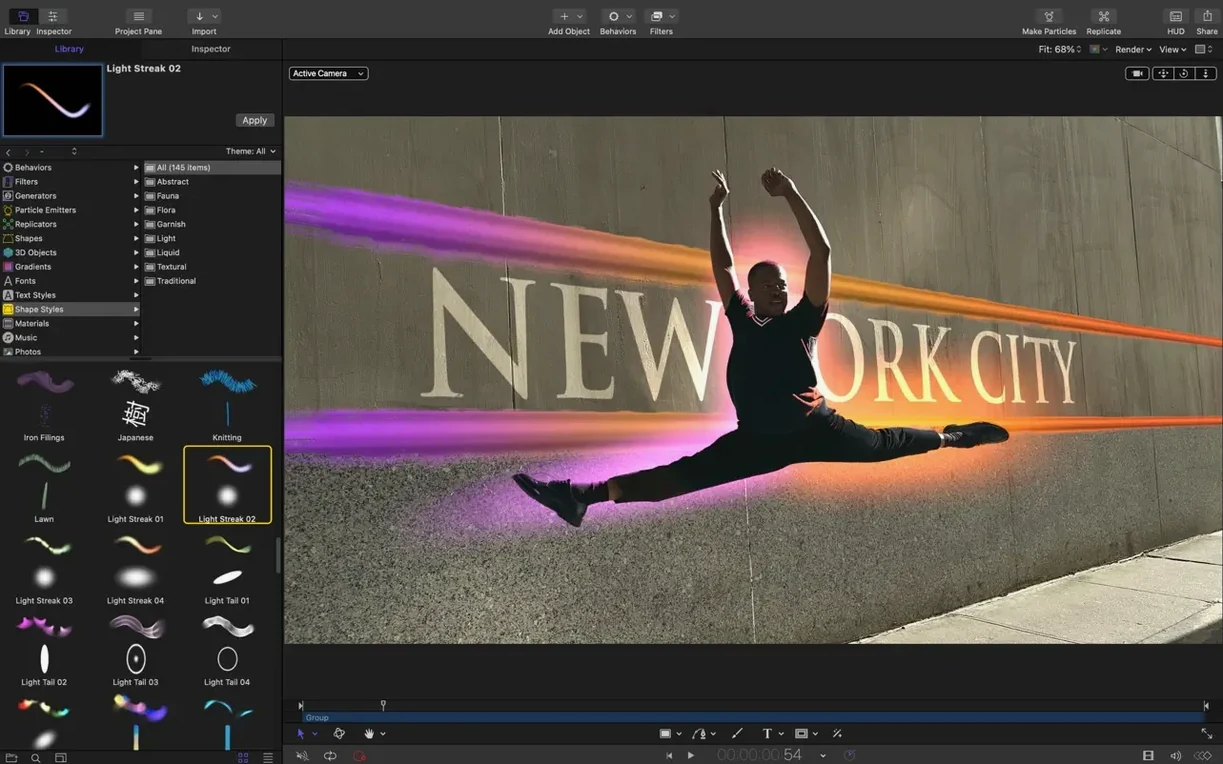
It’s a motion graphics workhorse for titles, transitions, and effects that end up in commercials, artistic video pieces, and presentation reels. The real power move is how it integrates with Final Cut Pro X—you build a title or effect in Motion, and it drops right into your timeline without a fuss.
What got fixed in this update?
A few annoying bugs got squashed. Dragging to select vertices on a Bezier Mask actually works now. 3D text and particle emitters no longer grab the wrong texture during playback, and some color correction filters won’t look oddly bright on macOS 26.
Do I need anything else to make it useful?
It’s part of the Apple Creator Studio, so it sits naturally next to Compressor for final output. You don’t need anything else to open it and start building, but knowing your way around a timeline in Final Cut is where most people see the payoff.
Hold Option for finer parameter nudging
Some of the best stuff in Motion sits in plain sight, but people walk right past it. A few I keep coming back to:
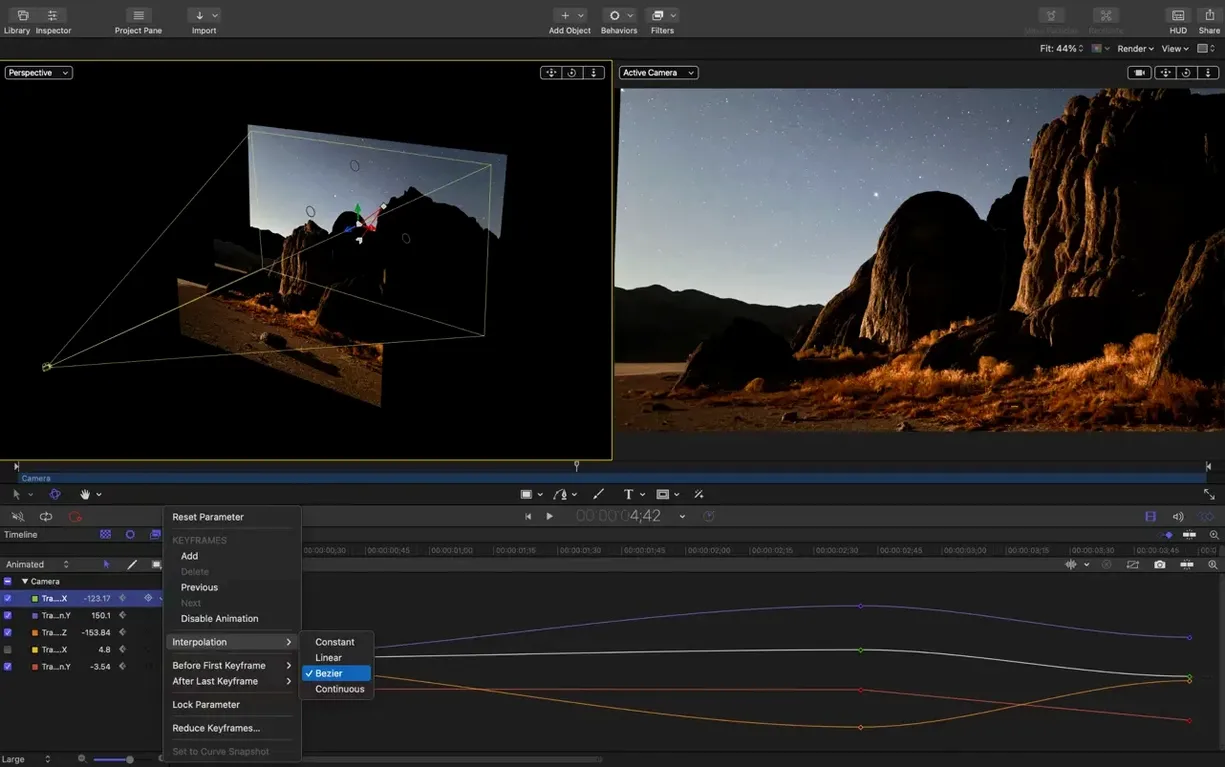
- Hold Option while dragging a parameter and you get finer control—hugely useful when you’re nudging keyframes a few pixels at a time instead of fighting the slider.
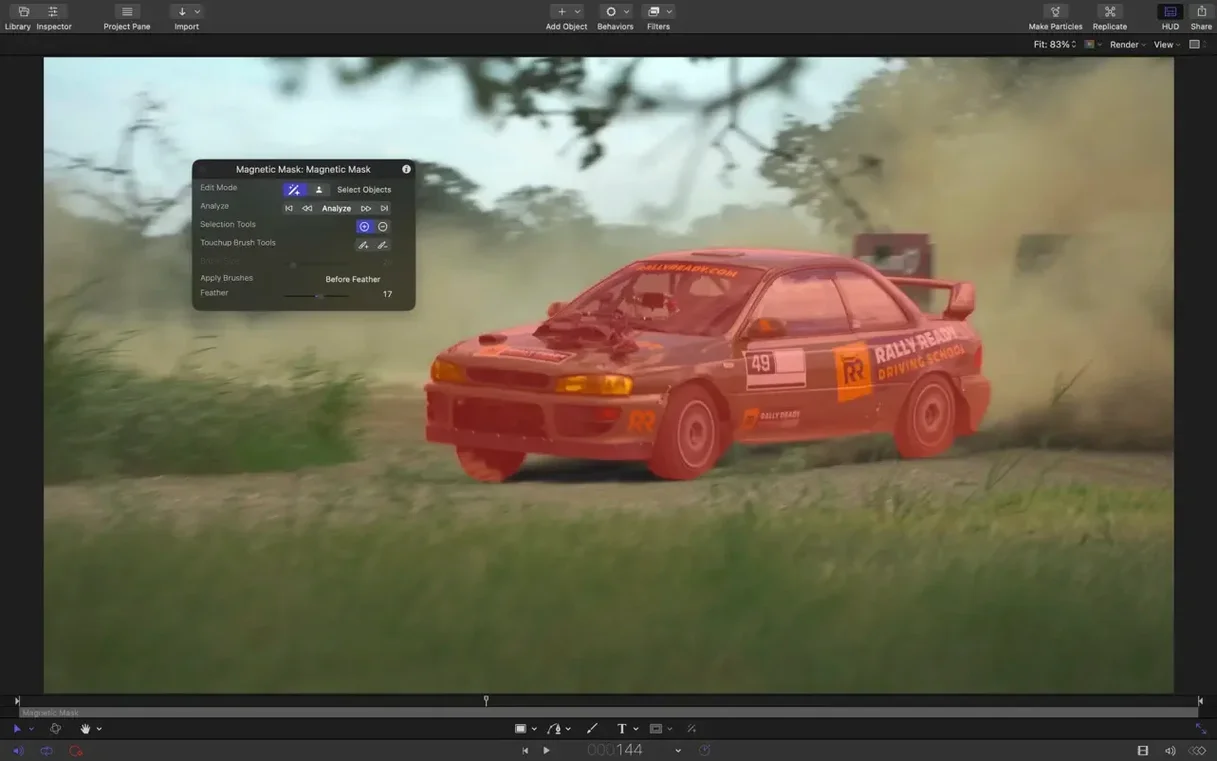
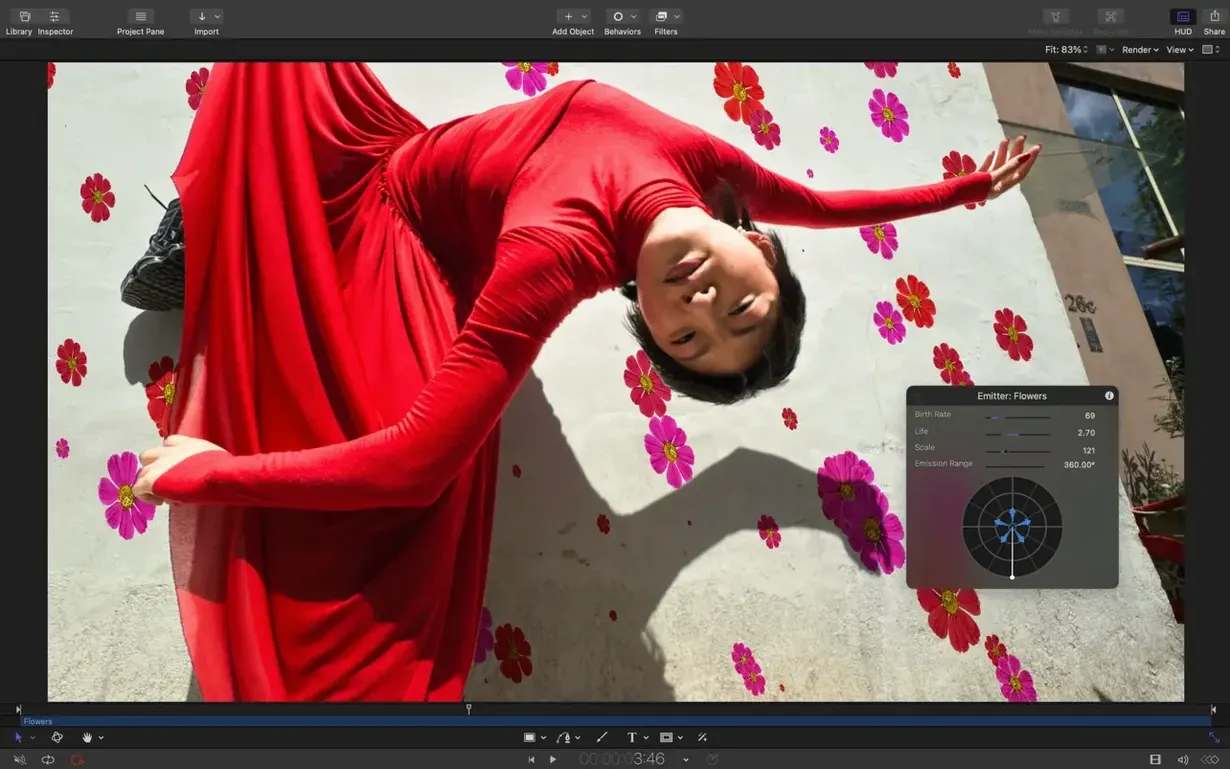
- The HUD stays invisible for too many beginners. Tap F7 and a floating palette pops up with the most common controls for whatever you’ve selected. No trips to the Inspector for simple tweaks like opacity, scale, or blend mode.
- Copy a filter or behavior, select a bunch of layers, and paste. Motion applies it to all of them in one go. Beats applying a glow to twenty title elements one by one.
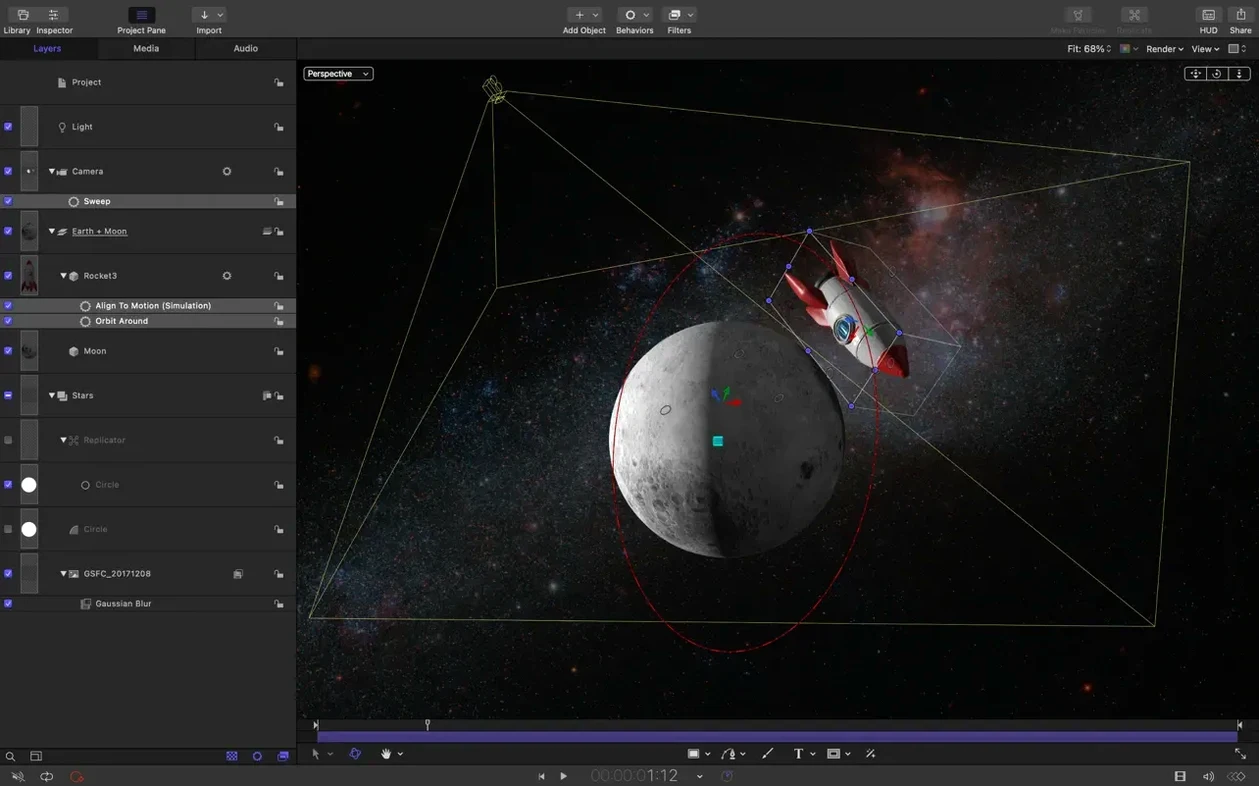
- Shift-Command-N creates a new group. Groups are how you keep a project from turning into spaghetti—layers nested inside a group share blend modes and camera interactions, and you can toggle the whole cluster on and off while you work.
- The mini timeline at the bottom isn’t just decoration. You can slip a behavior’s duration, offset keyframes, and trim clips right there without opening the full timeline view. I use it constantly for quick timing adjustments.
Final Cut Pro X is the headline integration
Motion is built to shake hands with the rest of Apple’s video world, and a few integrations are worth knowing about even if you don’t live inside Final Cut every day.
Final Cut Pro X. This is the headline act. You save a Motion project as a template—title, transition, generator, or effect—and it shows up in Final Cut’s browser automatically. No export, no import dialog. Make a change in Motion, save, and every instance in your Final Cut timeline updates. The trick is keeping your template category names consistent, or you’ll lose things inside Final Cut’s menus.
Apple Compressor. When you need a finished render in a specific flavor—broadcast ProRes, HEVC for web, custom frame sizes—you send the job straight to Compressor from Motion’s Share menu. You can chain settings: one click to export a master file plus a web-ready version simultaneously. Saves a round trip.
SVG support. The new SVG import in 6.3 means artwork from Affinity Designer or Illustrator lands in Motion as true vector shapes, scaling cleanly to any resolution. The catch: complex SVGs with lots of gradients or clip paths sometimes import with layers flattened. Simplify your artwork before bringing it in, and you’ll have a better time.
macOS integration. Motion respects system-wide color management, so colors you pick on a calibrated display translate honestly through to Compressor and Final Cut. It also hooks into the system spell checker for text layers—a small thing, but nice when your client spots a typo six revisions in.
Throw and Gravity behaviors stack unexpectedly
Every tool has friction points, and Motion has a handful of reliable ones. Here’s what I see people wrestle with.
Behaviors stacking unexpectedly. Throw a Throw behavior and a Gravity behavior on the same object, and they combine in ways that look weird if you’re not ready for it. The fix is simple: check the Behaviors tab, see what’s active, and adjust the order or toggle one off while you dial the other in. Behaviors add to each other—they don’t replace—and that surprises people coming from keyframe-heavy apps.
Lag on particle-heavy scenes. A million particles will bring even an M-series chip to its knees during preview. Drop your canvas resolution with the View > Quality menu while you build, then switch back to full resolution for the final render. Your real-time playback won’t be accurate, but your sanity will survive.
Media going offline. If you move a source file after importing it, Motion loses track—no polite warning, just a missing media indicator. The fastest recovery: open the Media tab in the Inspector, click the missing file, and hit Relink to point it at the new location. Better yet, keep all assets in one folder before you start.
Color correction rendering brighter. The 6.3 update fixed a bug that made some filters render too bright on macOS 26, but if you have older projects that looked fine before and now seem off, check your color correction filters. You might need a small curve adjustment to compensate for the corrected rendering pipeline.
Where beginners tend to go sideways
I’ve watched enough people open Motion for the first time to spot the common patterns. None of them are fatal, but they eat up a lot of time.
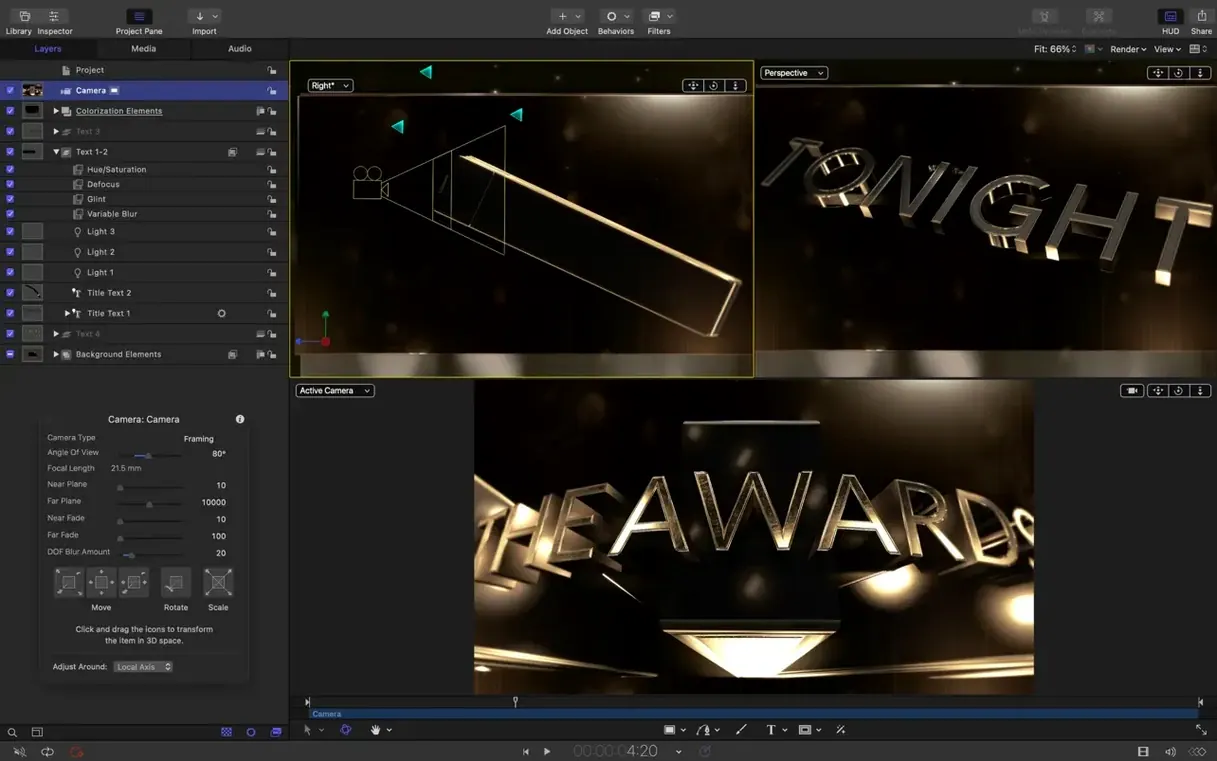
Ignoring groups. New users dump everything at the root level of the Layers list. Ten, twenty, thirty items in a flat pile. Then they try to apply a camera move and nothing behaves. Groups give you structure: put background elements in one group, foreground in another, and your 3D camera can push between them naturally. It’s worth the extra three seconds up front.
Using keyframes when a behavior would do the job. Someone wants a title to drift in and fade. So they set six keyframes—position, opacity, easing—feeling very thorough. Meanwhile, a Fade In behavior and a Throw behavior get the same result in two drag-and-drop moves, with smoother interpolation and half the tweaking. Keyframes are for precise control; behaviors are for fast, natural motion. Beginners often reach for the harder tool first.
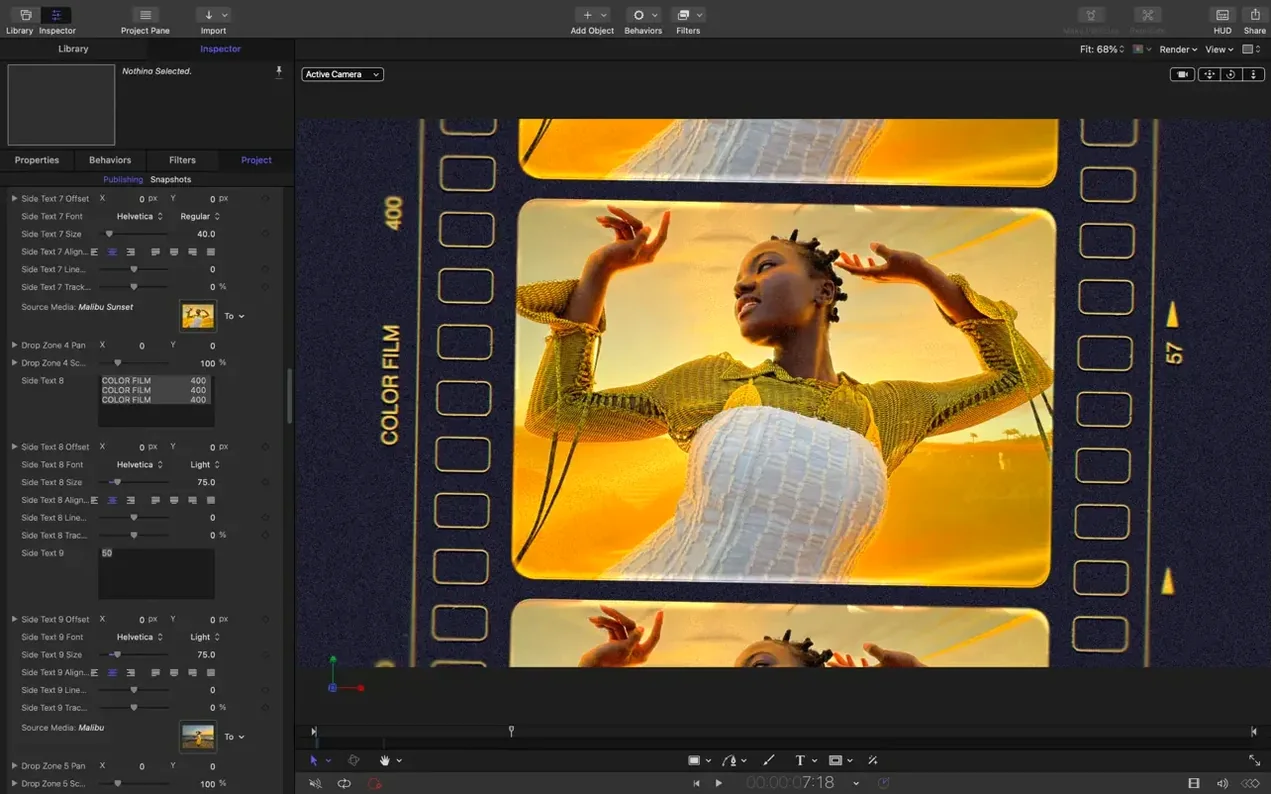
Skipping the template workflow. You build a gorgeous lower third, render it as a movie, and drop it into Final Cut. Then the client changes the name. Now you’re back in Motion, re-rendering, re-importing. If you’d saved it as a template and published the text field, you could edit the name right in Final Cut’s Inspector in five seconds. Publish parameters—it’s the dropdown next to any property in the Inspector—and your templates become genuinely reusable.
Not checking the canvas resolution. Motion defaults to the project preset, which might be 1080p. If your footage is 4K and you never change it, you’re building effects at the wrong scale. Set the project resolution first thing, before you place a single shape. Fixing it later means rescaling everything—doable, but annoying.
A handful of practical updates showed up. You can now import SVG files that stay crisp no matter how far you scale them, and new controls let you stagger, cascade, or reverse clips without a pile of manual keyframes. Behind the scenes, there are the usual performance tweaks. On the bug-squashing side, selecting vertices on a Bezier Mask behaves itself, 3D text and particle emitters won’t flash the wrong textures, and a color correction brightness glitch on macOS 26 is fixed.
- macOS 15.6 or newer
- Apple Silicon or Intel 64-bit Mac
Questions I actually get
Can I open SVG files in Motion now?
Yes, the latest version lets you import SVG files that scale cleanly to any size and stay sharp at any resolution.
Does it work on Intel Macs?
It does. Motion runs on both Apple Silicon and Intel 64-bit Macs as long as you have macOS 15.6 or later.
Notes from the tables 0
Sign in or pull up a chair to leave a note.
No notes on this one yet. They go up after I read them.