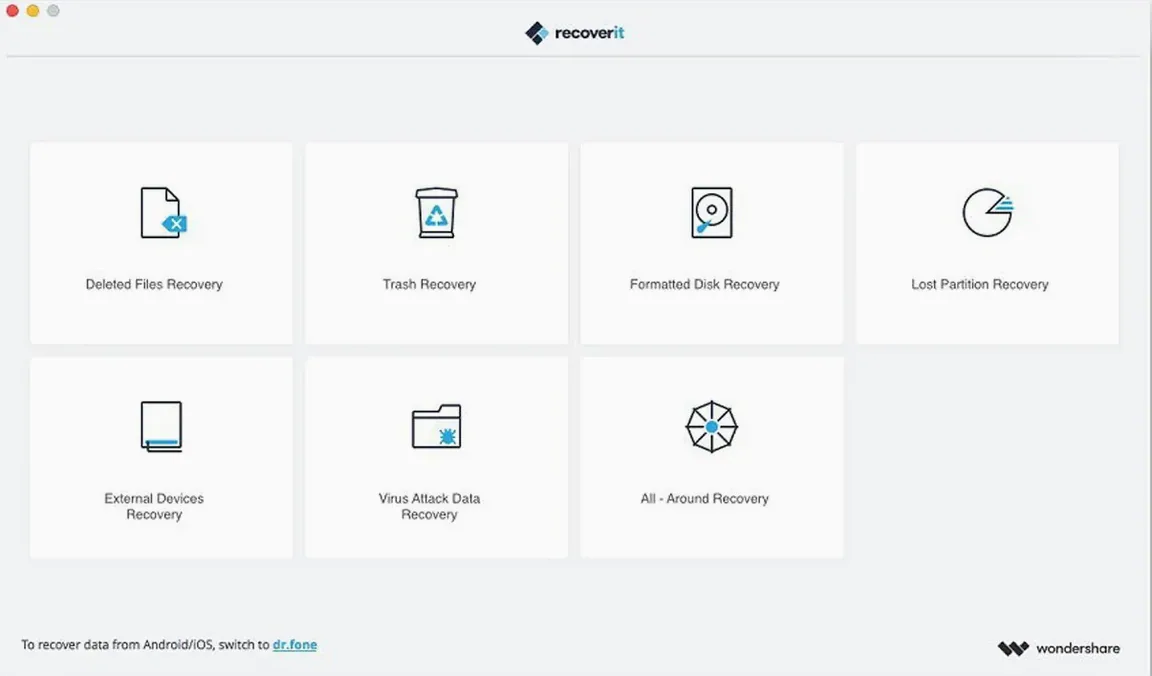
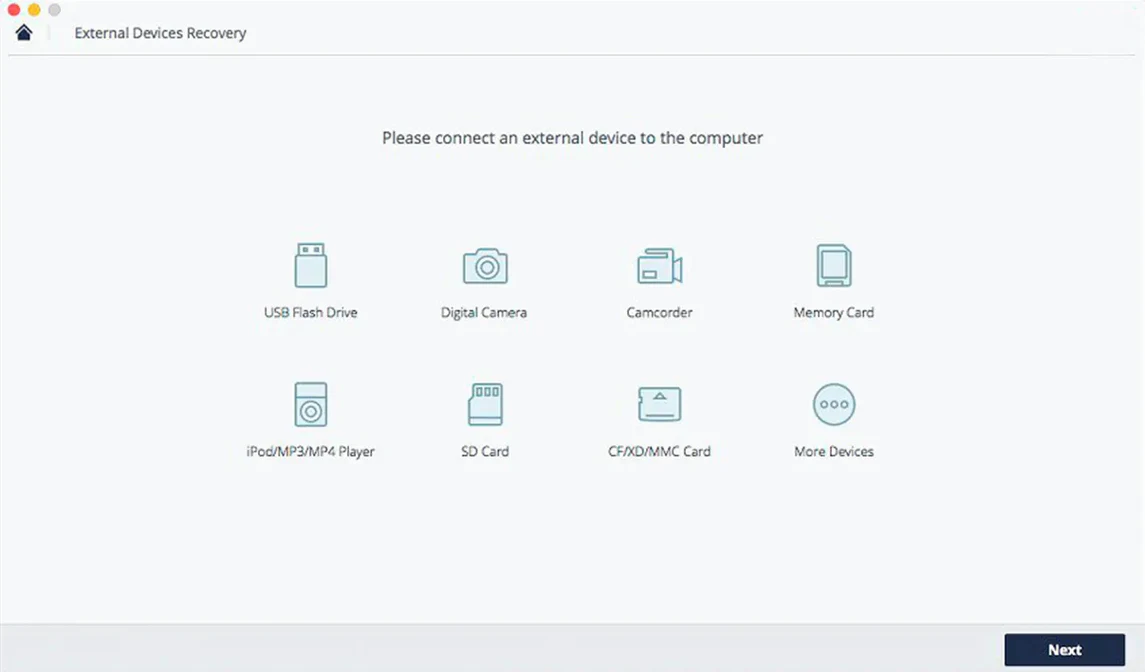
Recoverit is a Mac app that scans your drives for files you thought were gone for good. It's the kind of tool you hope you never need, but when an external drive goes silent or a memory card comes up empty, it’s the first thing you reach for.
| What it recovers | Where it looks |
|---|---|
| Deleted documents, photos, video, audio | Internal Mac disks, external HDDs, SSDs, USB flash drives, memory cards |
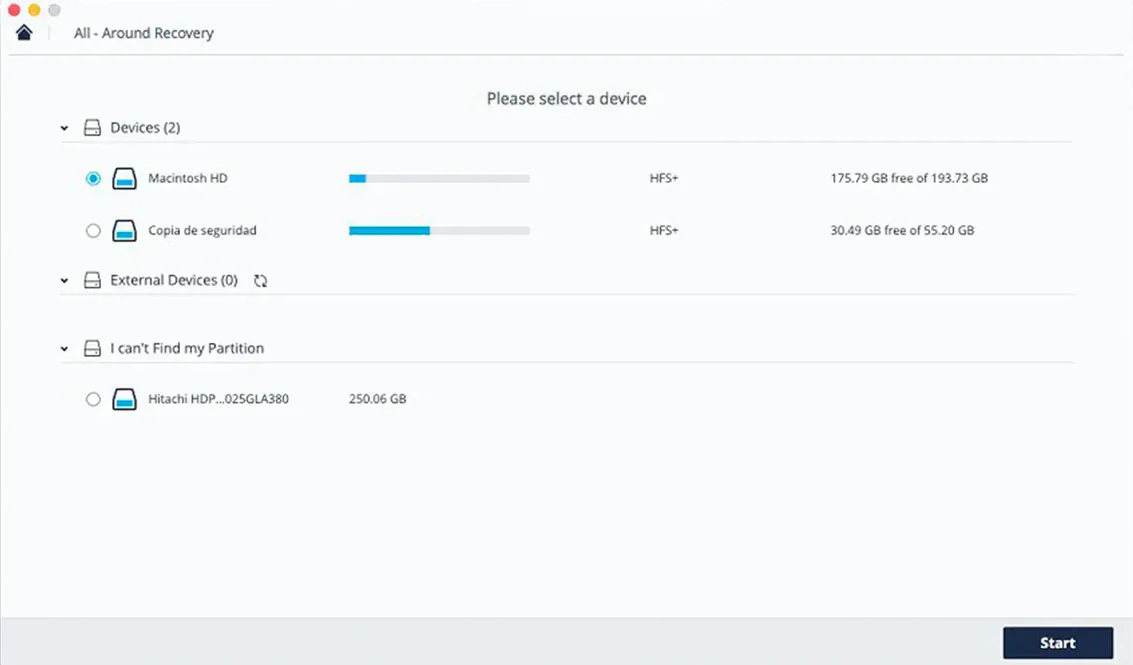
The workflow is straightforward: pick a storage device, let the scan run, and see what turns up. People often ask if it works on SSDs or thumb drives—yes, it’s built to dig through anything macOS can mount, from a laptop’s built-in drive to a camera card pulled from a drawer.
When it freezes mid-scan and other fixes I rely on
Every recovery app has its head-scratchers, and Recoverit is no different. Here are a few things that trip people up and what I do when they happen.
the scan finds thousands of files with gibberish names
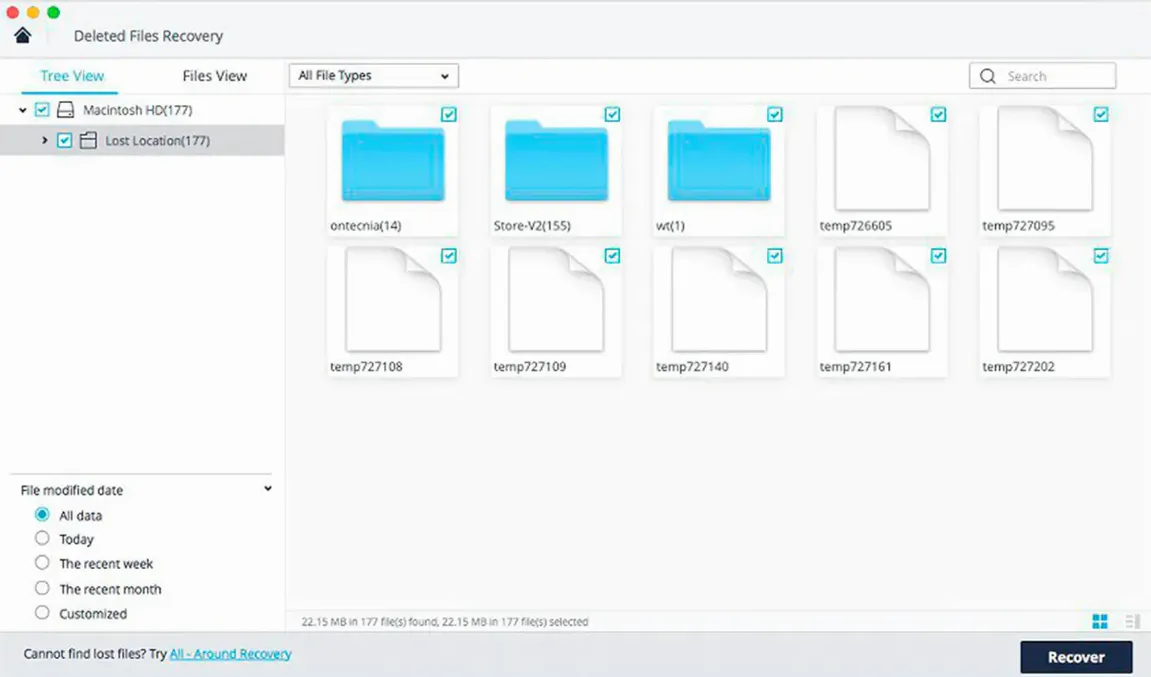
This one spooks people. A deep scan pulls up every orphaned fragment on the drive—some with names like F_00034.mov or strings of numbers. Those files probably lost their directory entries. The good news is you can preview most of them right in the app. I double-click anything that looks roughly the right size for what I lost, and the preview window usually tells me if it’s the right photo or video. Rename the ones you keep after recovery.
Recoverit won’t let me select my drive
If a drive is greyed out, it’s usually a permissions thing. On newer macOS versions, apps need explicit approval to access removable volumes. Pop into System Settings → Privacy & Security → Files and Folders and make sure Recoverit has access to removable volumes. While you’re there, give it Full Disk Access too. Quit the app, relaunch, and the drive should light up.
the recovered file won’t open
Sometimes a recovered JPEG shows a blank preview or a Word doc throws an error. That doesn’t always mean the file is toast. Try opening it with a different app—Preview instead of Photoshop, TextEdit instead of Pages. If the file was overwritten before recovery, part of it might be gone, but I’ve had PDFs that looked dead open fine in a browser after refusing to cooperate in Preview.
a real workflow: pulling wedding footage off a formatted SD card
Last month my neighbor formatted a card before dumping the clips to his Mac. Two hours of ceremony footage, gone. Here’s the exact path we took in Recoverit, start to finish.
- Plugged the SD card into a USB reader and watched it mount on the desktop.
- Opened Recoverit, saw the card listed under External Devices, and clicked it. The scan kicked off automatically.
- A quick scan ran first—about four minutes for a 64 GB card—and found nothing useful. That’s normal for a format. We let the deep scan run. Took around forty minutes.
- While scanning, we used the filter buttons across the top to narrow by Video and by file type MOV. That cut the list from a hundred thousand hits to about six hundred.
- Previewed each MOV by clicking it. The preview pane showed a thumbnail and a few seconds of playback, which was enough to spot the ceremony clips. We checked the box next to every file he wanted.
- Hit Recover, pointed it at a folder on his desktop (never recover to the same card), and waited five minutes while the files copied out.
All twelve ceremony clips came back intact. The preview step saved us from recovering an hour of dashcam footage the card still held from a previous shoot.
Photographers juggling cards get the most safety net
Not everyone needs a recovery app. But a few groups of Mac users run into data trouble more often than most.
Photographers and videographers juggle cards daily. They format in the field, swap between cameras, and occasionally pull a card before it’s done writing. Recoverit reads RAW files from most camera brands, and the preview handles .CR2 and .NEF without extra plug-ins. That’s half the battle when you’re skimming hundreds of recovered thumbnails.
People working off external drives—editors with media on a portable SSD, musicians with sample libraries on a bus-powered drive—get a lot of value here. External volumes sometimes unmount badly or throw partition errors after a power blip. Recoverit treats them the same as internal drives, which means one scan can pull back an entire project folder that disappeared when the drive hiccuped.
Folks cleaning up old Macs before selling or handing them down will find Recoverit handy in the other direction: a deep scan shows what’s still recoverable, so you know whether a simple erase was enough or if you need to do a secure wipe. It works as a privacy check as much as a rescue tool.
Pause a marathon scan instead of losing progress
I’ve poked around enough to find a few corners of the app that aren’t obvious on day one.
- Pause and resume a scan. Deep scans on big drives can run for hours. The pause button in the progress bar lets you stop mid-scan and pick it up later—handy if you need the Mac for something else and don’t want to lose the scan state.
- Search during scan. You don’t have to wait for the scan to finish before you start looking. The search bar in the result grid is live; type a file extension or partial name and matches pop up as the scan finds them. I use this to grab an urgent file while the rest of the drive churns in the background.
- Sort by date modified. The column header for Date Modified is clickable. Sorting by date often surfaces recently deleted files faster than scrolling the raw list, especially after a quick scan.
- File status icons. Each recovered file shows a little colored dot next to its name: green for a good chance of full recovery, yellow for partial, red for a long shot. It’s easy to miss if you’re scanning a wall of text, but it saves time previewing files that are probably too damaged to use.
- Export a scan session. If you run a four-hour scan and want to recover files later, go to File → Save Scan Session. You can reload it days later without rescanning. This isn’t on the main toolbar, so people overlook it constantly.
Bottom line: the app does the heavy lifting with the scan engine, but knowing these few tricks cuts the time between panic and getting your files back.
- macOS 10.14 or newer
- Intel-based Mac
Notes from the tables 0
Sign in or pull up a chair to leave a note.
No notes on this one yet. They go up after I read them.