

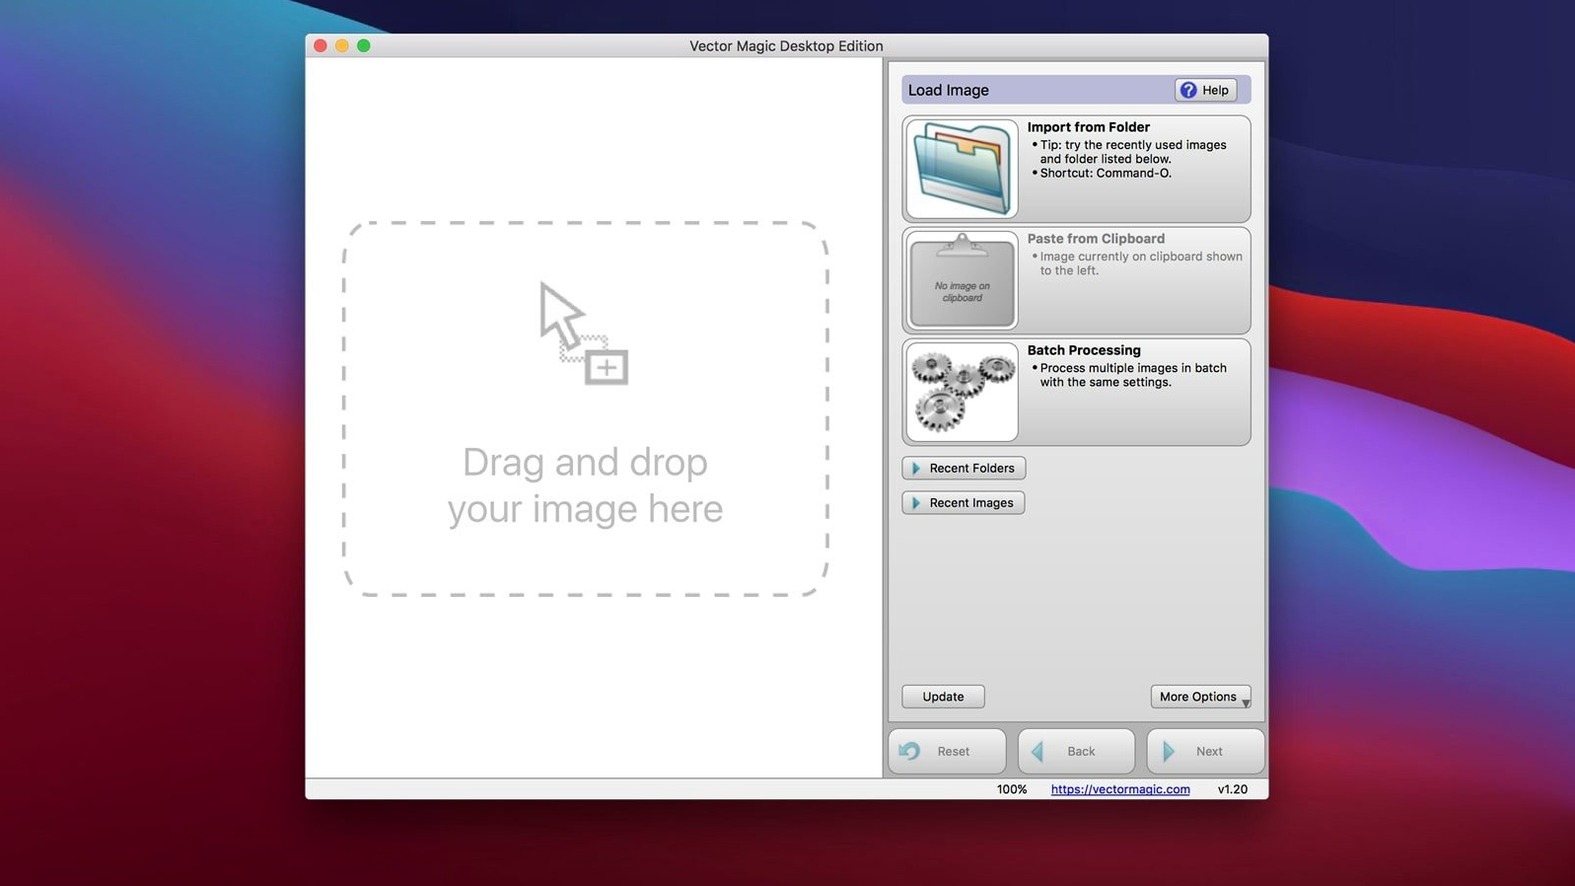
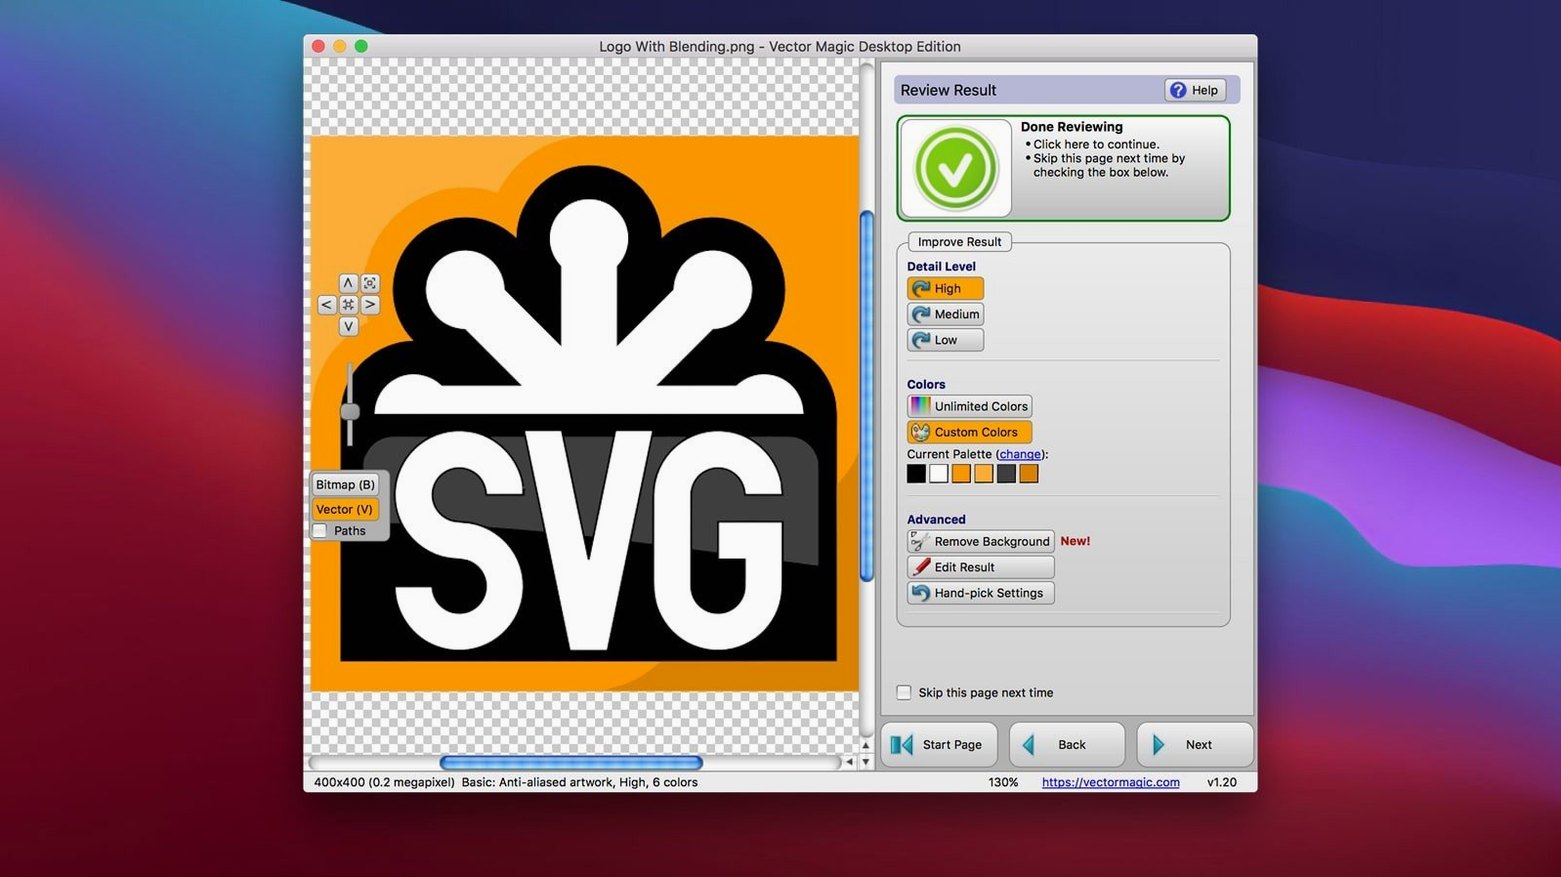
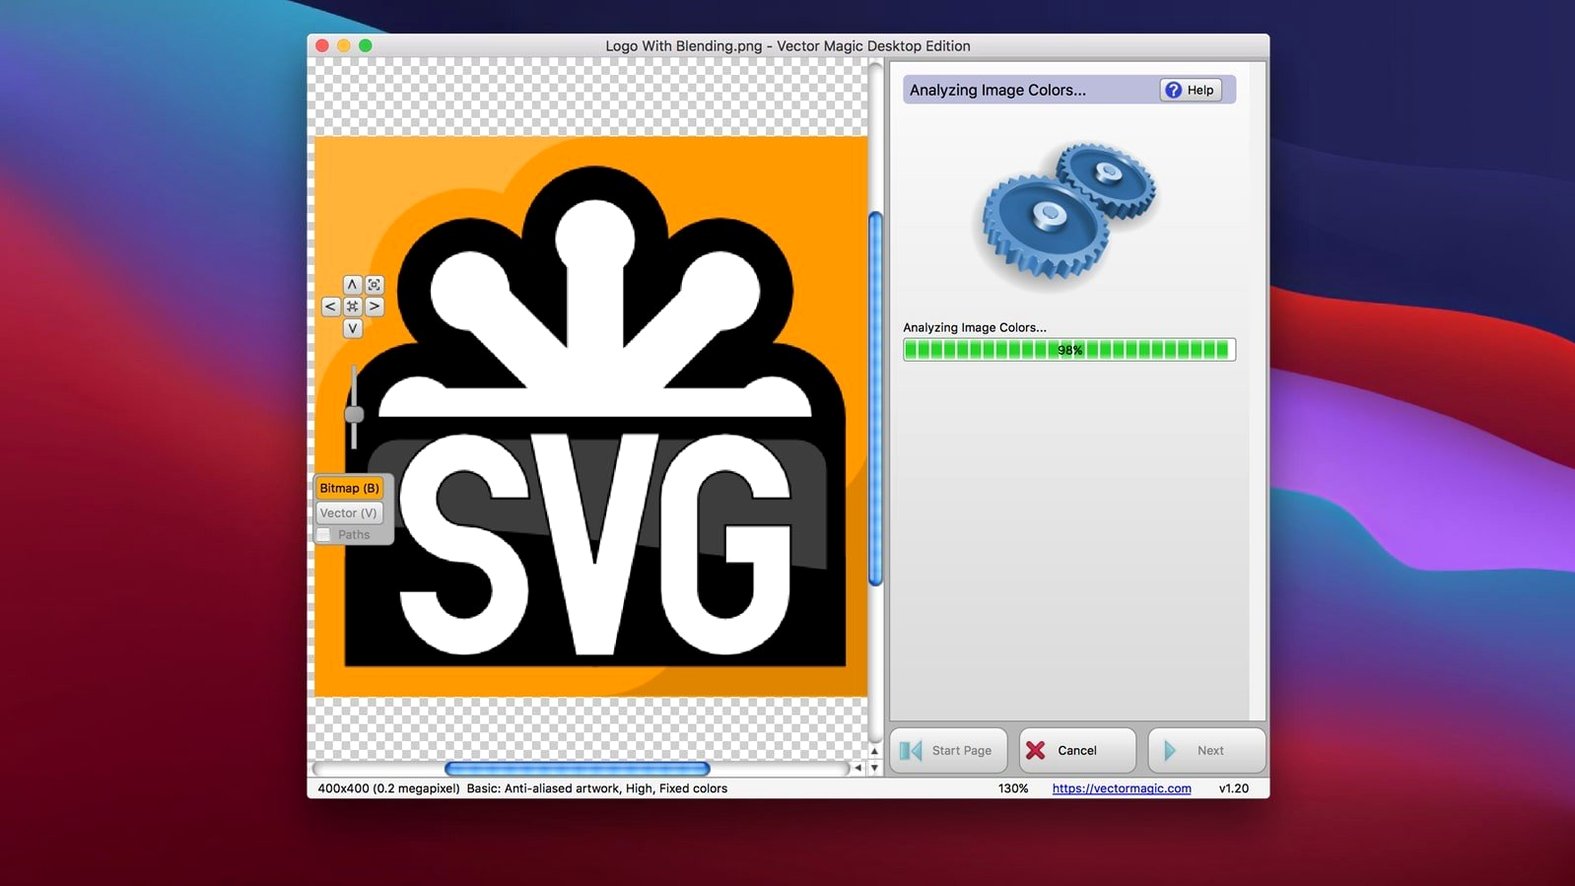
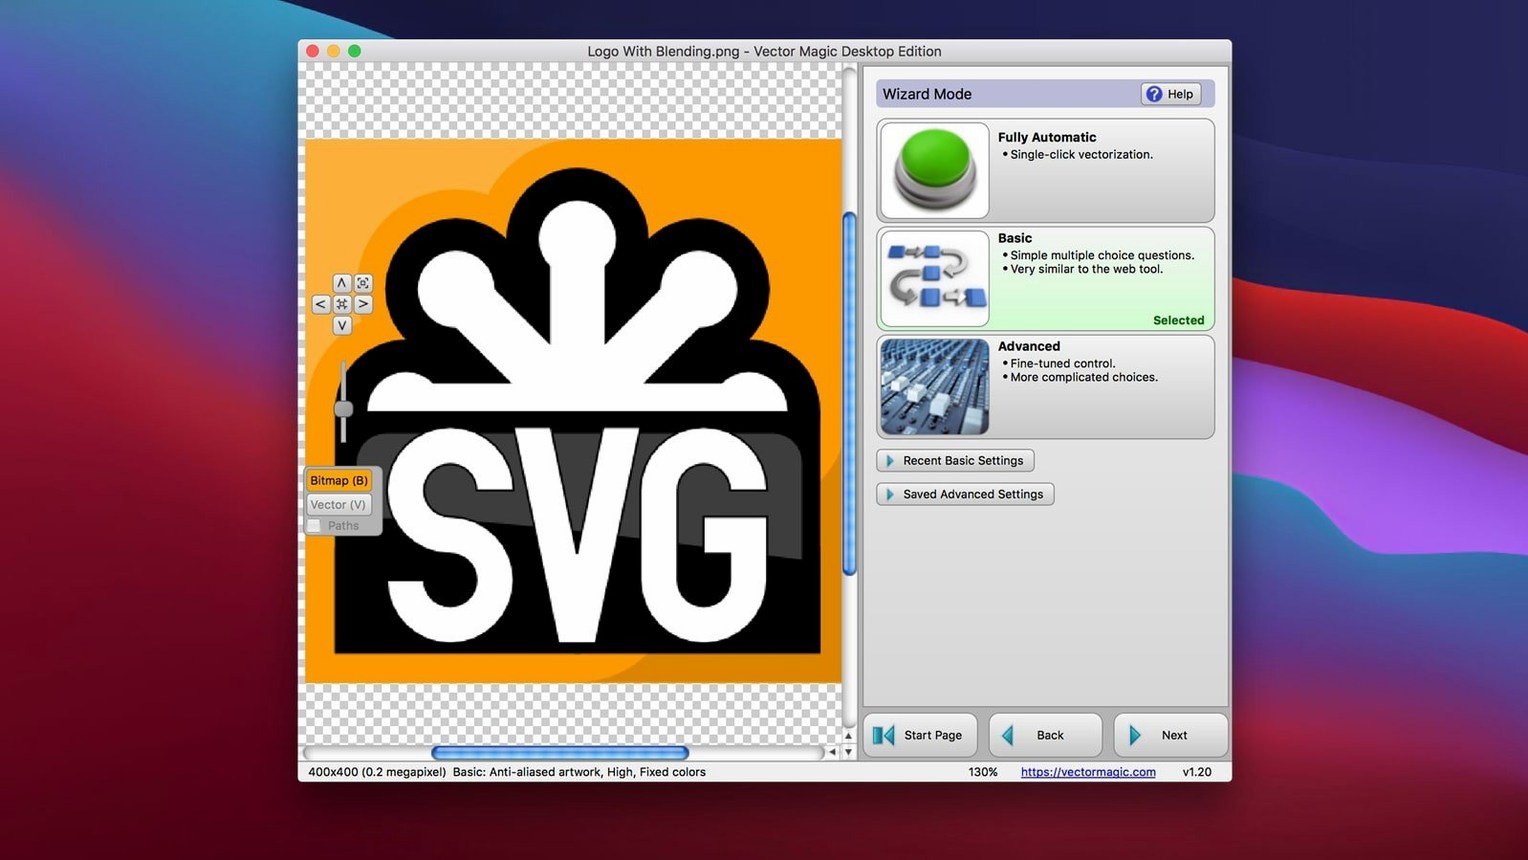
The current version, 1.20, didn't add a splashy new feature. It focused on under-the-hood fixes that keep the app running smoothly on modern Macs. For a tool that deals with minute edge details, that quiet reliability matters more than a bullet list of new tricks.
When you first drop in a JPEG or a PNG, the temptation is to hit the fully automatic mode and hope for the best. That works for simple, high-contrast logos, but the real personality of the software shows up when you switch to Manual mode. You get a handful of sliders that control how the tracing engine sees color groups, corners, and noise. The instant preview window redraws as you tweak, so you can watch a muddy patch of pixels turn into a clean, sharp curve in real time.
A good second stop is the background removal tool. Before you even start tracing, you can scrub away a busy backdrop so the engine concentrates on the subject. It's a simple step that prevents the conversion process from trying to vectorize a bunch of photographic noise you never wanted in the first place.
Once you have a result you like, the app fits neatly into a workflow with Illustrator or CorelDRAW. You can just copy the vectors and paste them straight into your main design canvas. No export dance required.
Cleaning up a napkin sketch
A friend sent me a photo of her new bakery logo — a hand-drawn cupcake she sketched on a napkin and scanned with her phone. The JPEG was a little crooked and the background had coffee stains, but the drawing itself was simple enough. I opened Vector Magic and dragged the file right onto the window.
First move: I hit the background removal tool, painted over the stained paper in a few strokes, and watched it disappear. With a clean subject, I switched to Basic mode to see what the engine proposed. It got the cupcake shape right but smoothed the frosting swirls a bit too much. So I clicked over to Manual mode, nudged the detail slider up a notch, and set the color grouping to pick up the subtle pink shading she had penciled in. The preview refreshed in under a second — now the swirls had their ridges back.
I copied the result, pasted it into Illustrator, and scaled it up three times. No jaggies, no wobble. The whole session took about four minutes.
Run old PNGs through all three modes
Spend your first hour with images you already know. Grab a few old PNGs from your hard drive — a company logo, a simple icon, a scanned signature — and run each one through all three modes. You'll learn more about how the sliders behave by watching the same image get different treatments than you ever would from reading a manual.
Watch the megapixel limit. The app caps images at 10 megapixels, which is generous for logos but easy to bump into if you drag in a DSLR photo. Resize in Preview or Photoshop first, then bring it over.
When you get a result that looks perfect at 100% zoom, zoom out to thumbnail size too. Sometimes a curve that reads as crisp up close turns into a jagged mess when scaled down, and catching that early saves you re-tracing later.
If you ever used the web version years ago — maybe you grabbed a Vector Magic Mac free trial or hunted around for a Vector Magic torrent before the desktop edition existed — you'll notice the offline app is faster and doesn't choke on larger files the way the browser tool sometimes did. No uploads, no waiting.
Converting a t-shirt design from sketch to print-ready vector
Let's say you have a pencil sketch of a band logo, photographed under uneven kitchen light, and you need it as a clean EPS for a screen printer by end of day.
Step one: Open the JPEG. The paper looks gray on one side because of the lighting. Don't trace yet — use the background removal brush to erase the paper entirely. You want a transparent canvas behind the drawing.
Step two: Switch to Manual mode. Set the palette to two colors (black ink, no gray). The default trace might pull in faint pencil smudges as separate shapes, so dial the noise slider up a few points until those disappear. Keep the corner threshold low if the lettering has sharp serifs.
Step three: Inspect the segment boundaries. Zoom into the tight spots between letters where the tracing engine sometimes connects strokes that should stay separate. Use the segment editing tool to click those bridges away — the preview updates instantly.
Step four: Check transparency. If the printer needs a true knockout for dark shirts, confirm that the background region reads as empty, not as a white-filled shape. The app handles transparency well, but verify it before you export.
Step five: Export to EPS. Then paste a copy into Illustrator for a final sanity check: scale it to 200% and run your eyes along the edges. If it's clean, you're done. The whole thing takes less time than brewing a pot of coffee.
- macOS 10.7 or later
- Intel 64-bit processor
- Maximum file size: 10.0 MB
- Maximum image size: 10.0 megapixels
Questions I actually get
Does the desktop app need an internet connection to work?
No, it can convert images entirely offline on your Mac.
Notes from the tables 0
Sign in or pull up a chair to leave a note.
No notes on this one yet. They go up after I read them.
More from the Mac Apps page
The whole page Mac Apps 124 MB
Unclutter
2.2.18
Mac Apps 124 MB
Unclutter
2.2.18
 Mac Apps Updated 14 MB
VideoProc Converter
6.6
Mac Apps Updated 14 MB
VideoProc Converter
6.6
 Mac Apps 86 MB
ViWizard Spotify Music Converter
2.17.0
Mac Apps 86 MB
ViWizard Spotify Music Converter
2.17.0
 Mac Apps 7 MB
VMware Fusion Pro
26H1
Mac Apps 7 MB
VMware Fusion Pro
26H1
 Mac Apps 479 MB
Typinator
10.2
Mac Apps 479 MB
Typinator
10.2
 Mac Apps 12 MB
Typeface
4.5.0
Mac Apps 12 MB
Typeface
4.5.0
 Mac Apps 23 MB
Tuxera NTFS
2023.1
Mac Apps 23 MB
Tuxera NTFS
2023.1
 Mac Apps 111 MB