
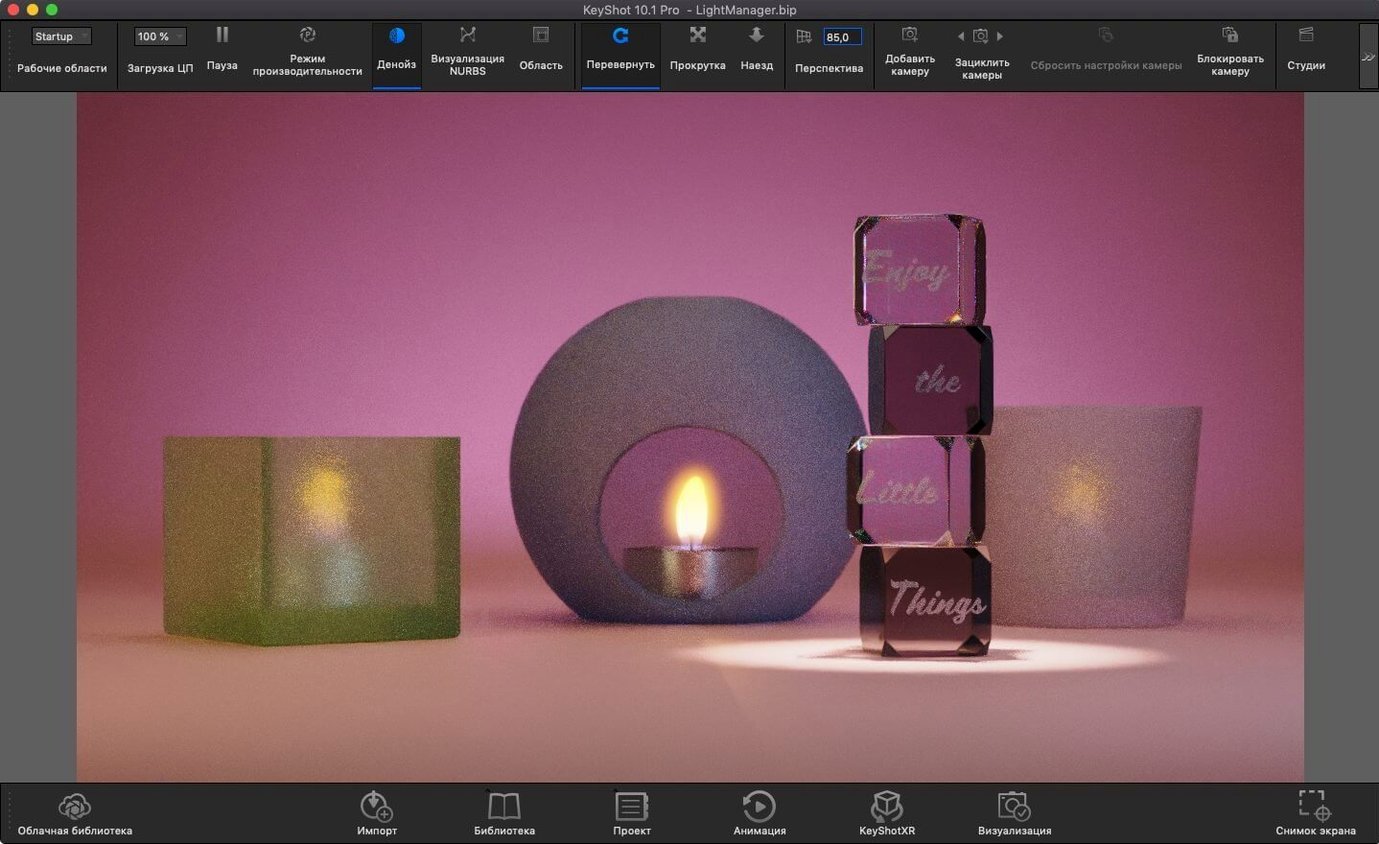
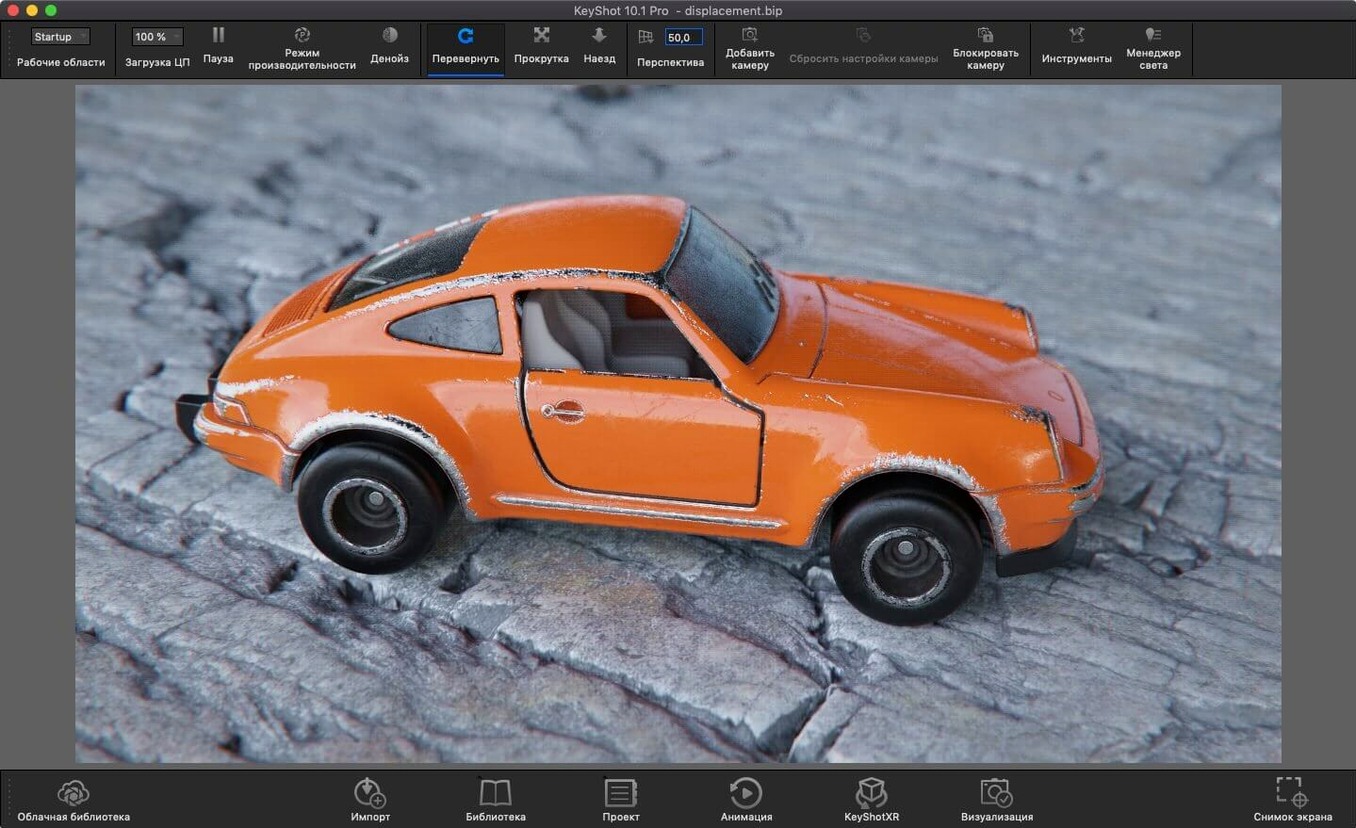
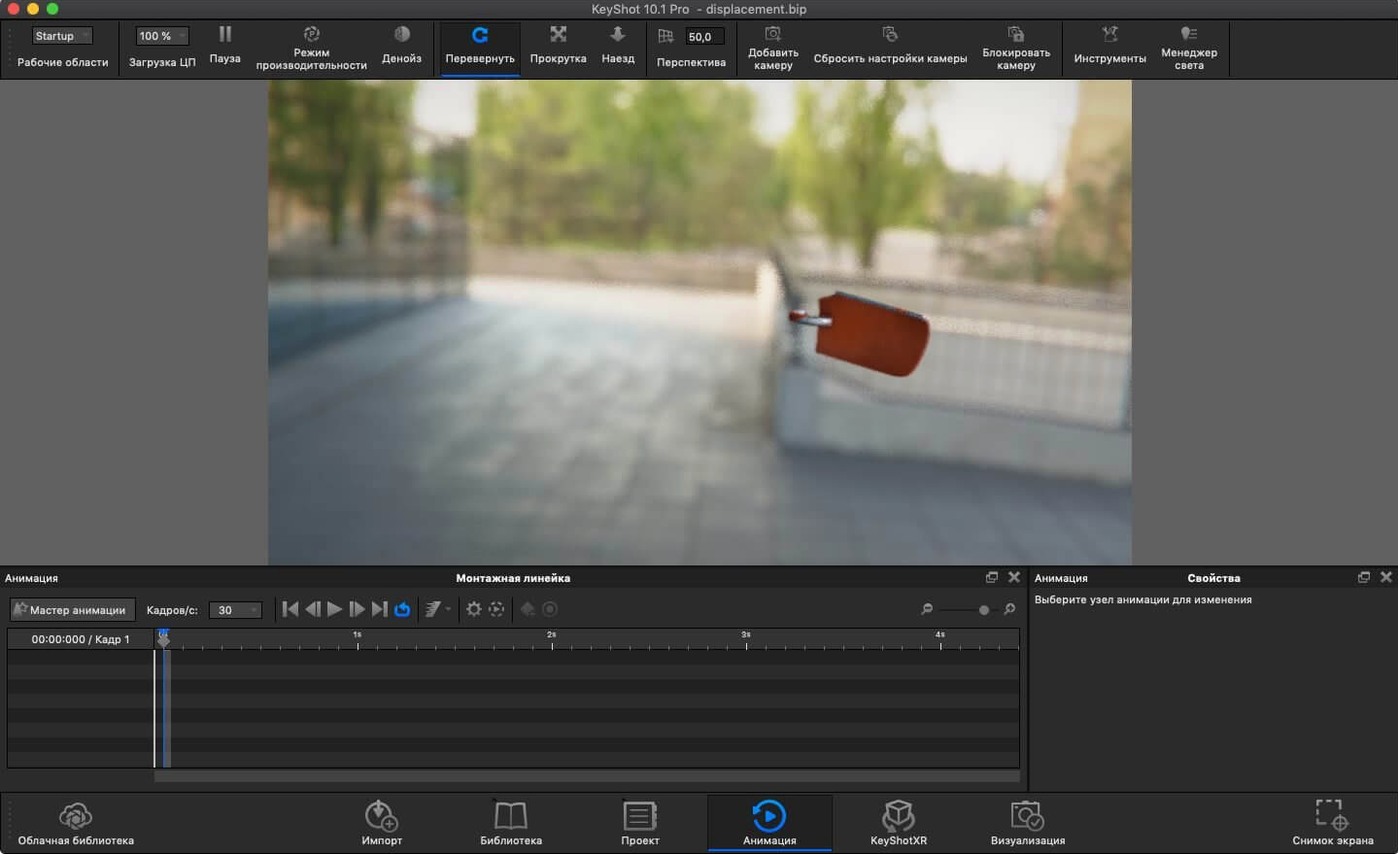
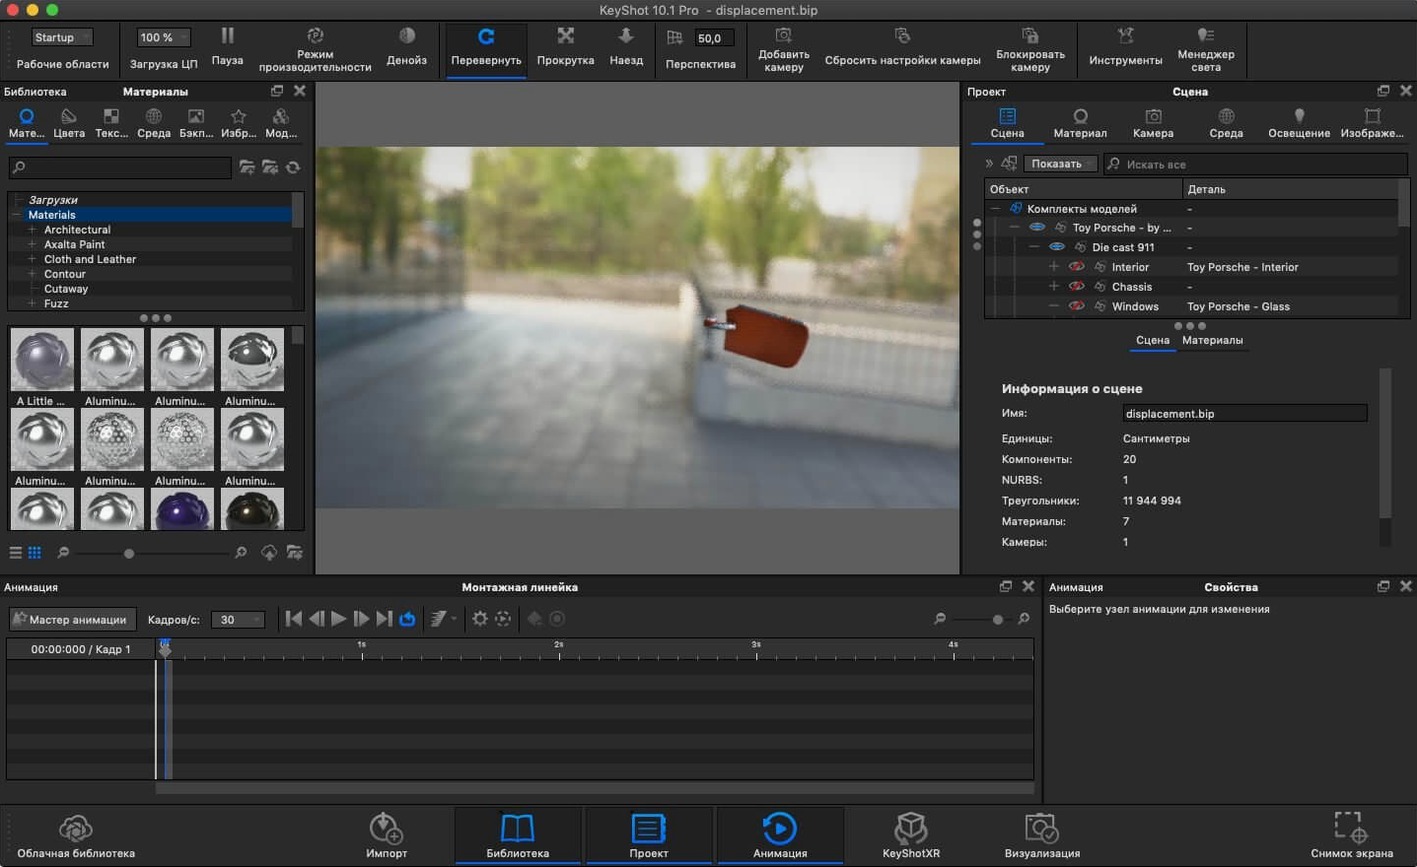
Open the new Light Tool. Drag a physical light into your viewport. You see the shadows shift and the metal catch — instantly, no waiting for a pixelated preview to resolve. That real-time feedback loop is what makes KeyShot click for a newcomer. It’s 3D visualization software built so you watch your decisions happen, not queue them up.
| What | Details |
|---|---|
| Type | 3D visualization and rendering |
| Rendering style | Real-time ray tracing with WYSIWYG output |
| New in 2025.1 | Light Tool, Add Studio hotkey, glTF export |
| Mac support | Apple Silicon and Intel 64-bit |
Beyond the new Light Tool, poke around the lighting capabilities early. HDRI environments, caustics, and inter-object light bouncing all work in that same interactive view. You tweak a material and the whole scene adjusts — photon mapping and ambient occlusion knit together without you babysitting a settings panel. Import a model from SketchUp, SolidWorks, or Rhino, drop an environment on it, and you’re already three-quarters of the way to a believable still. The 2025.1 update also added AR export in USDz and GLB formats, which means you can hand a client a model that sits on their actual desk. Bottom line: the first things to try are the Light Tool, an HDRI environment swap, and an AR export — those three moves teach you more about the software than any manual.
Skipping the environment setup that sells the shot
Most of them aren't about the software. They're about skipping the quiet setup work that makes a render look real instead of plastic.
First one: ignoring the environment. A new user drops a model into the default studio, adds a couple of materials, and wonders why nothing pops. The HDRI environment drives every reflection, every shadow fill, every subtle color bleed. Swap it early. The difference between a flat product shot and something with life is usually the environment you picked, not the material settings you tweaked for twenty minutes.
Second: over-lighting. KeyShot gives you physical lights now with the Light Tool, and the instinct is to place three or four of them like you're lighting a stage. The render engine already calculates bounce light and ambient occlusion from the environment. Adding too many lights washes out shadows and kills the depth the ray tracer naturally builds. Start with the environment alone, then add one light if you need a specific highlight. Two at most.
Third: maxing out samples before checking composition. Someone sets the render to 500 samples, walks away, comes back to a technically clean image of a boring angle. Stay in real-time mode while you move the camera around. When the view makes you pause, that's the shot. Rendering just locks in what you already saw.
Scenario: an industrial designer preparing a client review
Say you're a product designer at a small consultancy. Monday morning you get a SolidWorks file for a handheld medical device — lots of soft-touch surfaces and a clear polycarbonate housing. The client wants to see it in context by Wednesday.
You import the assembly into KeyShot. The real-time viewport spins it around while you assign a frosted material to the grip areas and a transparent plastic with slight blue tint to the housing. The Planar Light material, added in 2025.1, lets you turn a flat surface inside the model into an active light source — perfect for the LED indicator strip on the device. You drag one onto the geometry, dial it to a warm amber, and watch the glow catch the edges of the transparent shell. No emissive workaround, no compositing later. The interactive ray tracing shows you the caustics from that tiny light hitting the desk surface underneath, and you know the client will ask about it, so you angle the camera to keep it visible.
Export options hit next. A still render goes to the slide deck, a turntable animation plays on a loop in the waiting room, and a USDz export lands on the client's iPad so their engineering team can spin the model around during the Q&A. All from the same scene file, no rework.
Real-time viewport stays fluid on Apple Silicon
On Apple Silicon, the viewport stays responsive even with a moderately complex scene — say, a few hundred parts and half a dozen 4K textures. The real-time ray tracing doesn't hitch when you orbit the camera, and material changes resolve faster than you can move your eyes to the preview swatch. Intel machines run it fine too, though you'll hear the fans sooner on a larger assembly with caustics enabled.
Memory is the thing to watch. KeyShot holds textures and geometry in RAM, and once you cross about sixty percent of your system memory, the responsiveness dips — not a crash, just a gentle slowdown that tells you to close a few browser tabs. I've left it rendering overnight on a batch queue and came back to all frames complete, no memory leaks, no frozen interface. That's been consistent across the 2025.1 release. It's the kind of stability you learn to trust when a deadline is breathing down your neck and you can't babysit a progress bar.
Version 2025.1 adds a few practical helpers. You get a dedicated Light Tool for placing Physical Lights without digging through menus, a hotkey for Add Studio, and the Re-tessellate Tool is now exposed in the Scripting API.
- macOS 12 or later
- Apple Silicon or Intel 64-bit Mac
Questions I actually get
Which 3D file formats does KeyShot for Mac support directly?
It supports a wide range including ALIAS, AutoCAD DWG/DXF, CATIA V5, Creo, Inventor, NX, Pro/ENGINEER, Rhinoceros, SketchUp, Solid Edge, SolidWorks, and Maya.
What kind of lighting effects can I work with in real time?
You work with HDRI lighting, caustics, ambient occlusion, self and inter-object shadow casting, environment reflections, and photon mapping — all in the interactive WYSIWYG viewport.
Does KeyShot 2025.1 run natively on Apple Silicon Macs?
Yes, it runs natively on both Apple Silicon and Intel 64-bit Macs, and requires macOS 12 or later.
Notes from the tables 0
Sign in or pull up a chair to leave a note.
No notes on this one yet. They go up after I read them.